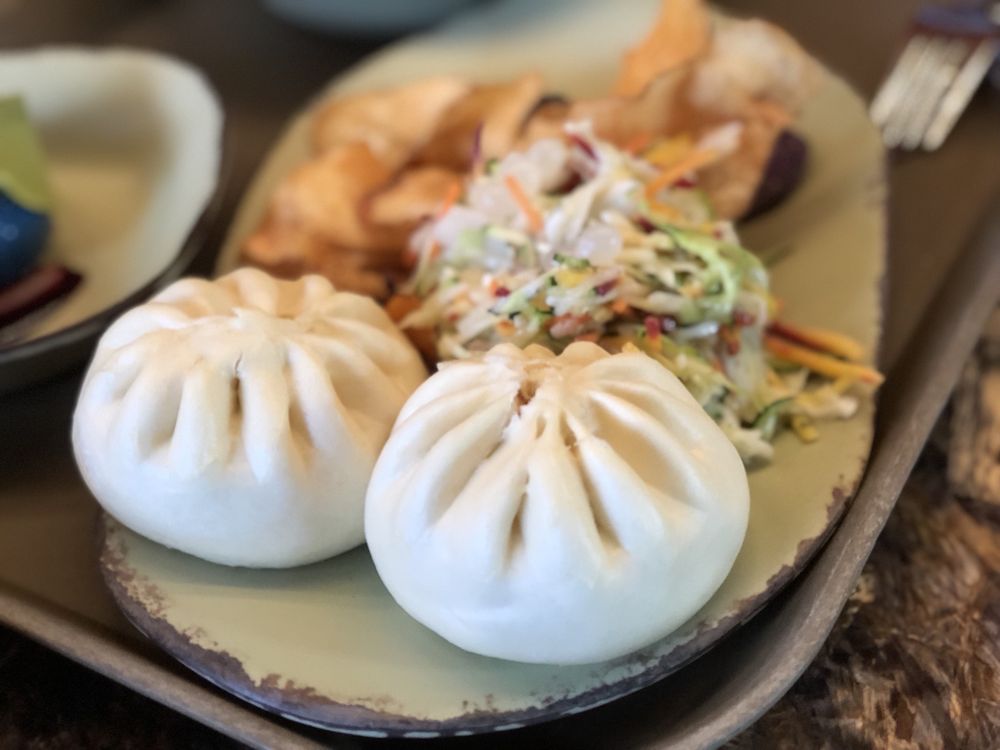
Today, we’re doing our first recipe based on a Disney Dish reader request. Our wonderful friend Kim mentioned to us that she misses the Cheeseburger Pods that they used to serve at the Satu’li Canteen in Pandora: The World of AVATAR. We’ve also heard from others that they miss this dish, as well. So we thought we should work on getting this into your kitchen.
Let’s get our Na’vi on an make this Disney Dish!
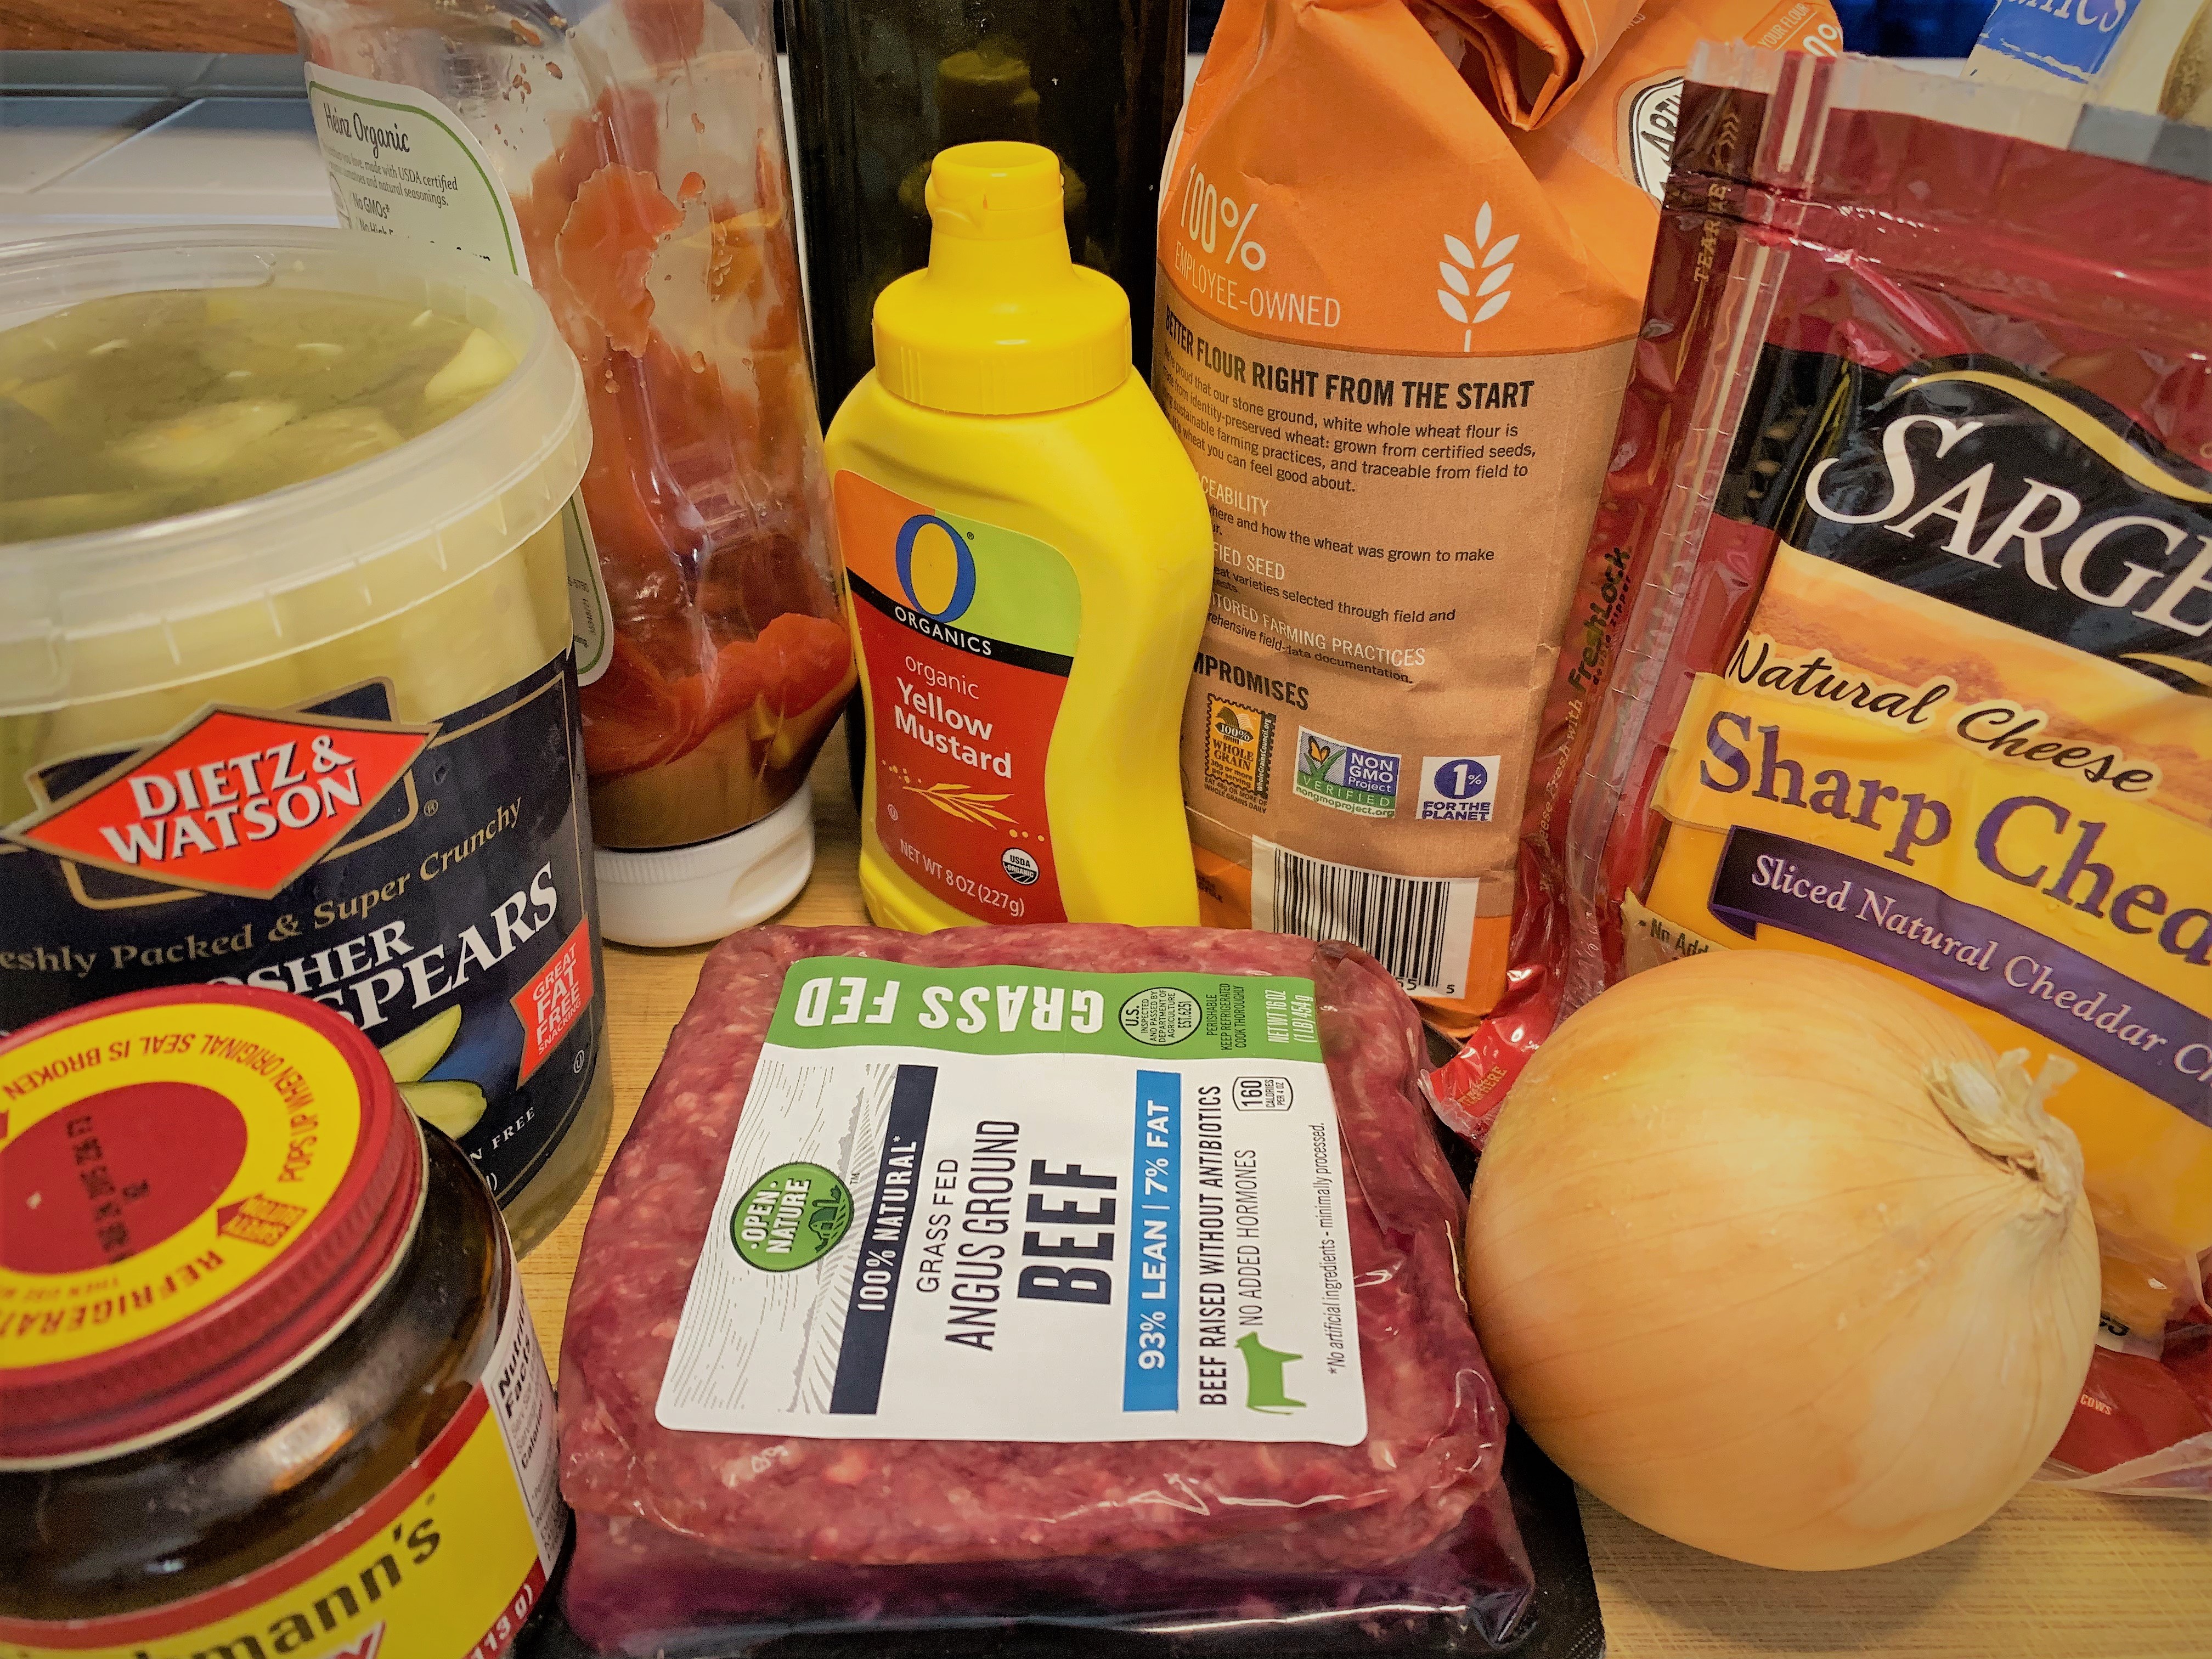
The Ingredients
Unlike some of the Disney Dishes we’ve done in the past, there is nothing in our Cheeseburger Pods recipe that you should have a difficult time finding in your favorite grocery store. As a matter of fact, you probably already have many of these ingredients right in your refrigerator and/or pantry.
- A Quick Note About Our Pods: While this recipe is by no means a “healthy” dish, in our home, we tend to make choices of ingredients that we feel lean toward the “healthier” side. That will be the case in this dish as well. We decided to use a whole wheat flour instead of standard, bleached, all-purpose flour. So, while this makes our pods slightly better for you, it also will change the color of our “pods” to be more on the tan side (as you’ll see in our photos). If you want the perfectly white version of the pods you used to be served in Pandora, standard, bleached, all-purpose flour will do that for you.
The Dough
Obviously, the “Bao” style bun is what makes the Cheeseburger Pods different from your standard burger. Unlike what we did with our S.E.A. Shu Mai, where we used prepared wonton wrappers, for this dish we will be creating a raised dough from scratch. That means we’ll be using yeast and doing some hand kneading. Yep, your forearms are getting a workout today!
Flowers Aren’t the Only Things That Bloom
To start, you’re going to want to “bloom” your yeast. This is a process that, essentially, wakes it up and gets it ready to do work. To activate your yeast, add it and the sugar to your warm water and stir to dissolve. Then let it rest for about 5 minutes. You should start to see some small bubbles form in the water. That means your yeast has awakened, stretched and is ready to go to get down to business.
- Make sure your water is warm and not hot. If your water is too hot, it can actually burn and kill your yeast.
Time to Work Those Arms
Gradually add the water & yeast mixture and mix until completely combined.
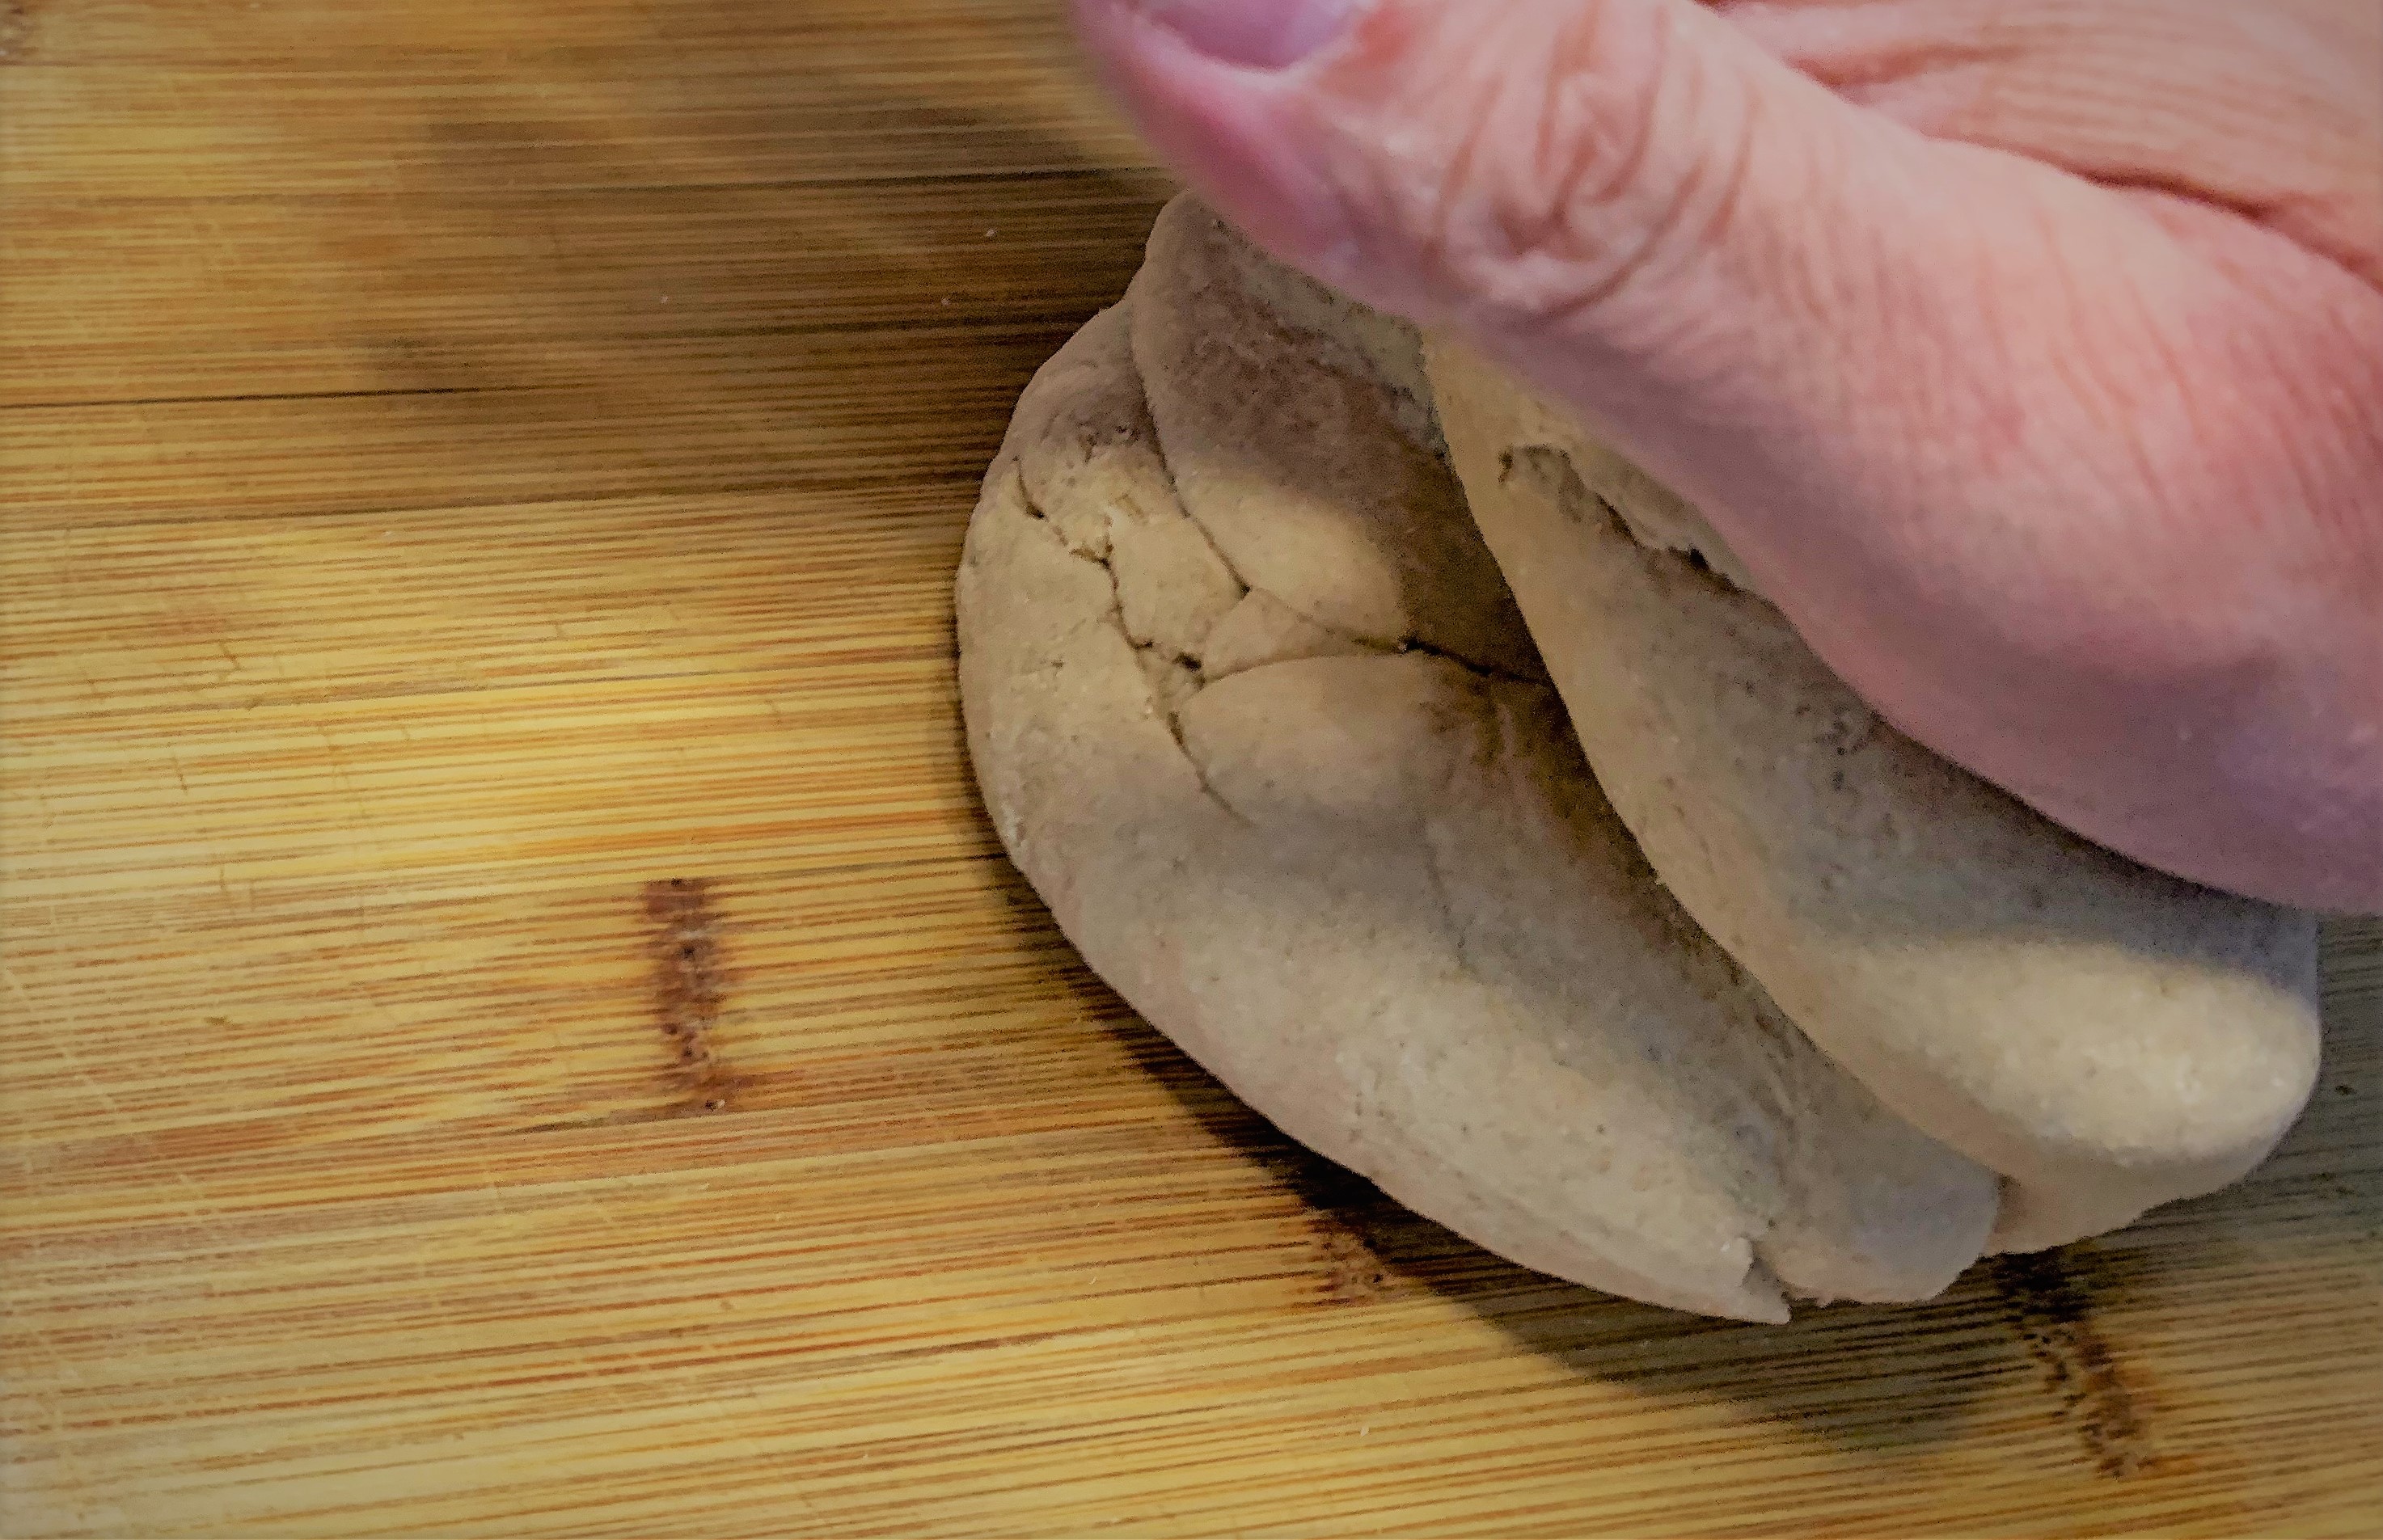
Then it’s time for some kneading.
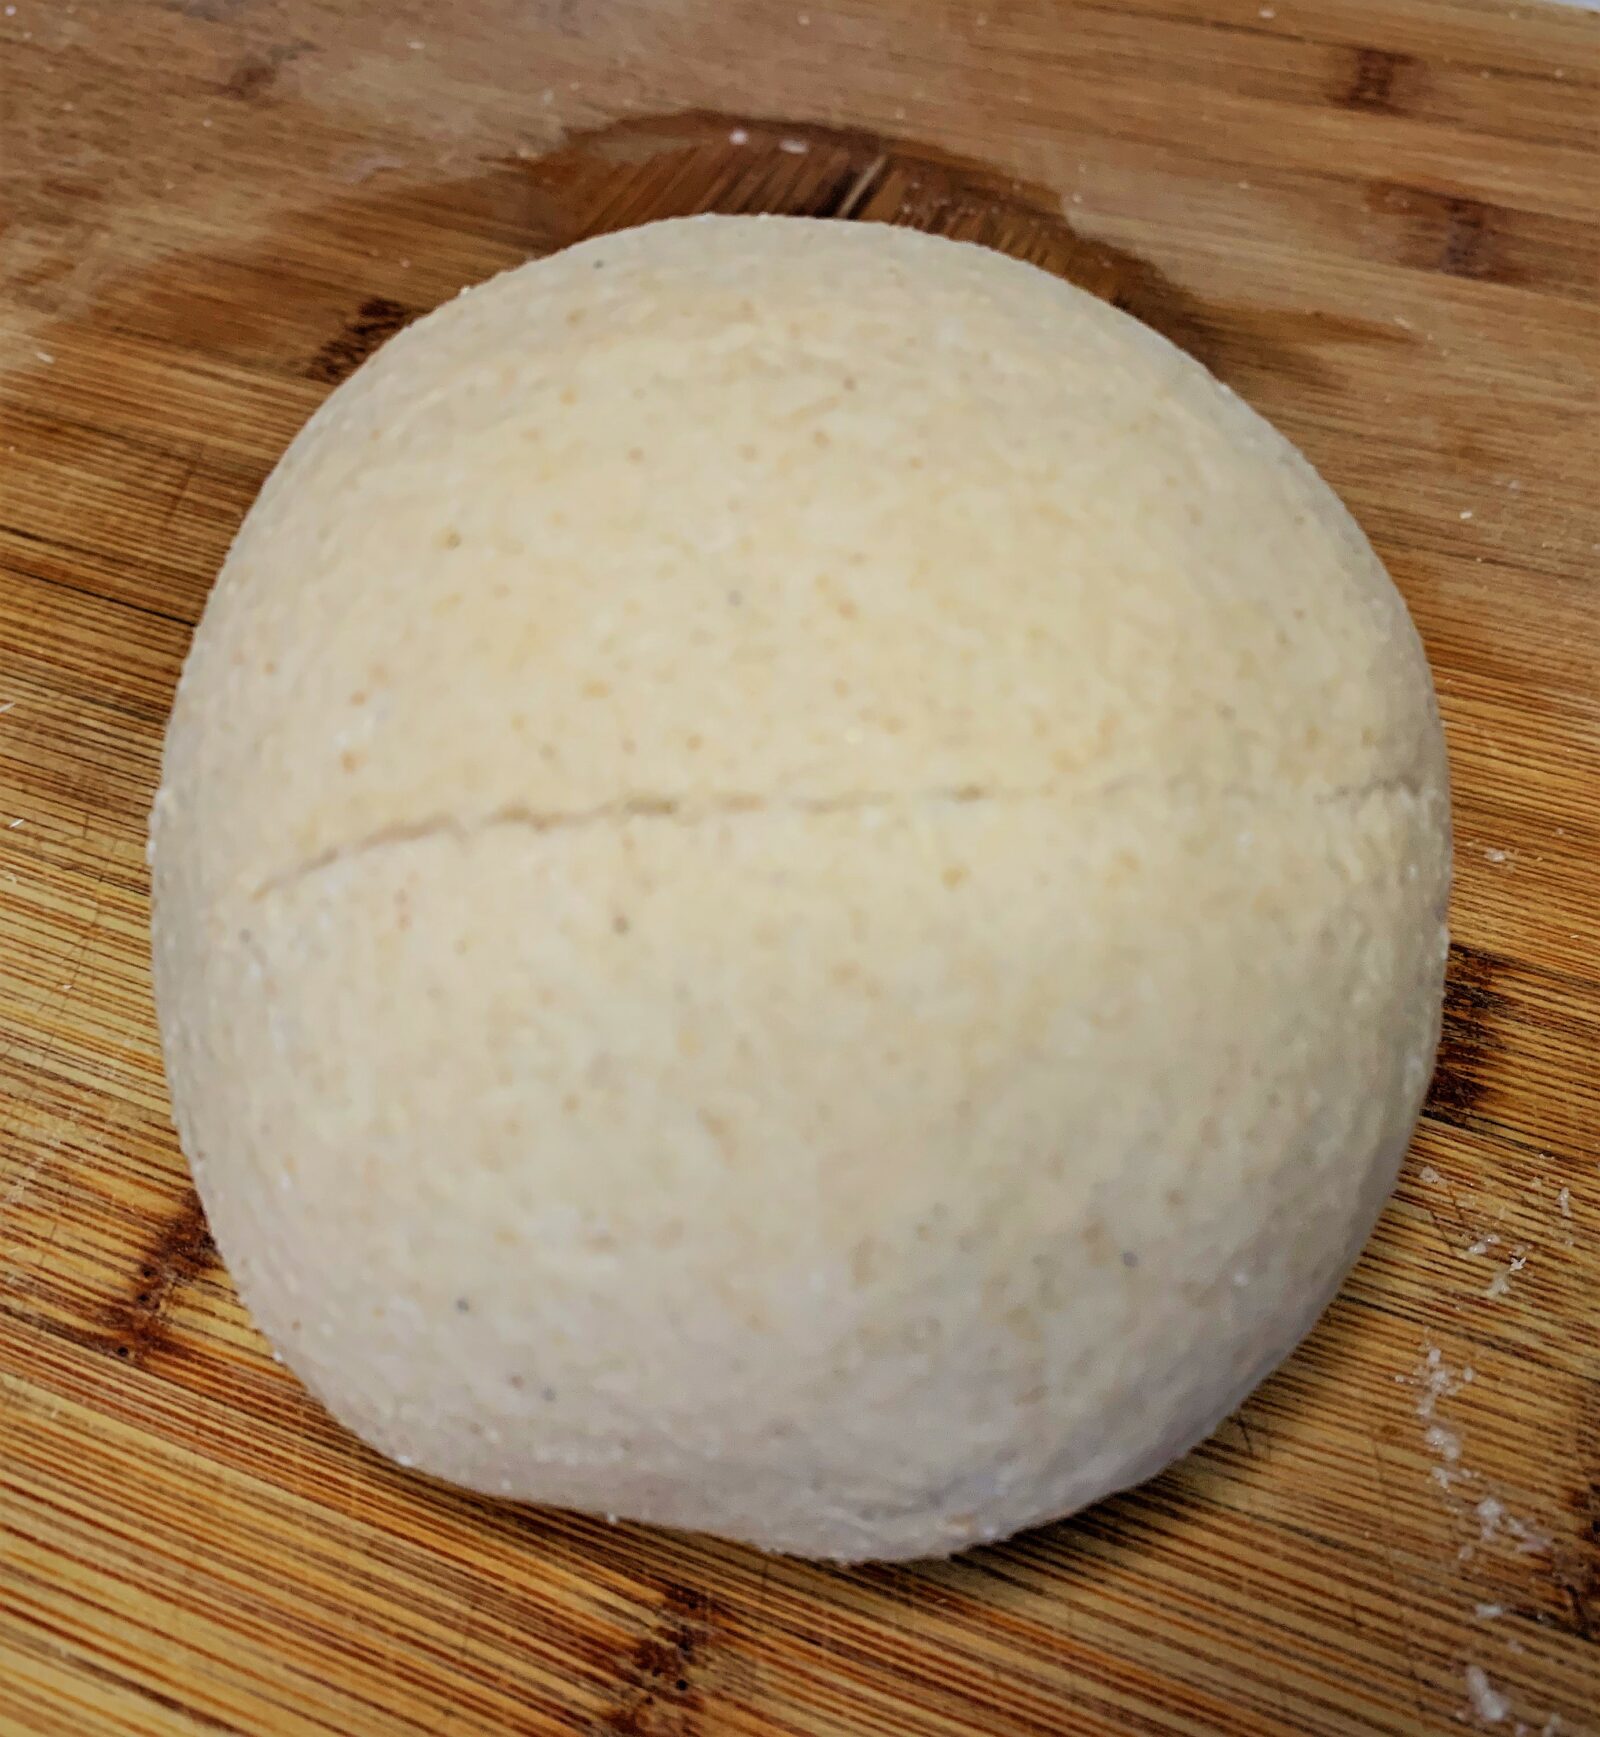
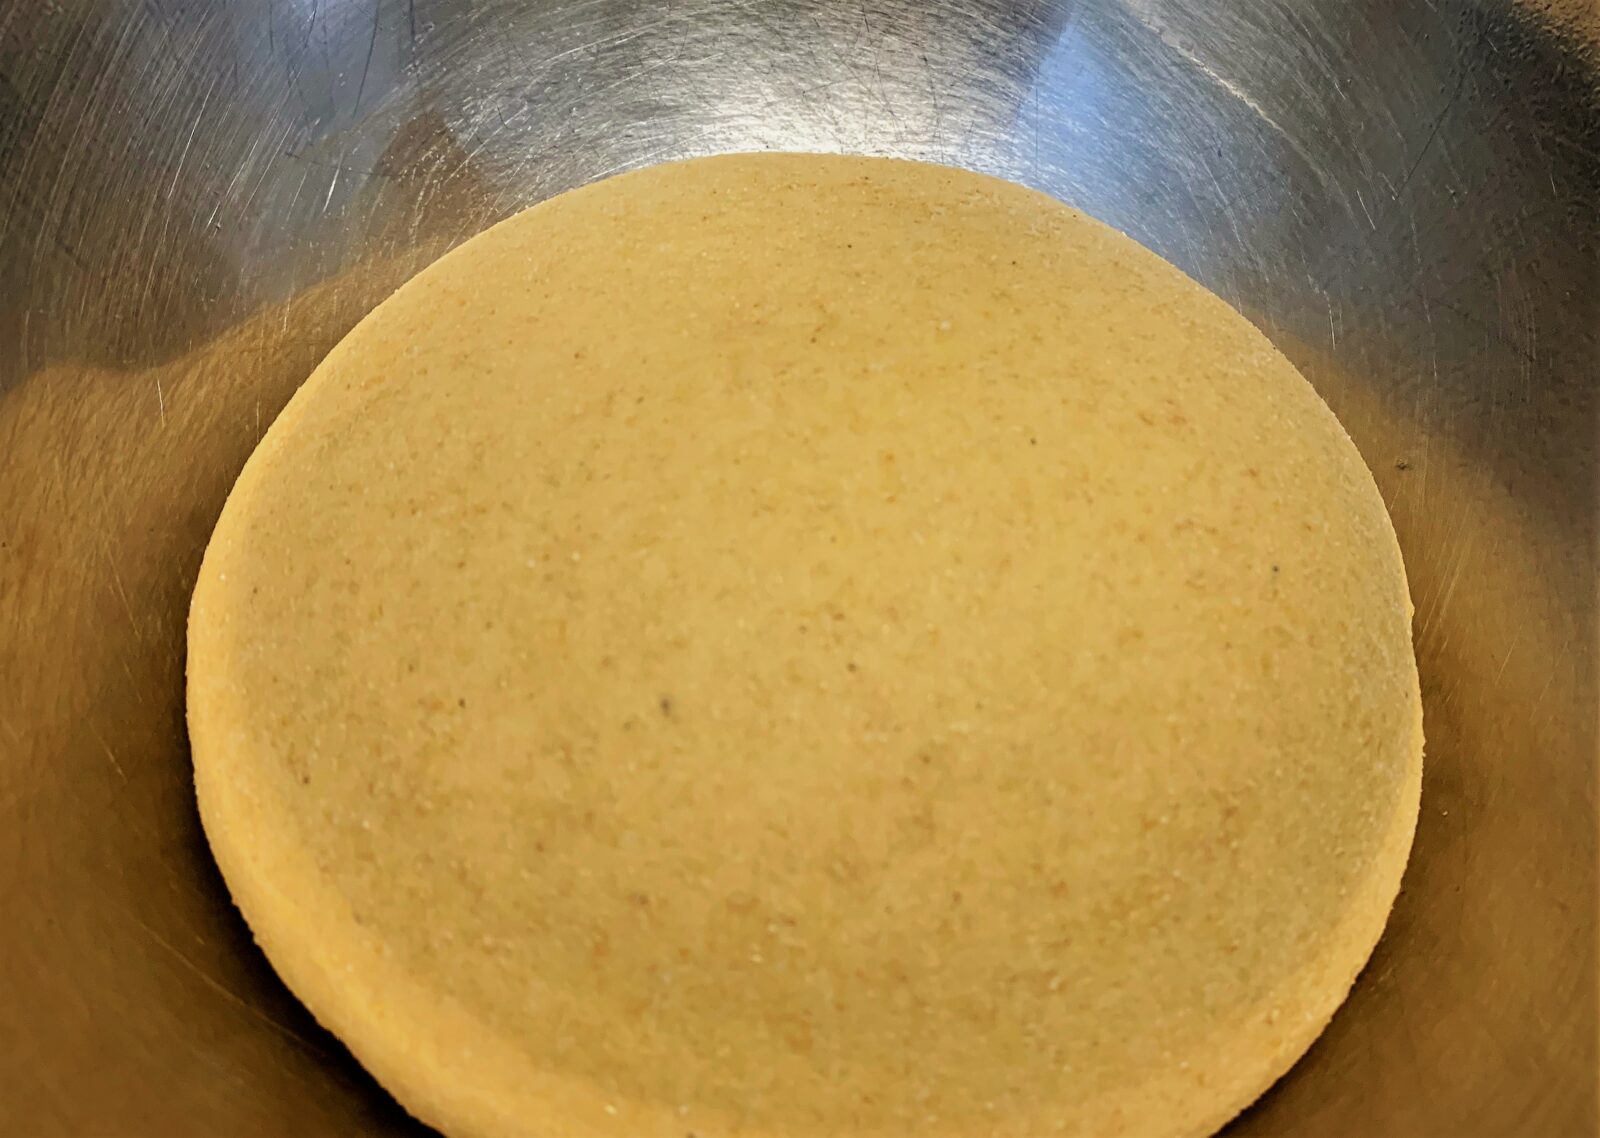
With your hands, continuously fold and press the dough for 10 to 15 minutes. (You can see me working on ours in the photo above) Eventually you’ll work it into a mostly smooth dough like in the picture below.
- If your dough seems a little dry, add a small amount of warm water. If it feels a little too wet, add a little flour. You can keep adjusting until you find the consistency of the dough you desire.
Next, you’ll want to oil the sides of a large bowl. Then, add the dough and lightly cover it with oil, as well. Place the bowl in a warm spot and cover with a towel. Allow to rest and rise until the dough has doubled in size; somewhere between 60 – 90 minutes.
Time For Our Cheeseburger Filling
Unlike a standard burger, our Cheeseburger Pod filling combines several of our elements and is mostly pre-cooked. Start by placing a large pan on the stove over medium-high heat.
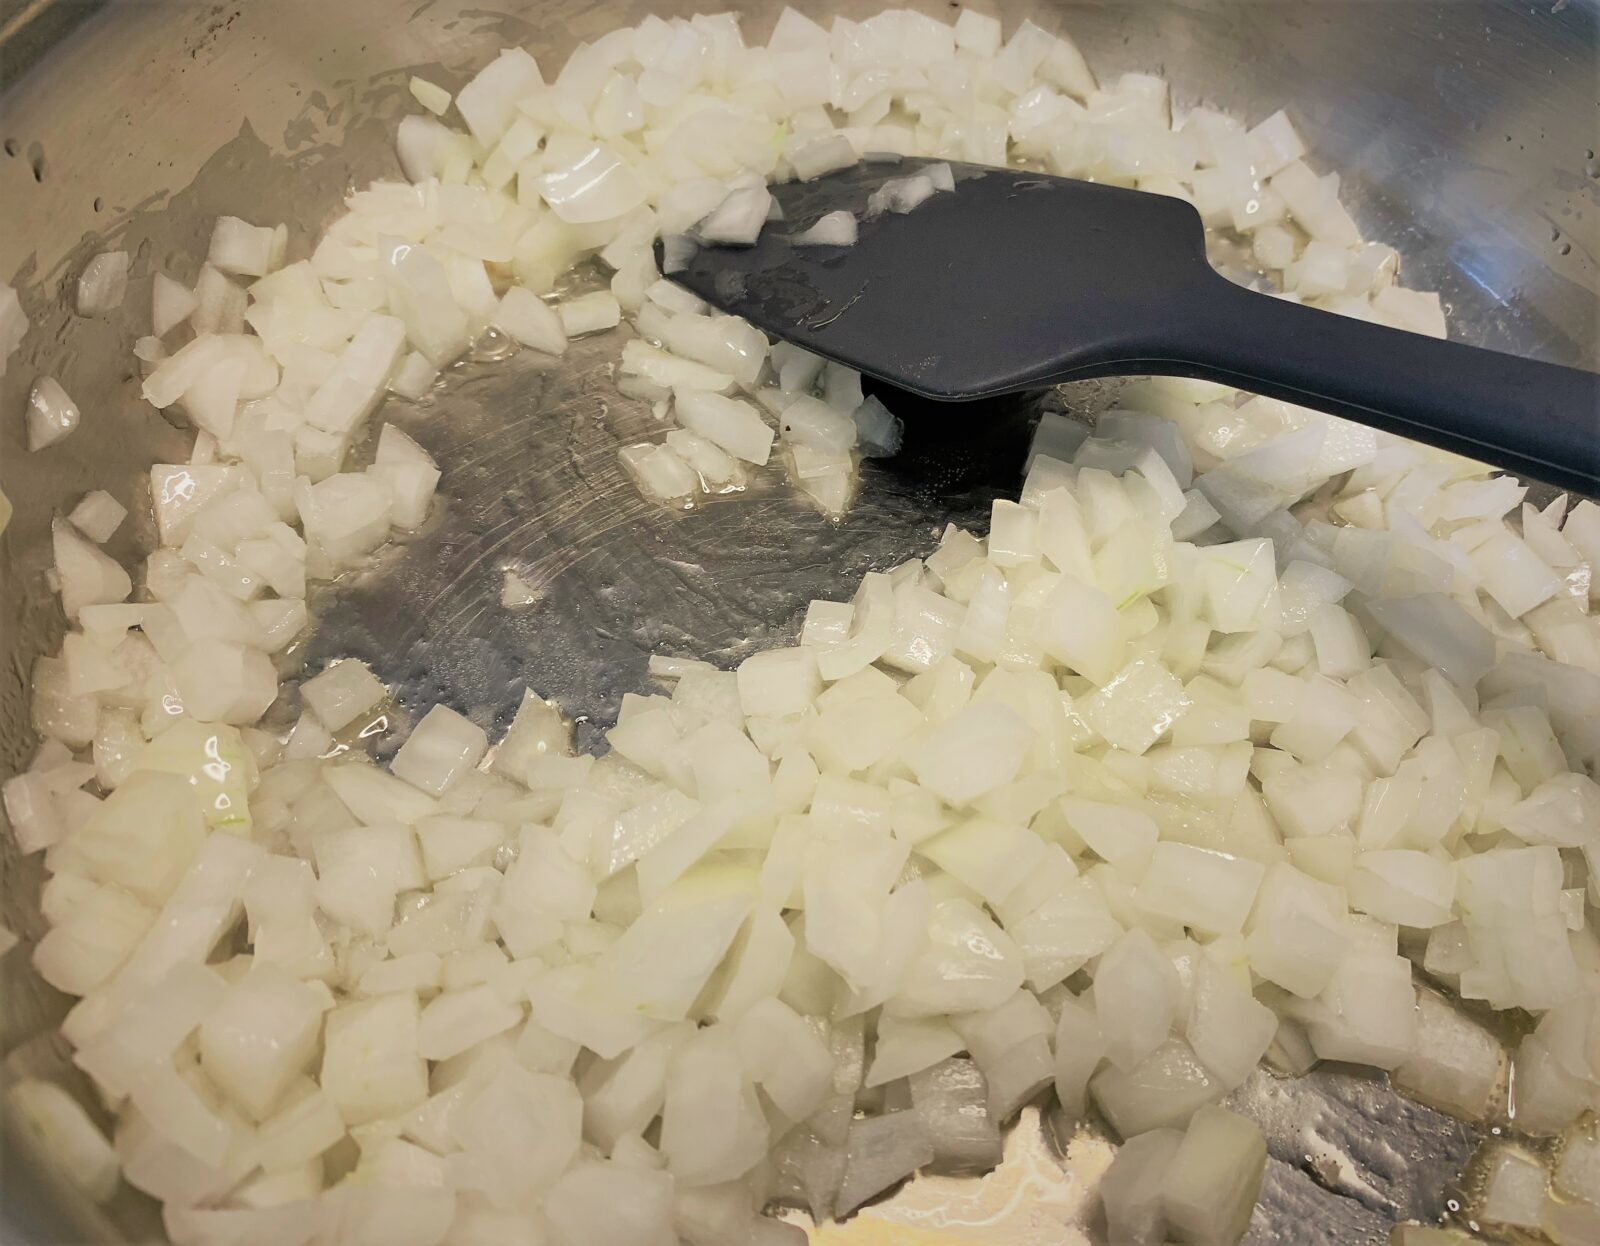
Next, add the oil and diced onion and saute until they are mostly translucent and slightly browned on the edges.
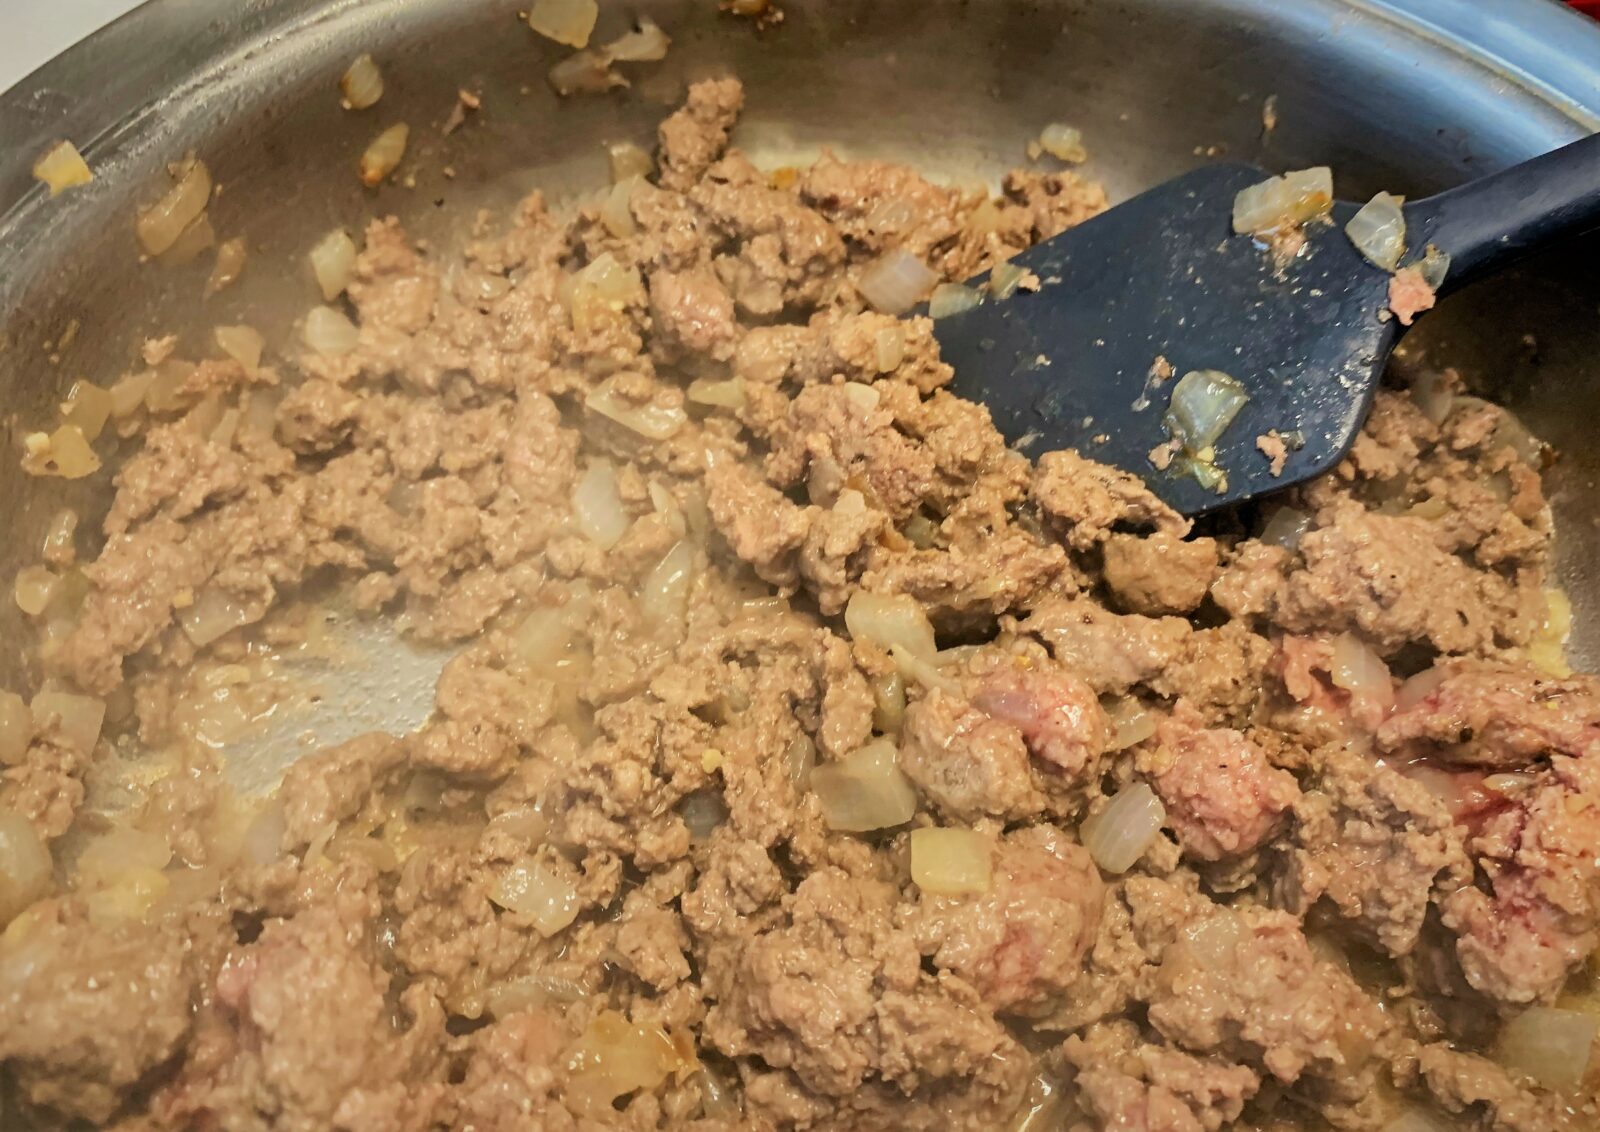
Add the Ground Beef to the sauteed onions and season with the Salt & Pepper. Cook, stirring occasionally, until the beef has browned.
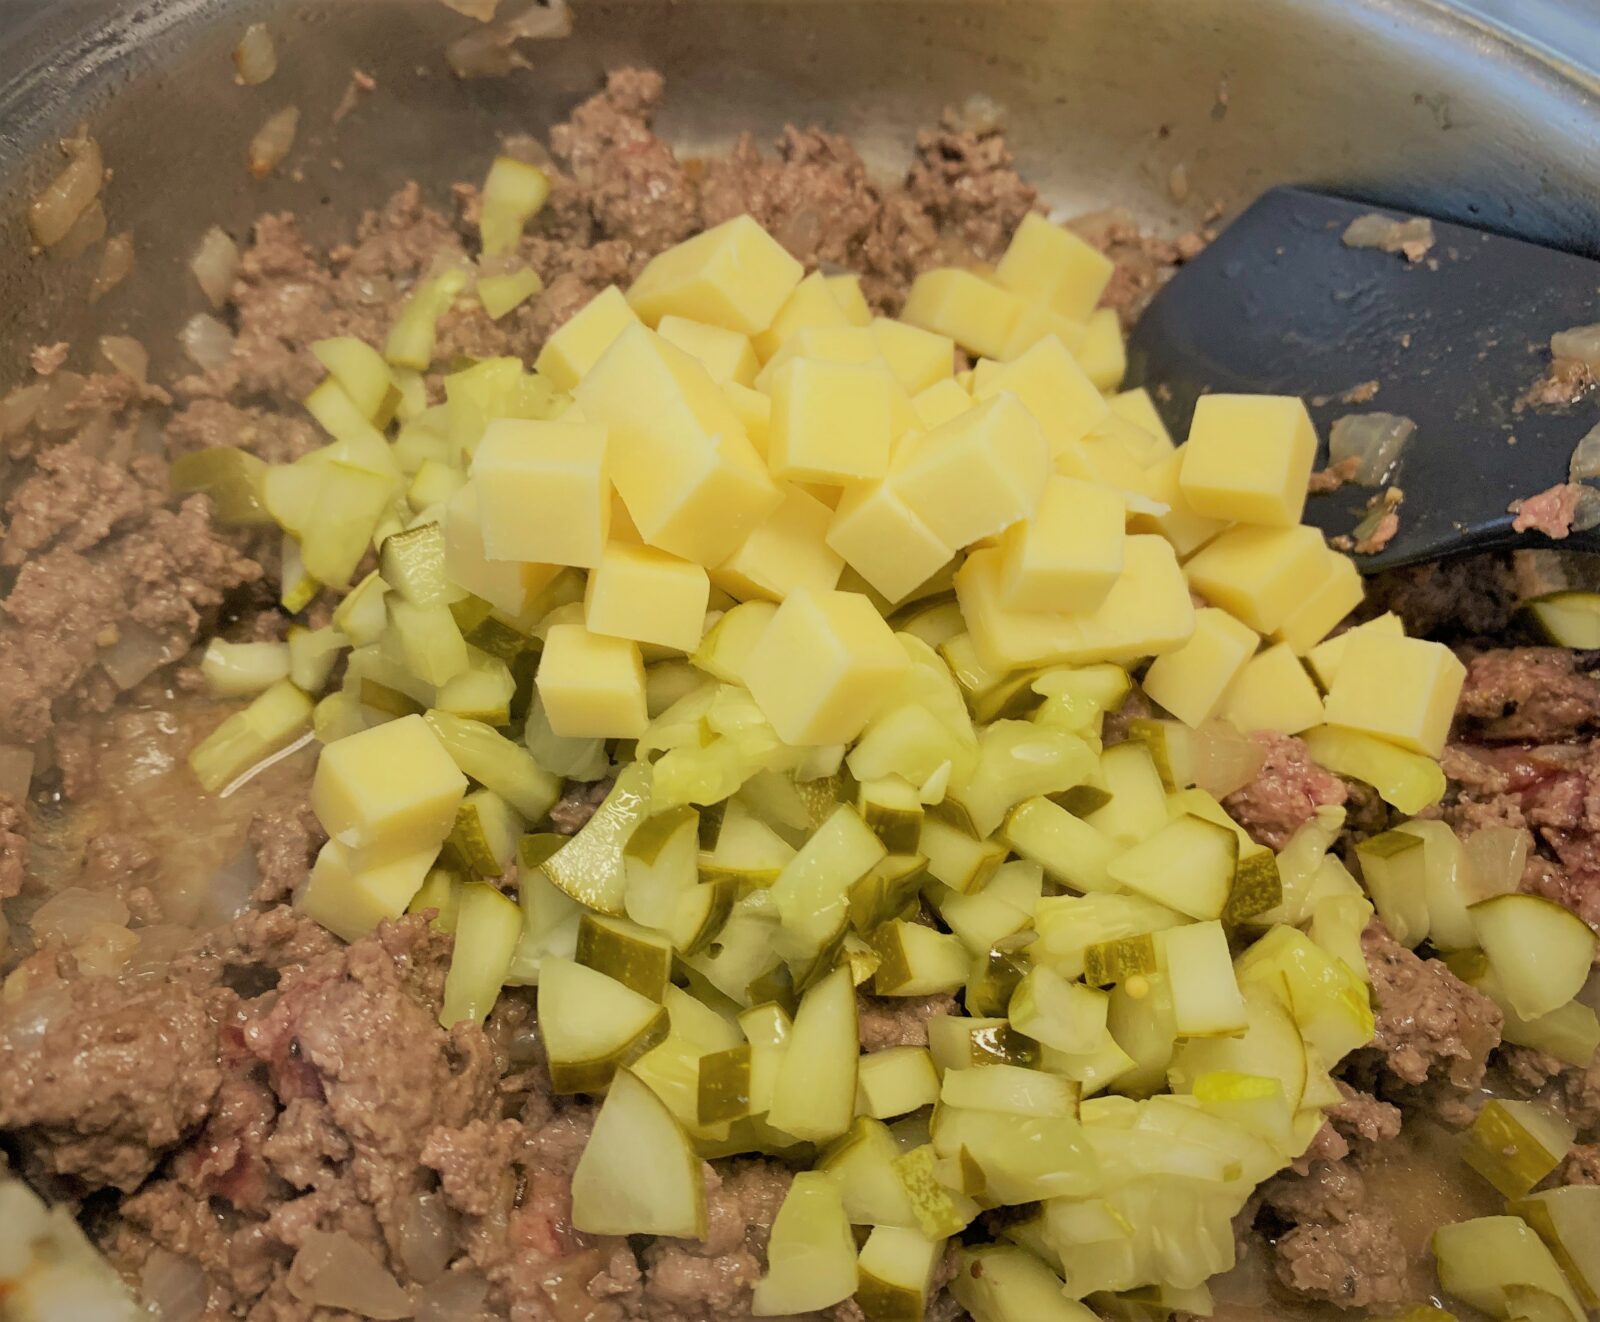
Now it’s time for anything else you want to add to your cheeseburger mixture. I like a lot of cheese and the brininess the pickles add. So, I’m going to make sure that’s in my filling.
- Best part about making this, or any other dish, at home is you can make it how you want it. If you’re not crazy about pickles, don’t add them. If you like bacon, add it. To quote a famous burger franchise, “Make it Your Way”!
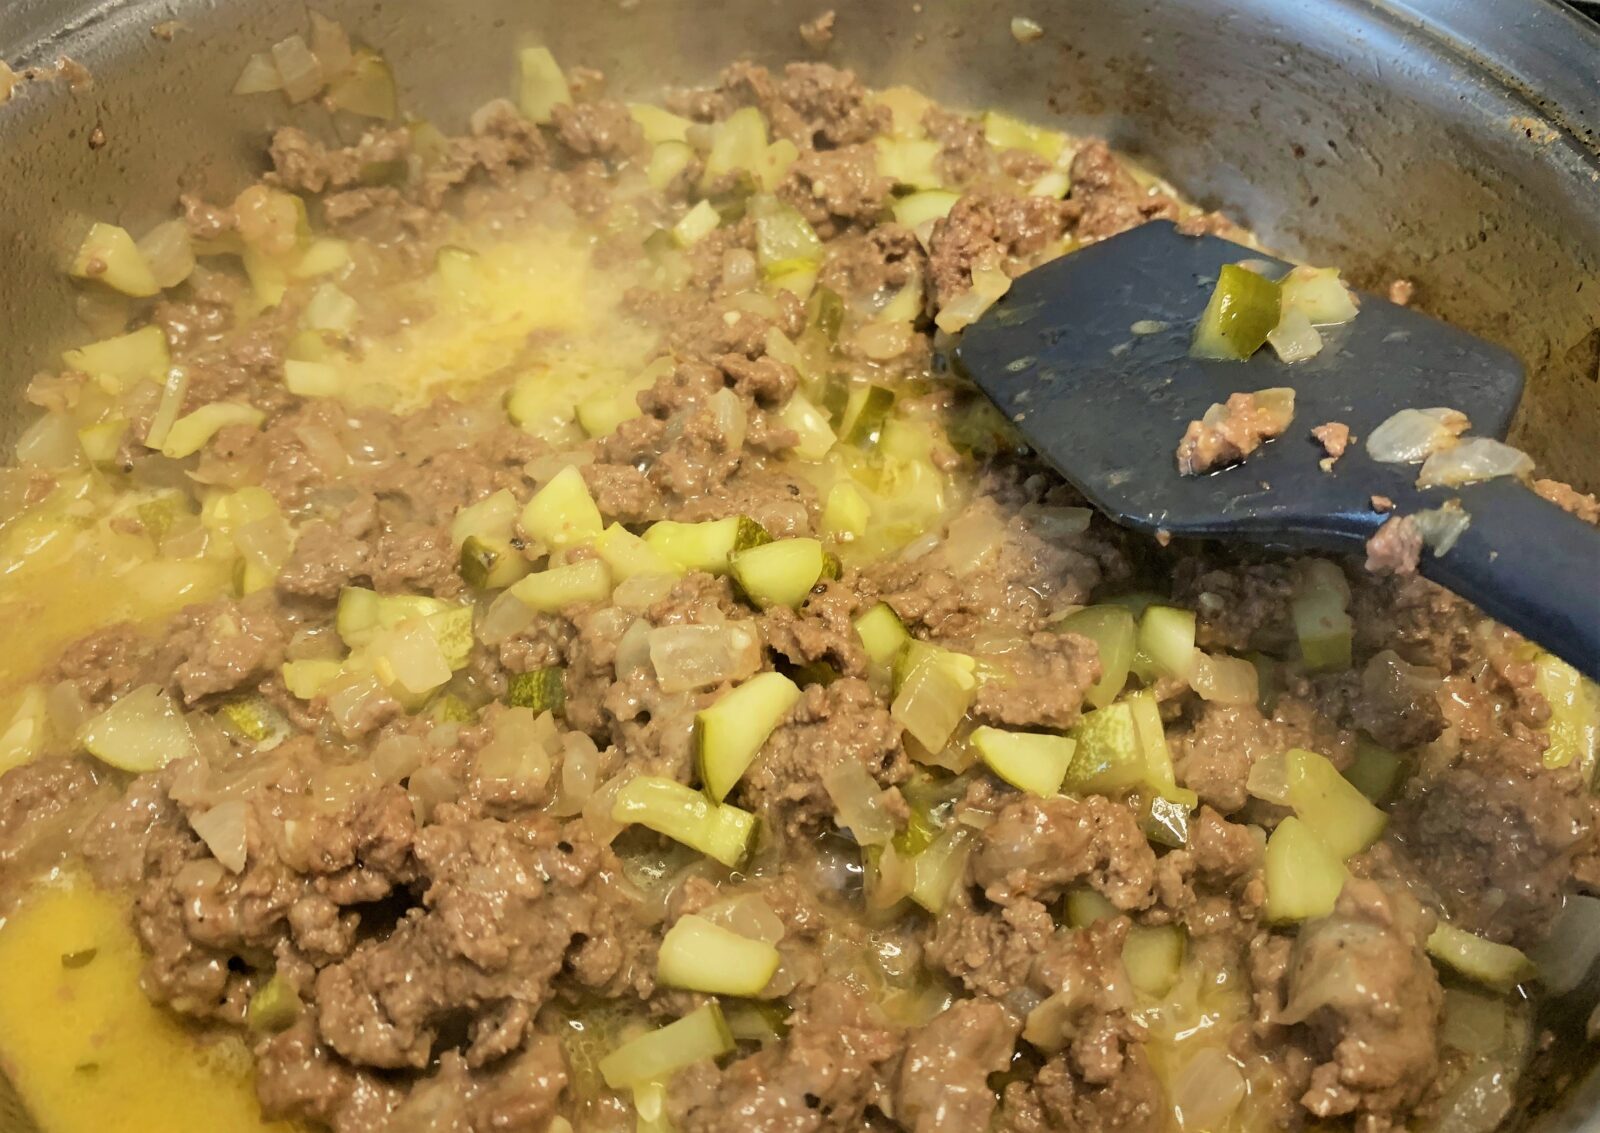
Combine over medium heat until the cheese has melted and is well incorporated within the ground beef mixture. Taste your completed filling and adjust, as necessary, with salt, pepper, more cheese, or whatever you think will make it better.
Once you have the flavor of the filling where you want it, remove from the heat, drain any excess fat and reserve.
Back to the Dough
Once your dough has risen to about double its original size, remove from the bowl and lightly punch it to, sort of, deflate it. Next, you’ll want to segment the dough into equal size portions.
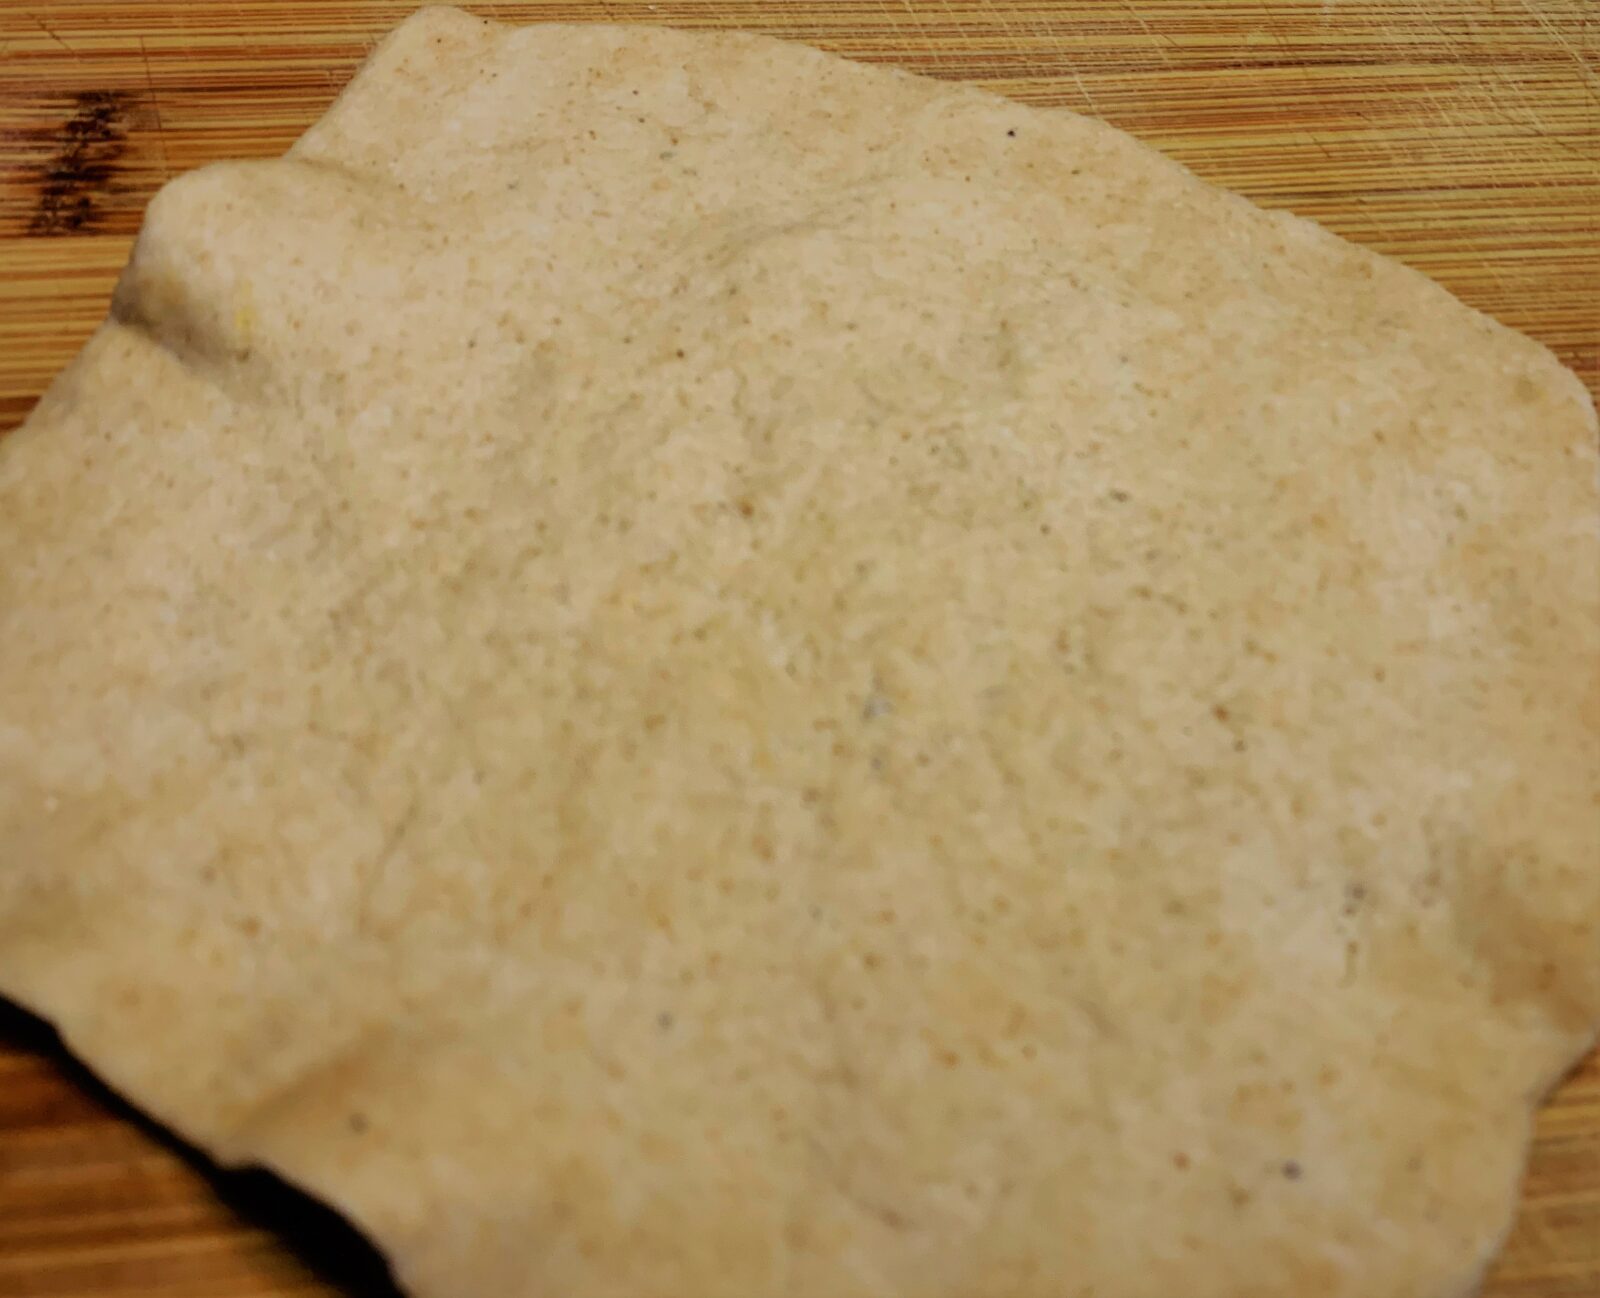
To press out the portions of your dough you’ll want to press each one down with the palm of your hand. You will then gradually work the edges with either your fingers or a small rolling pin until your get the desired thickness.
- It’s somewhat similar to working with pizza dough. Just like with pizza, you’ll want to be careful not to stretch it so much that it tears
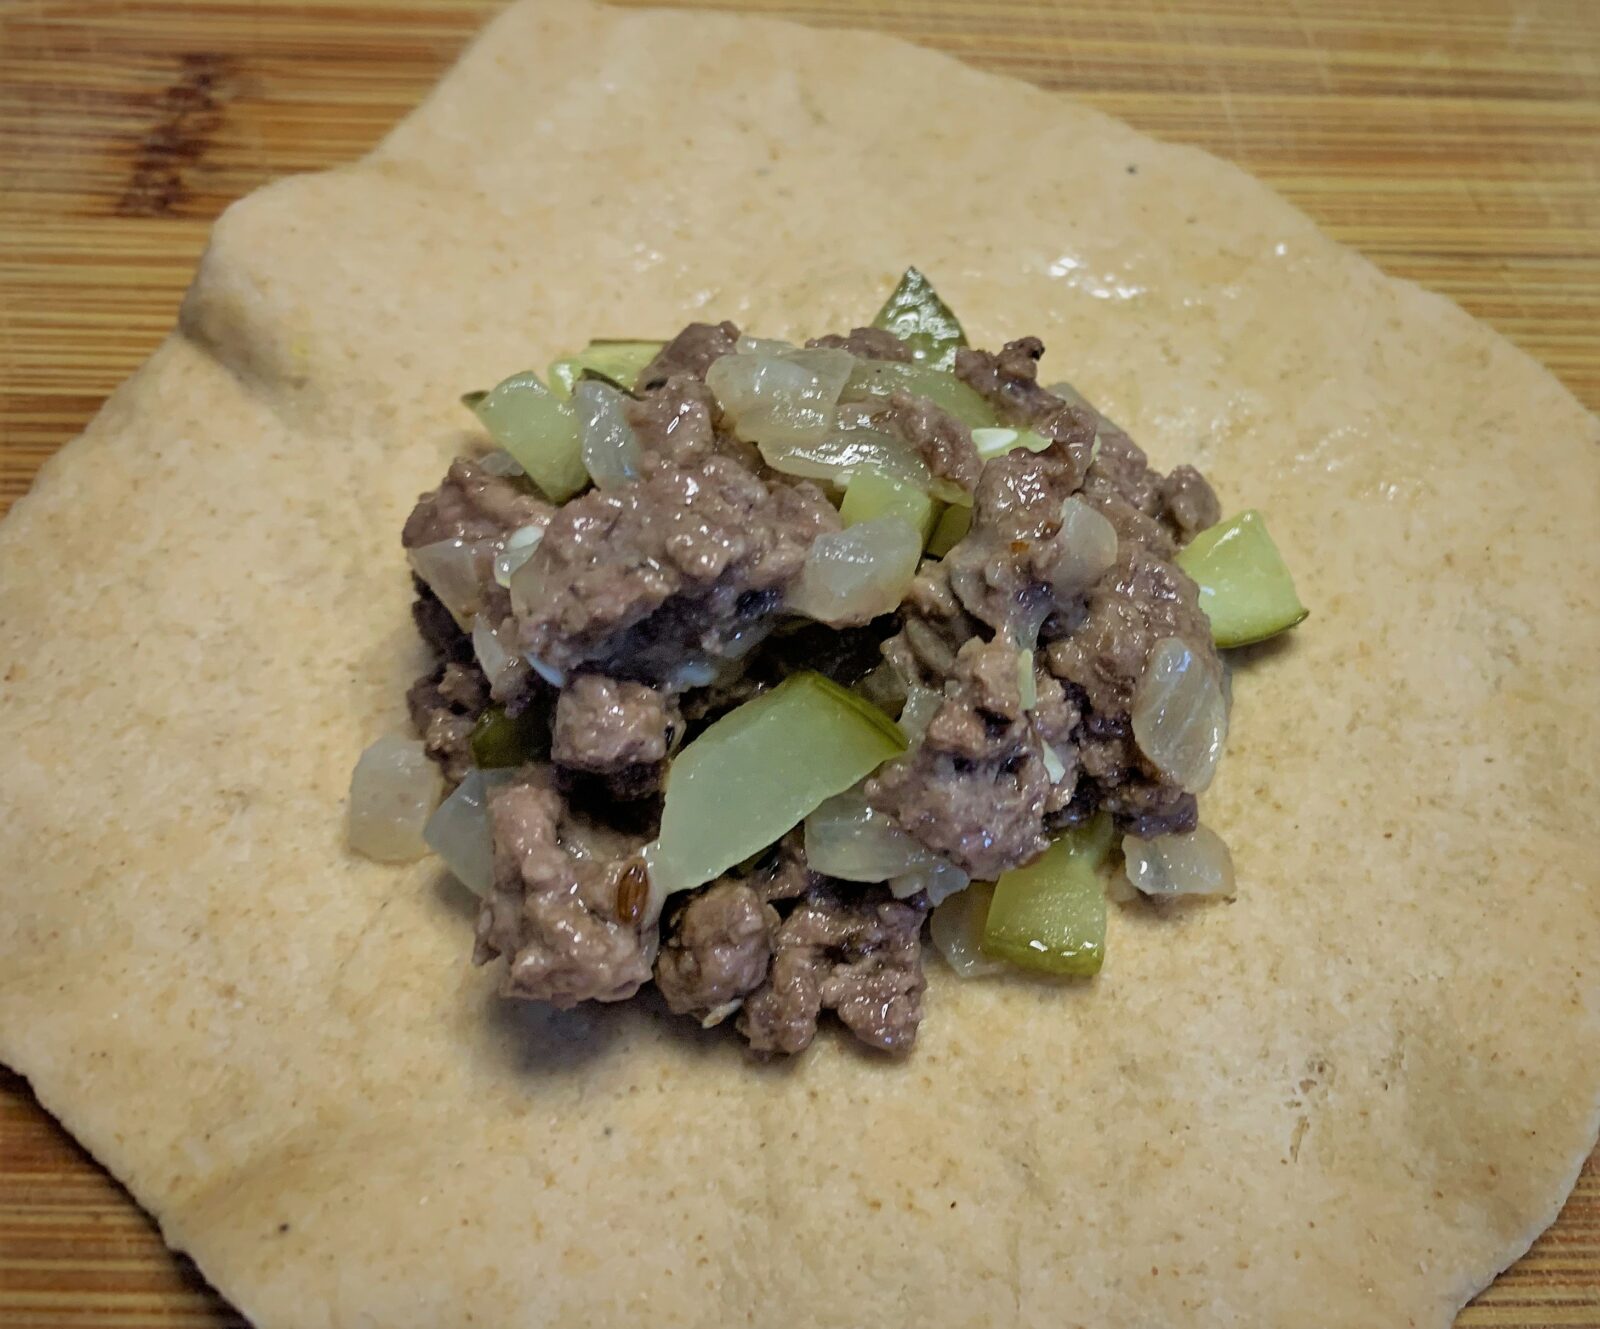
Filling Our Pods
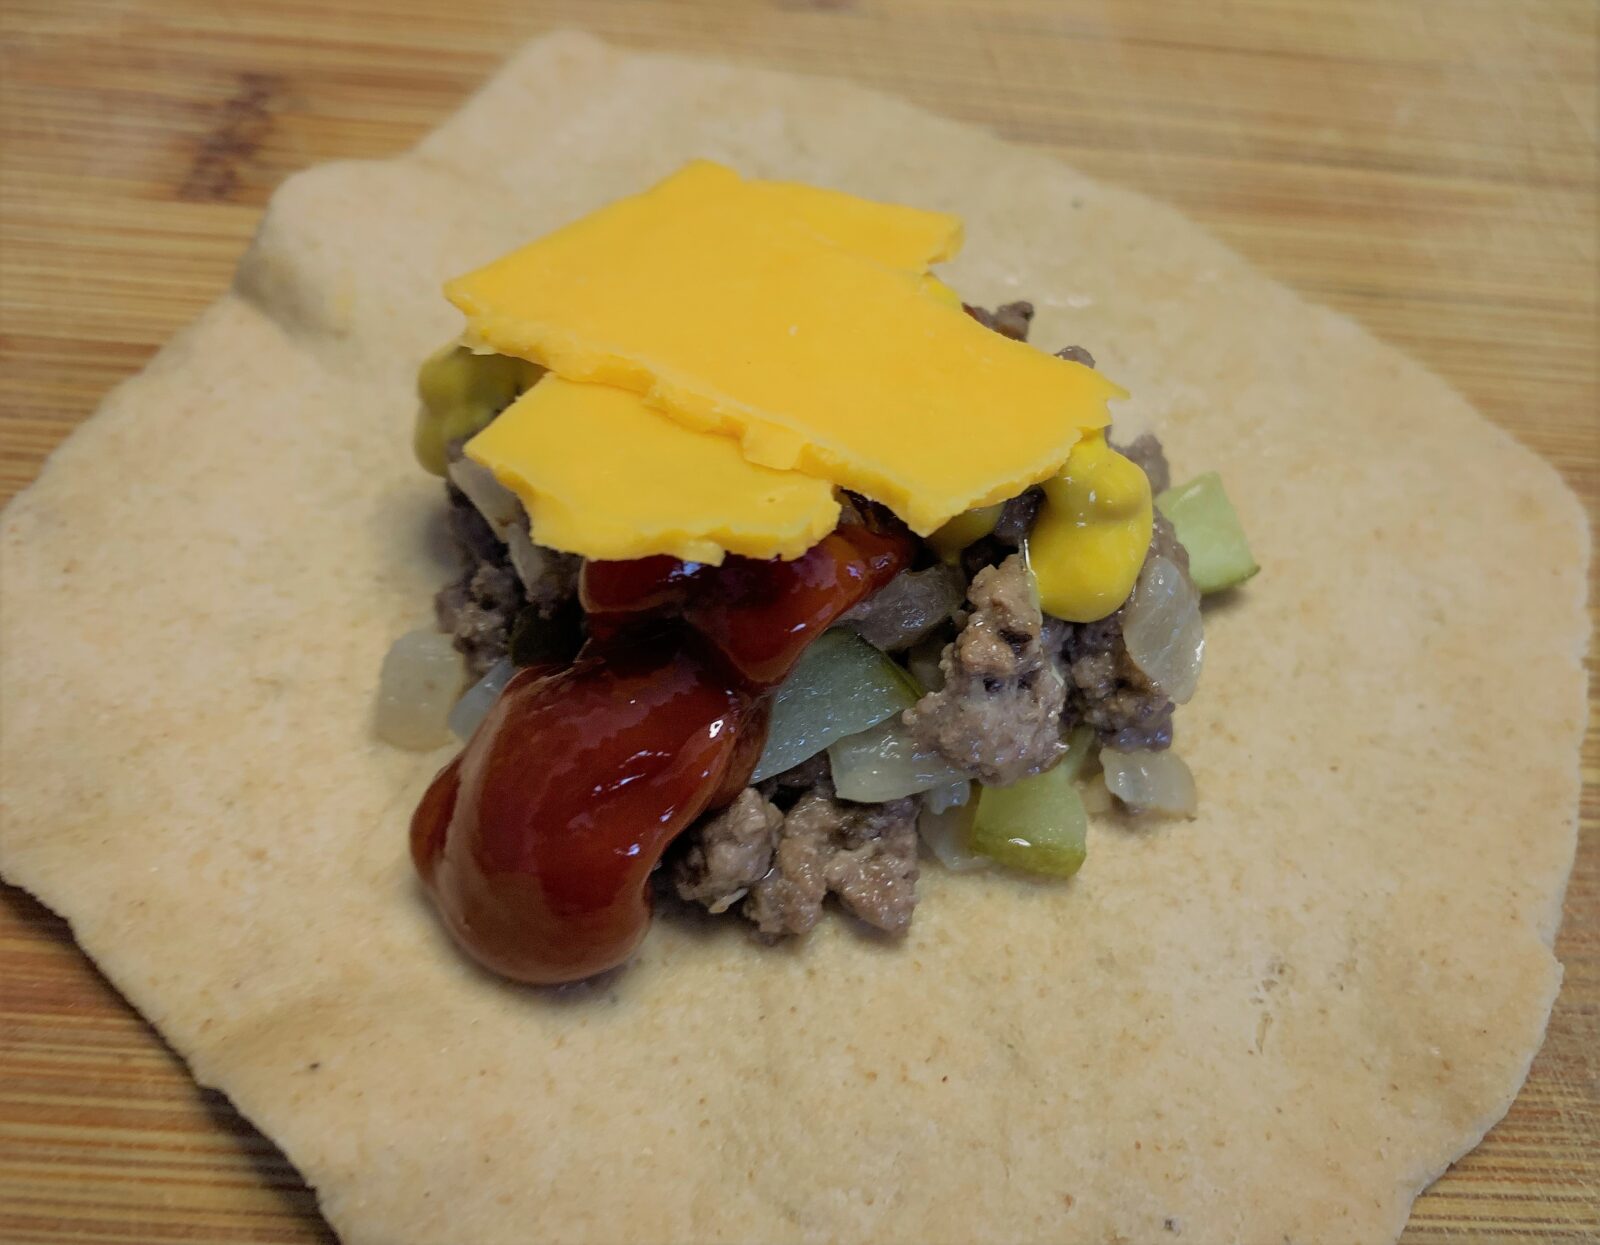
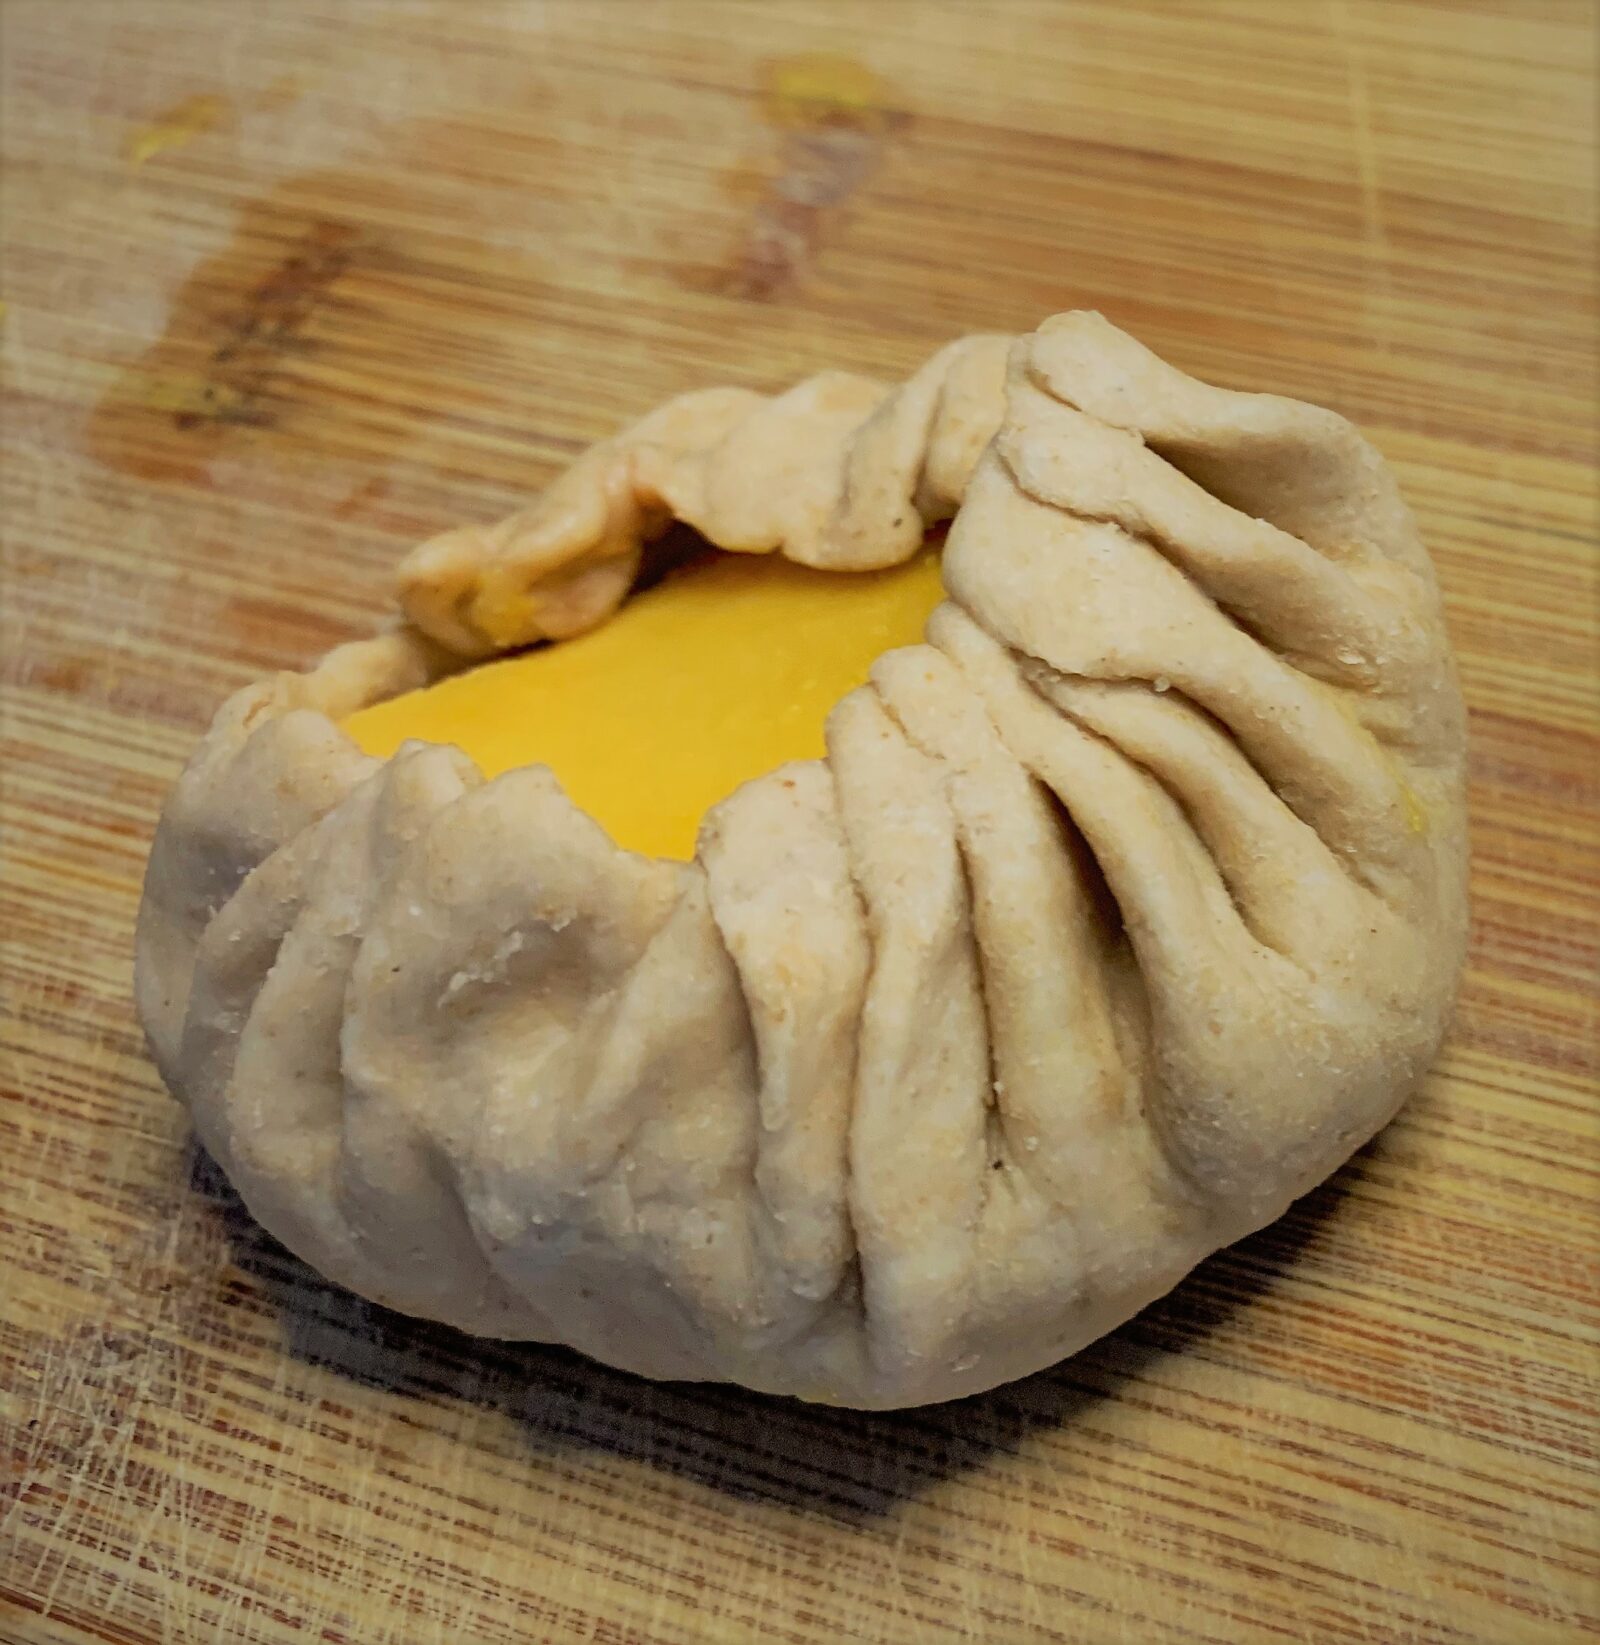
Time to start building our Cheeseburger Pods. Depending on the size of your wrapper, place about 1 1/2 tablespoons of the filling in the center. I wanted mine to taste as much like a cheeseburger as possible so I added about a teaspoon of both ketchup and yellow mustard. I also added another half slice of Sharp Cheddar Cheese. (Have I told you I like cheese?)
Now for the Tricky Part
Just like folding our S.E.A. Shu Mai wrappers, folding and sealing the Cheeseburger Pods is a skill. One that I don’t really excel at. I was able to gradually improve my technique but I have a long way to go before I’ll be doing this professionally. (As you can see in the photo below)
The process is mostly a pattern of pinch and fold, pinch and fold, pinch and fold. Here is a link to a wonderful how to video. (Darn, that person is good! Obviously, I have a long way to go before I can match that ability)
Cooking Time
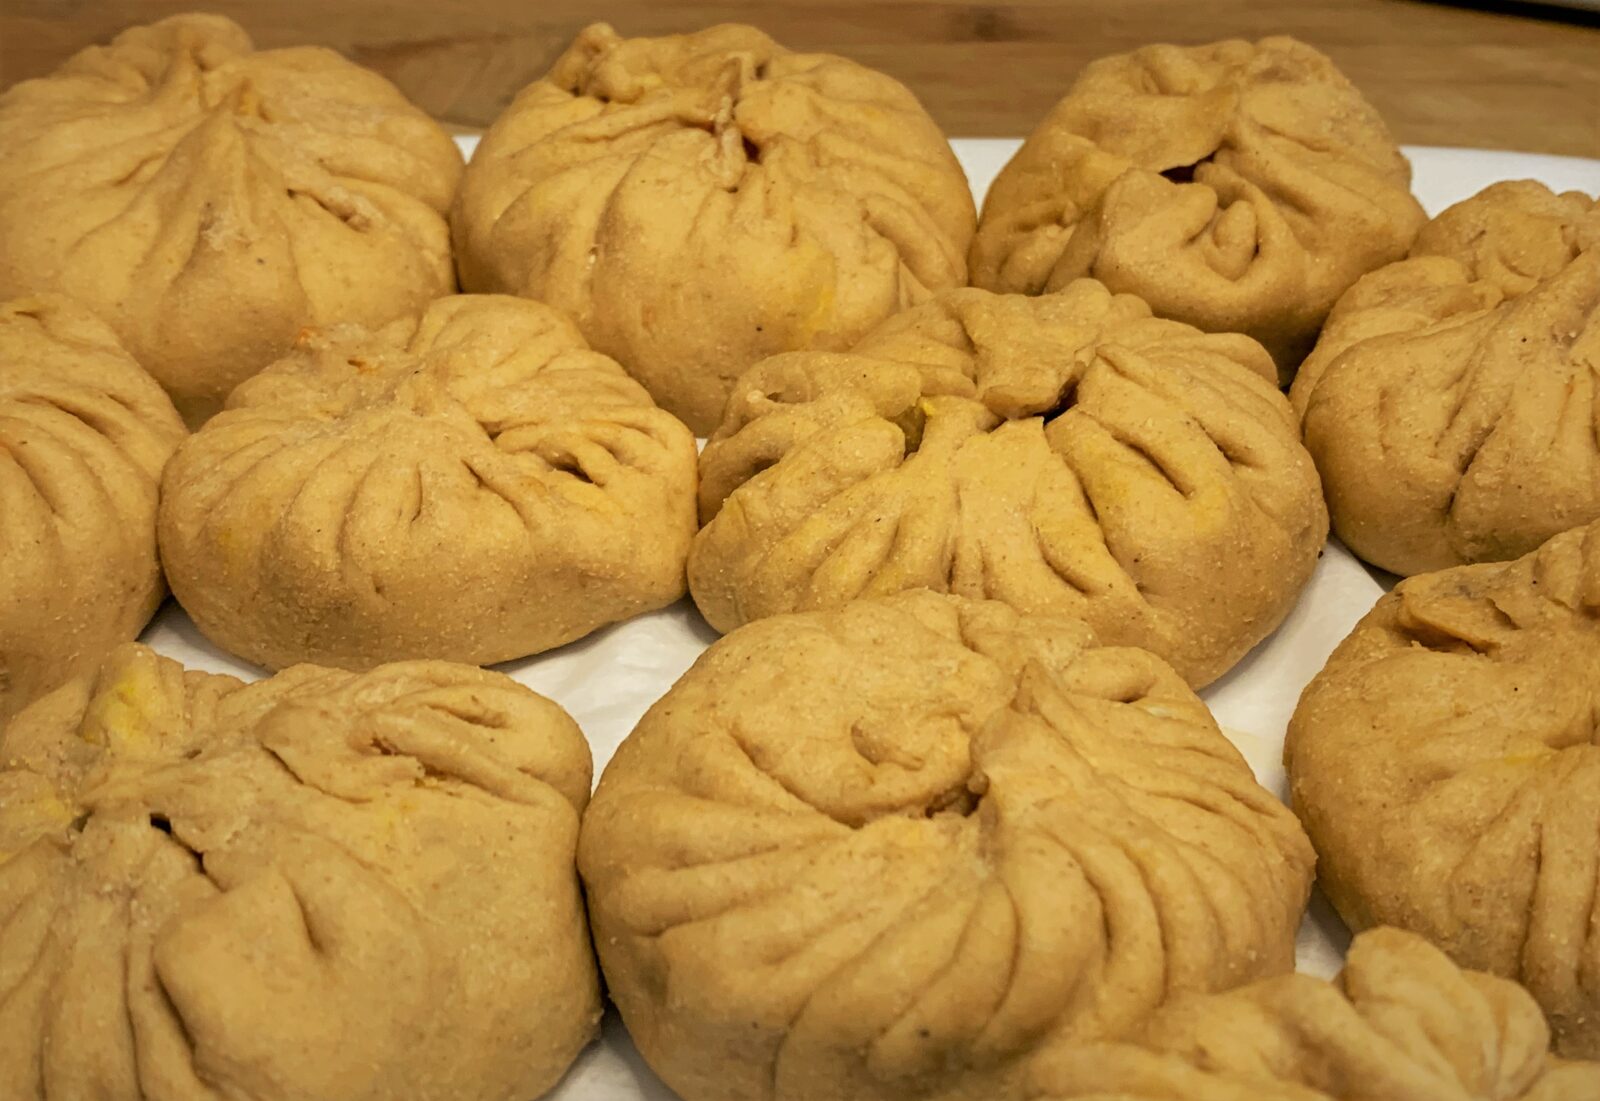
Once you’ve finished pleating your Cheeseburger Pods (hopefully they look better than mine) it’s time to cook them up. Add them to a steamer basket and steam for 15 – 20 minutes. The dough from the pods should firm slightly.
There you have it! Cheeseburger Pods!
The Conclusion
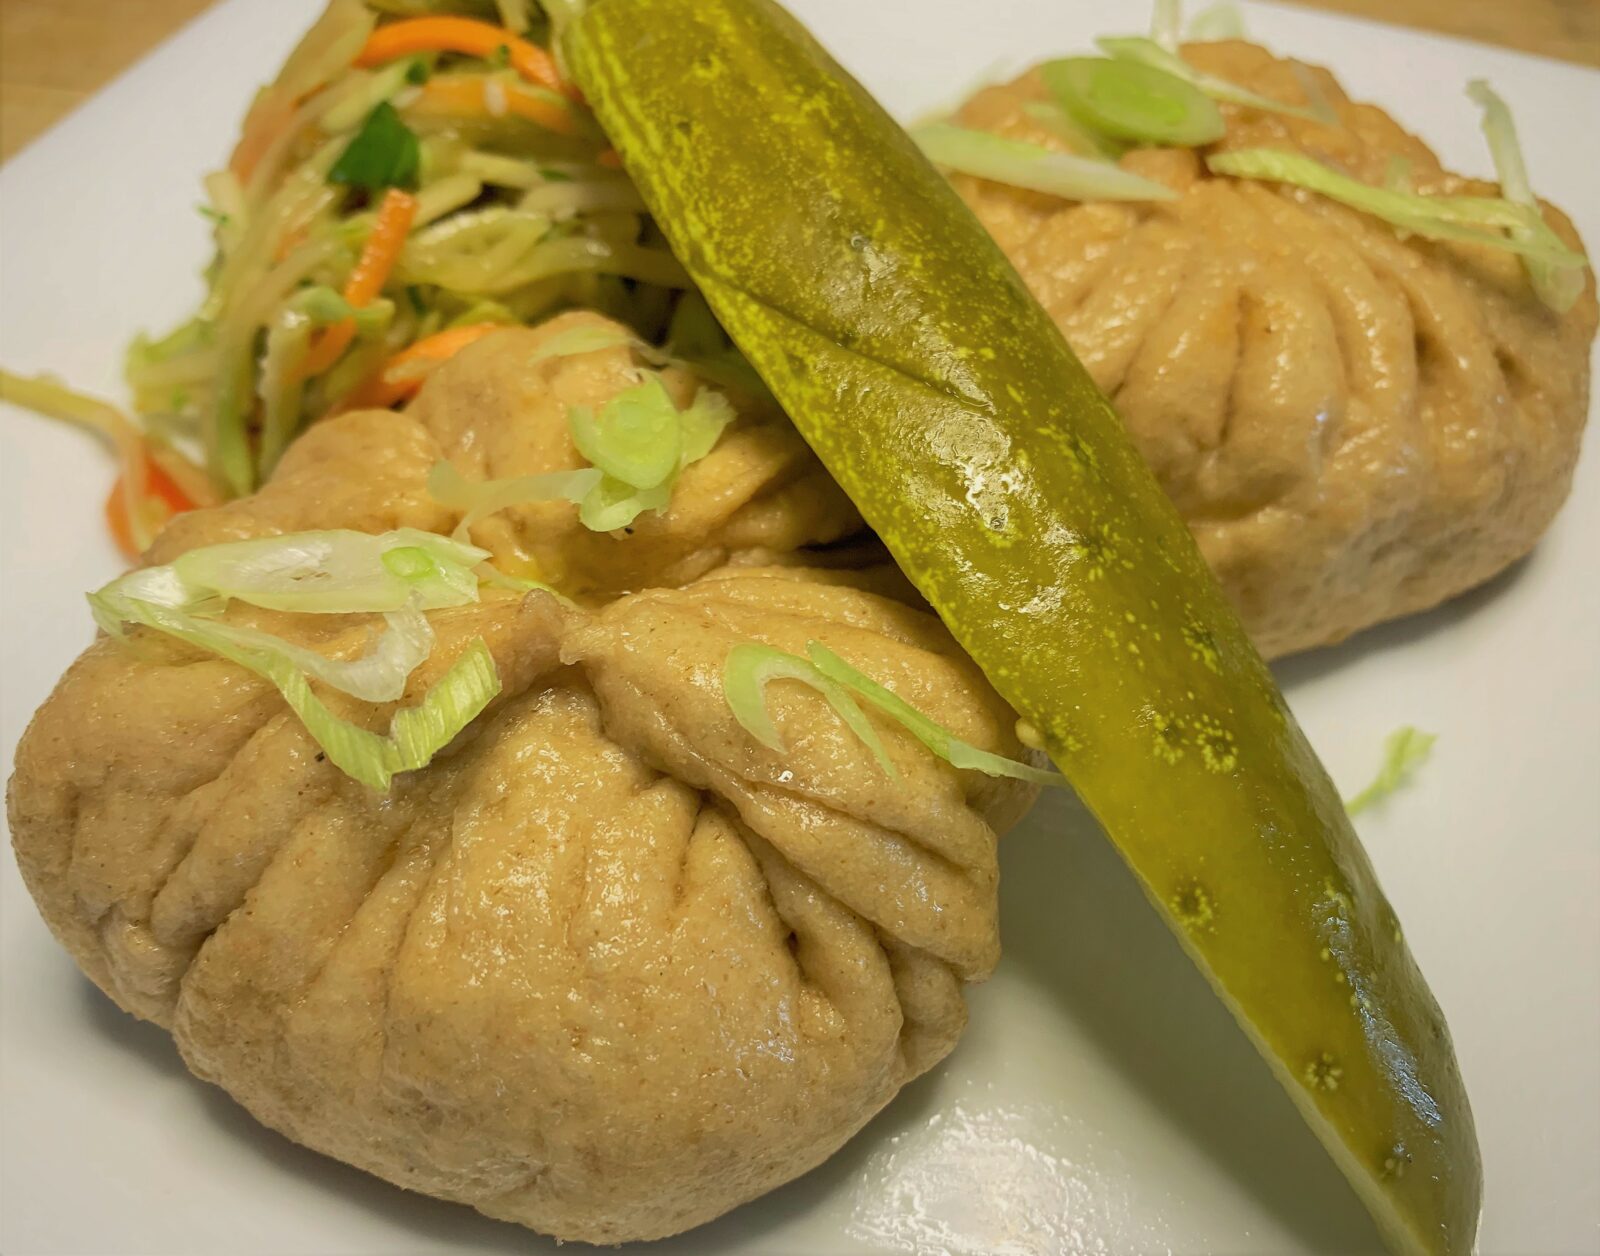
Even though I need to work on my pleating skills, our Cheeseburger Pods taste exactly how you’d expect. You get all the burger goodness you want. The seasoned beef, onion, pickle, ketchup, mustard and, of course, the cheese (did you know I like cheese?) all shine through. They’re all sealed up in this wonderful, doughy little pouch. It’s a fantastic Disney Dish.
Make this Disney Dish soon! (Just do a better job pleating than I did)
If you have any questions about this or any of our recipes, just hit us up below in the comments. You can also reach us through our Contact Us page or through email.
Cheeseburger Pods from Satu’li Canteen
Makes 10 – 12 Pods
For the Dough
- 300 g – All – Purpose Flour
- tsp – Active Dry Yeast
- tsp – Granulated Sugar
- 1/8 tsp – Kosher or Sea Salt
- 145 ml – Warm Water
- tbls – Cooking Oil
For the Filling
- 1 tbls – Cooking Oil
- lb – Ground Beef
- 1/2 – Yellow Onion – Diced
- 8 oz – Cheddar Cheese – Cubed
- 1 – Pickle – Diced
- Kosher or Sea Salt & Freshly Ground Pepper – To Taste
- 1/4 cup – Ketchup
- 1/4 cup – Yellow Mustard
- 6 slices – Sharp Cheddar Cheese
Instructions
For the Dough:
- Add the yeast and sugar to the warm water and stir to dissolve. Let stand for approximately 5 minutes to activate the yeast
- Add the All-Purpose Flour and Salt to a large bowl
- Gradually add the yeast & water mixture to the flour and mix to combine until the dough is formed
- Turn the dough out on a cutting board and hand-knead for 10 – 15 minutes, until the dough becomes smooth
- Add half the oil to a large bowl, coating the sides
- Place the dough in the oiled bowl and cover lightly with the remaining oil. Cover the bowl with a towel and place in a warm place in the kitchen
- Allow the dough to rise until about doubled in size, 60 – 90 minutes
For the Filling
- Place a large pan over medium-high heat and add the oil
- Add the onions and sweat until translucent and lightly browned on the sides
- Next, add the ground beef, salt and pepper and cook until fully browned
- Lower the heat to medium and add the cubed cheese and pickles. Stir in until combined and the cheese has completely melted
- Remove the filling from heat, drain the excess fat and reserve
For the Pods
- Once the dough has risen to double in size, punch down and divide into equally sized portions
- Roll out the portioned dough using a small rolling pin or by pressing with your finger tips
- Add about 1 1/2 tablespoons of the filling to the center of the wrapper
- Top the filling with the desired amount of ketchup, yellow mustard and cheddar slices
- Pleat the pods by pinching and folding all the way around then seal the top
- Place the fully pleated pods in a steamer basket and steam for 15 – 20 minutes
- Serve immediately
Be sure to check out our other Disney Dishes
Lobster Nachos from Lamplight Lounge
Cocoa Brownies with Browned Butter
S.E.A. Shu Mai from Jungle Navigation Company LTD Skipper Canteen
Hoisin Sticky Spare Ribs from Morimoto Asia