It shouldn’t be a surprise to anyone that we are chocolate lovers. I’m sure if you’re reading this, you are as well. One of our favorite, decadent chocolate treats is the Molten Chocolate Cake. You may also know it as a Chocolate Lava Cake or the Chocolate Explosion of Love. (Maybe that’s just me) Whatever you call it, if you’ve had it, you know how delicious it can be.
At different times, you can find it at various Disney restaurants and or, perhaps, on a Disney Cruise. The recipe they use, however, isn’t my favorite. Those recipes, usually, require slightly under-cooking the cake which provides the molten filling. While effective, I don’t find it to be the best way to accomplish this goal. You have be very careful on the timing of when to take your cake out of the oven. If you slightly overcook it, you won’t get that lovely molten filling that makes this cake special.
My recipe, on the other hand, is much more forgiving. (I’d also argue it’s richer and more delicious) I use a Chocolate Ganache Filling that ensures that ooey, gooey (technical cooking term) chocolate explosion you look forward to.
The other great thing about this recipe is you can prepare it just to the point prior to cooking up to a week in advance. Since you will only need to pop it in the oven for about 15 minutes before serving, it’s a perfect “wow” dish for entertaining,
- Also, because this dish can be created up to a week in advance, I suggest doubling this recipe so you can have it multiple times. It really isn’t that much more work and, once you’ve had it, you’re going to want it again. Possibly as soon as you put down the fork from the first one.
Enough talking!
Let’s Get This Volcano Erupting!
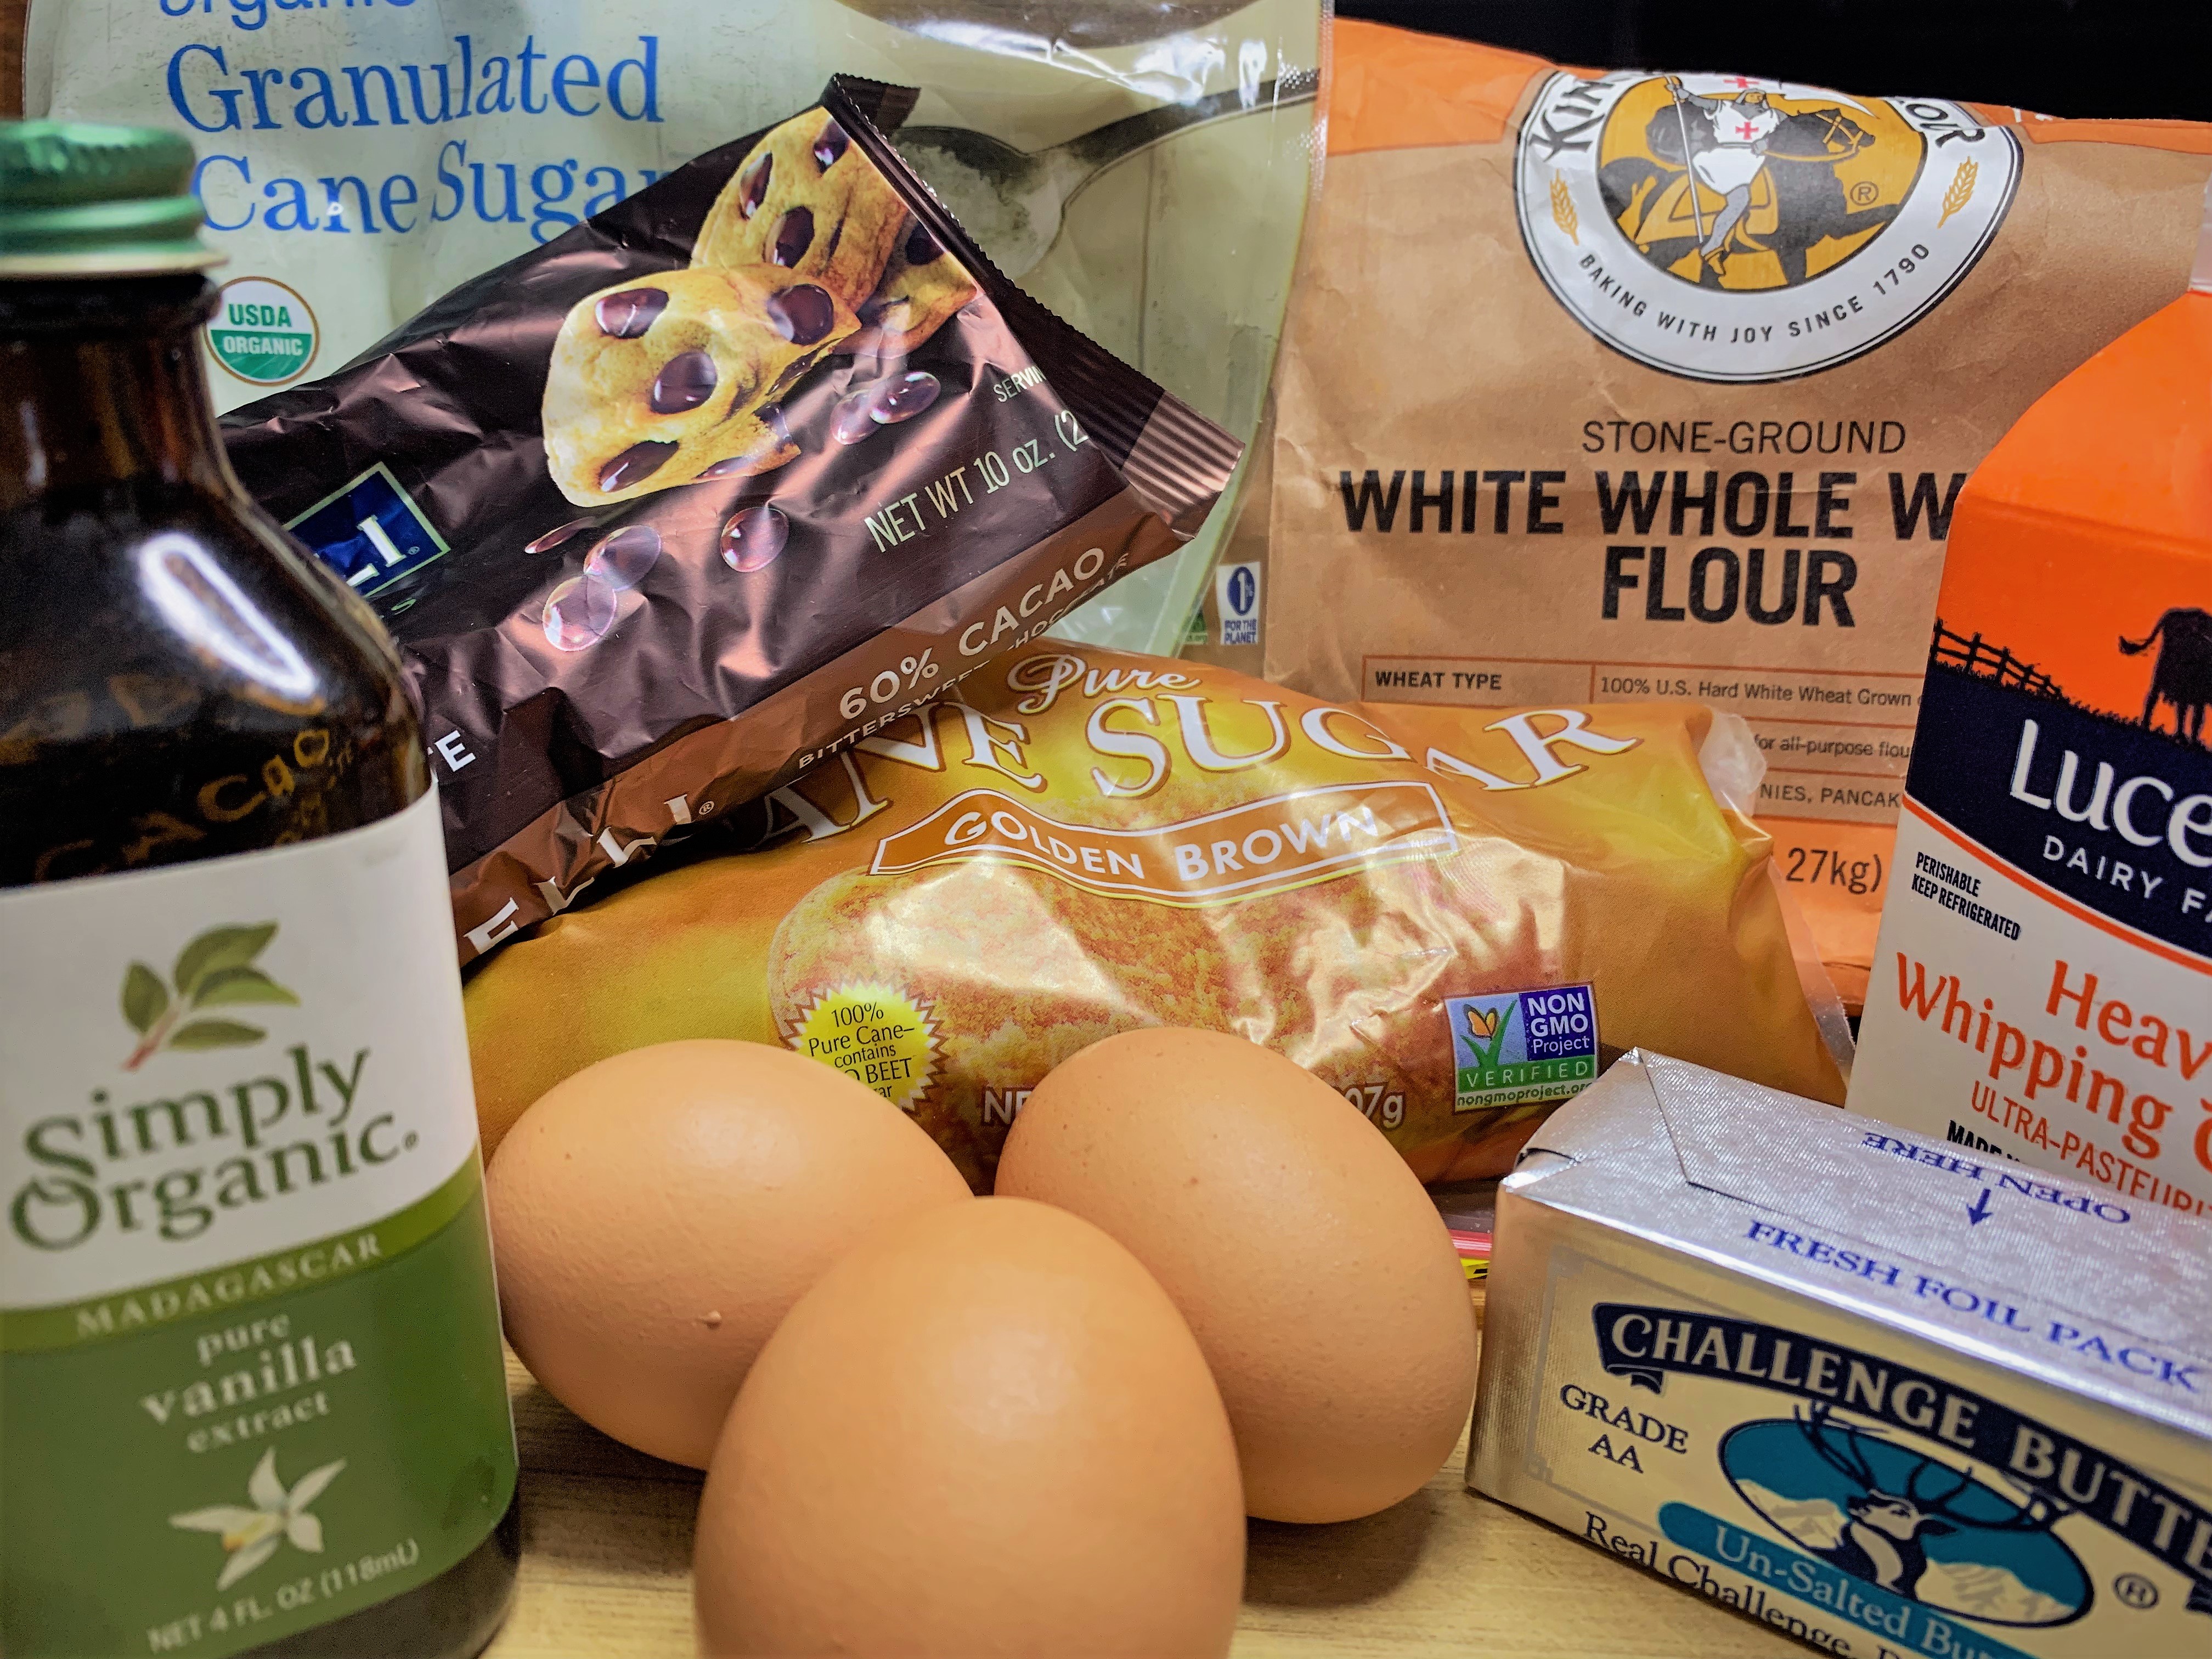
Our Ingredients
The shopping list for out Molten Chocolate Cake is a very simple one. All of these items are very easy to find in your local grocery store and many are probably already in your pantry and/or refrigerator. Since, obviously, the focus of this dish is chocolate, I splurged a little bit and purchased Ghiradelli brand semi-sweet chips for this recipe. You can also use traditional baking chocolate, just be sure to chop it into small pieces to ensure it melts smoothly.
Our Filling
The first thing you will need to create for your Molten Chocolate Cake is the part of the dish that will end up being your lovely chocolate “lava”. It’s a basic Chocolate Ganache which is a simple but versatile component that can be used in many different desserts. As a matter of fact, we used it as an icing for our Peanut Butter Blondies we made a few weeks ago.
As I said, the process for making the Chocolate Ganache is pretty simple. Place 2 ounces of the Chocolate Chips (or chopped chocolate) into a small bowl. Meanwhile, heat the Heavy Cream in a small sauce pan over medium heat. Once it just reaches the boiling point, remove the cream from the heat and immediately pour over the chocolate. Stir until the chocolate has completely melted and the mixture is smooth. Then place the bowl in your refrigerator to chill for at least 1 hour.
Be Prepared!
Has your Chocolate Ganache chilled for, at least, an hour? Great! It’s time to get to work on the cake portion.
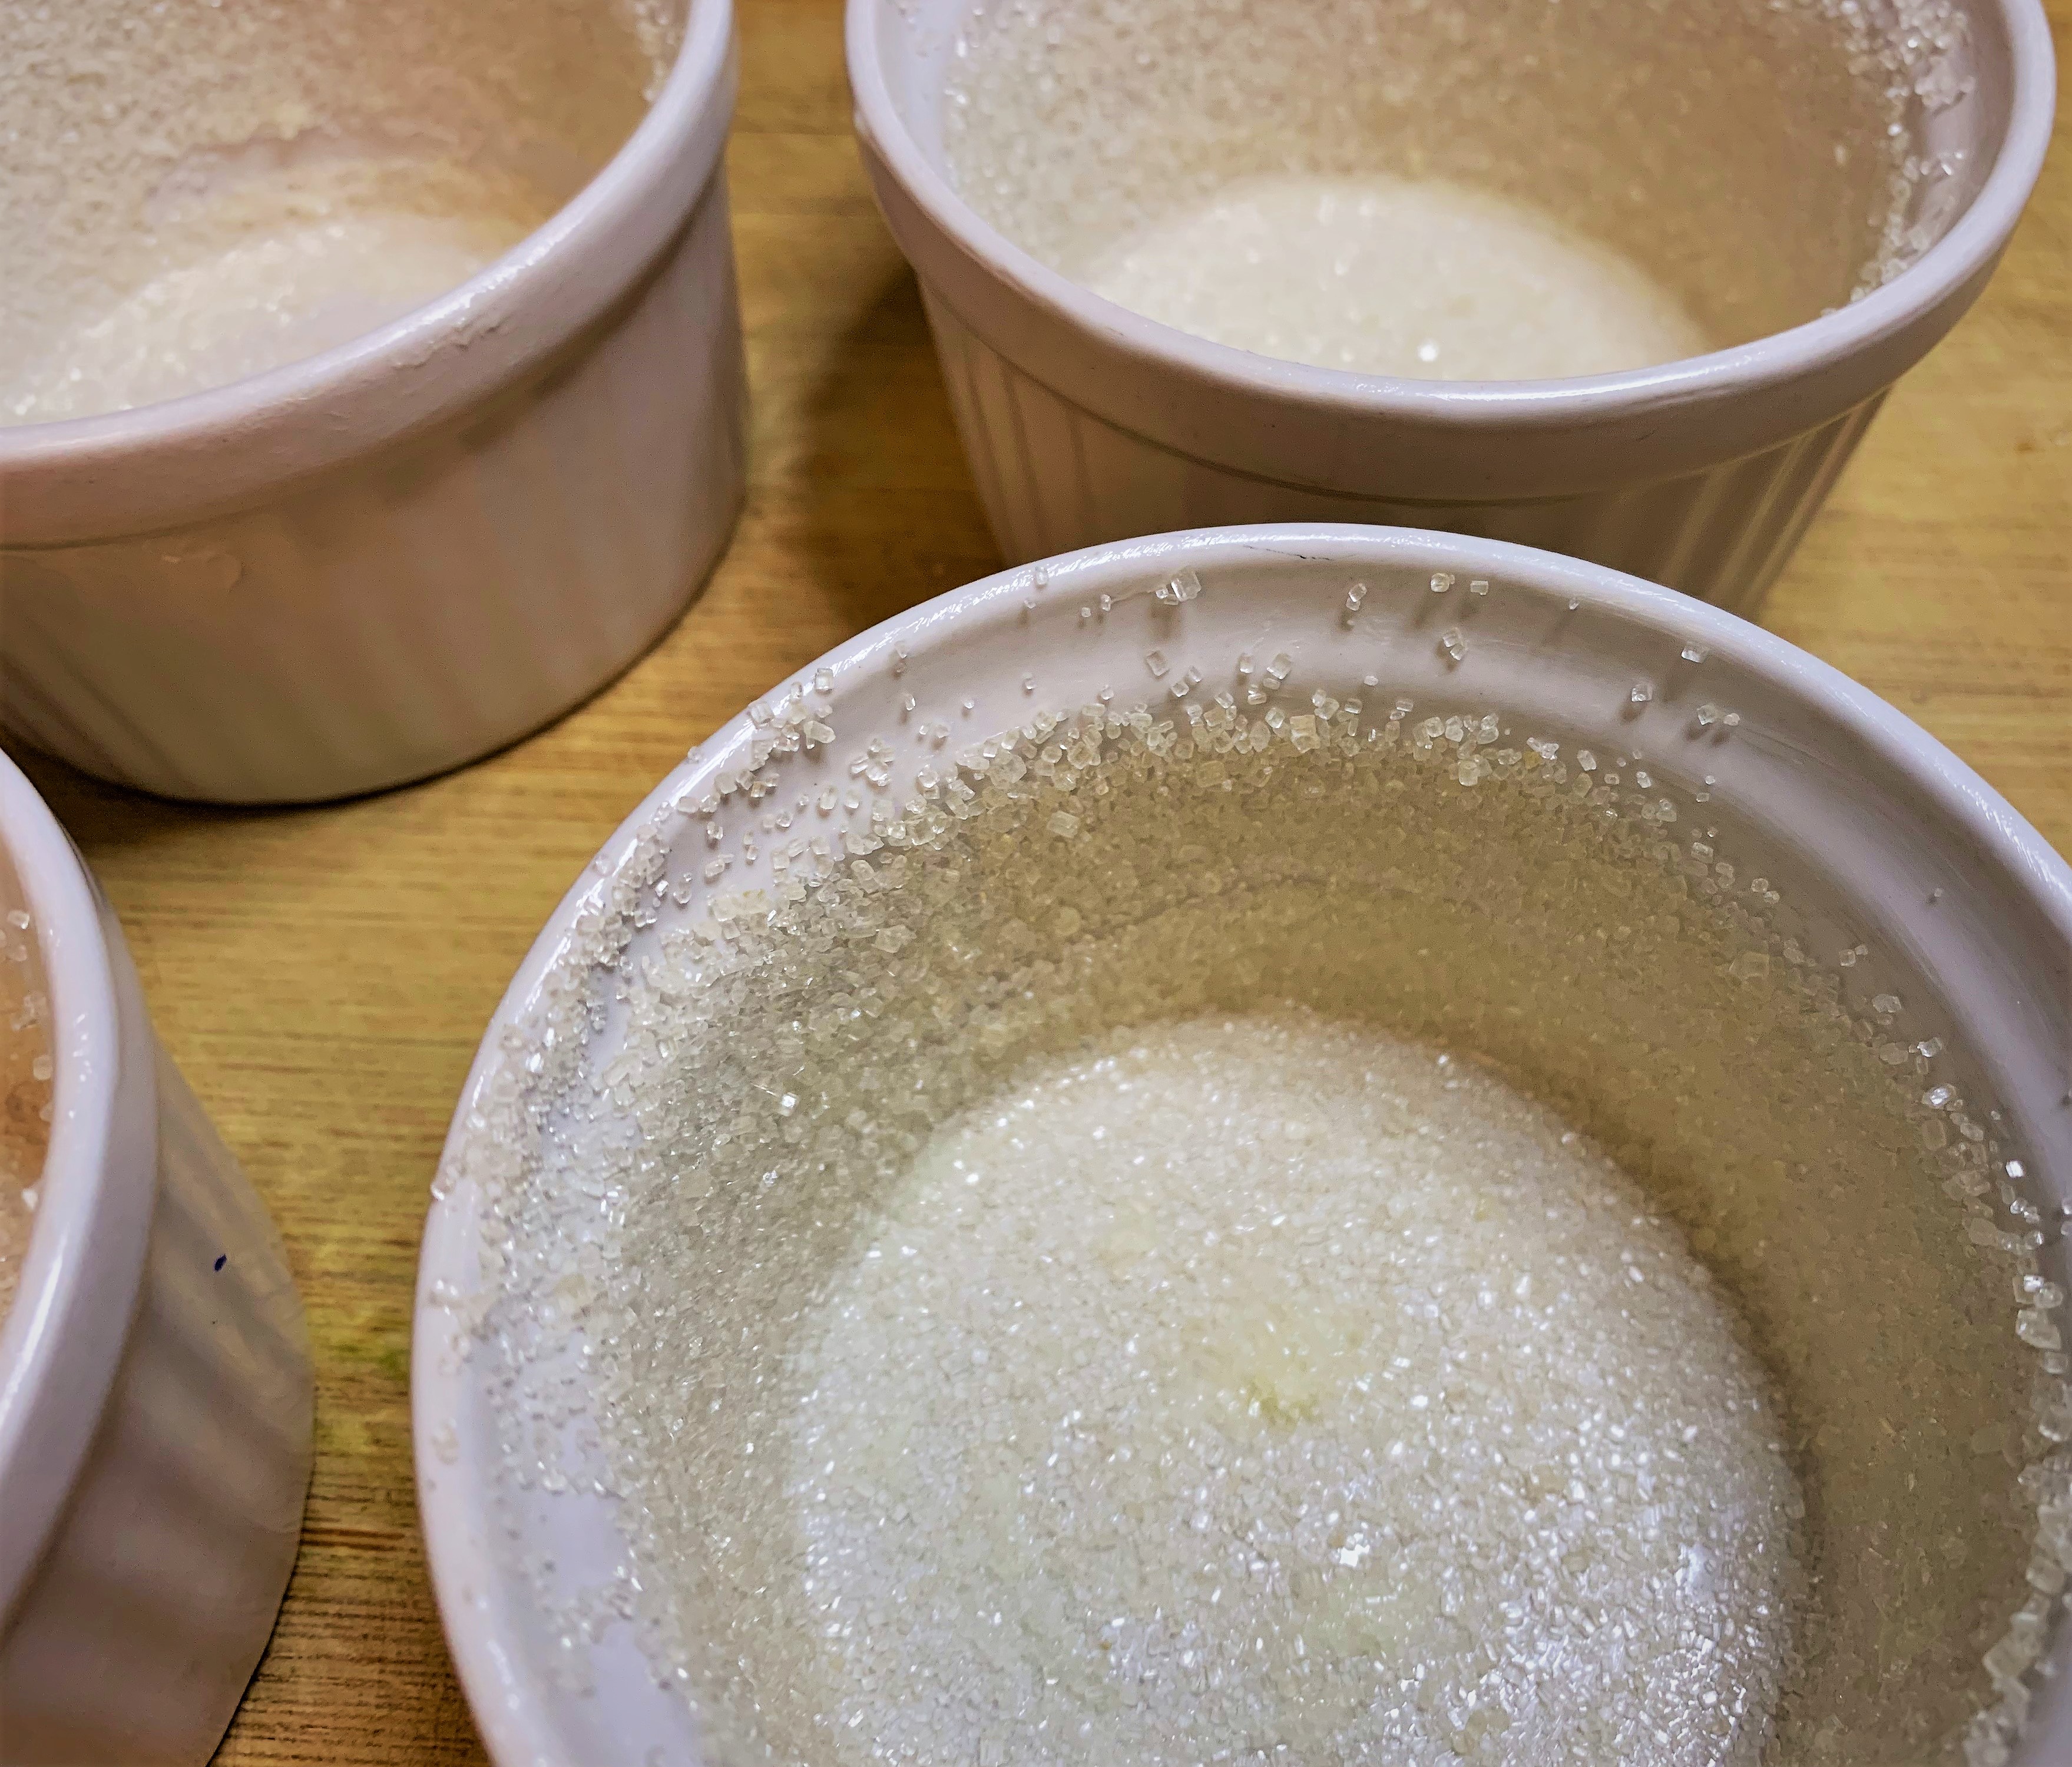
To start, you will need to prepare 4 ramekins.
- If your kitchen doesn’t happen to have ramekins, you may be able to find them right in your local grocery store. If you don’t have luck tracking them down there, you can certainly find them online or in most department or big box stores. Finally, if you don’t have time for that (or forget to buy them like I, probably, would), you can use oven safe coffee or tea cups in their place.
The process for this is similar to preparing a traditional cake pan but we’re going to replace the flour with sugar. To do this, you’ll take the extra Unsalted Butter mentioned in the ingredients list and coat the inside of the ramekins. Next, add the Raw Sugar and cover the inside, shaking out any extra that remains. The result should look similar to the photo above.
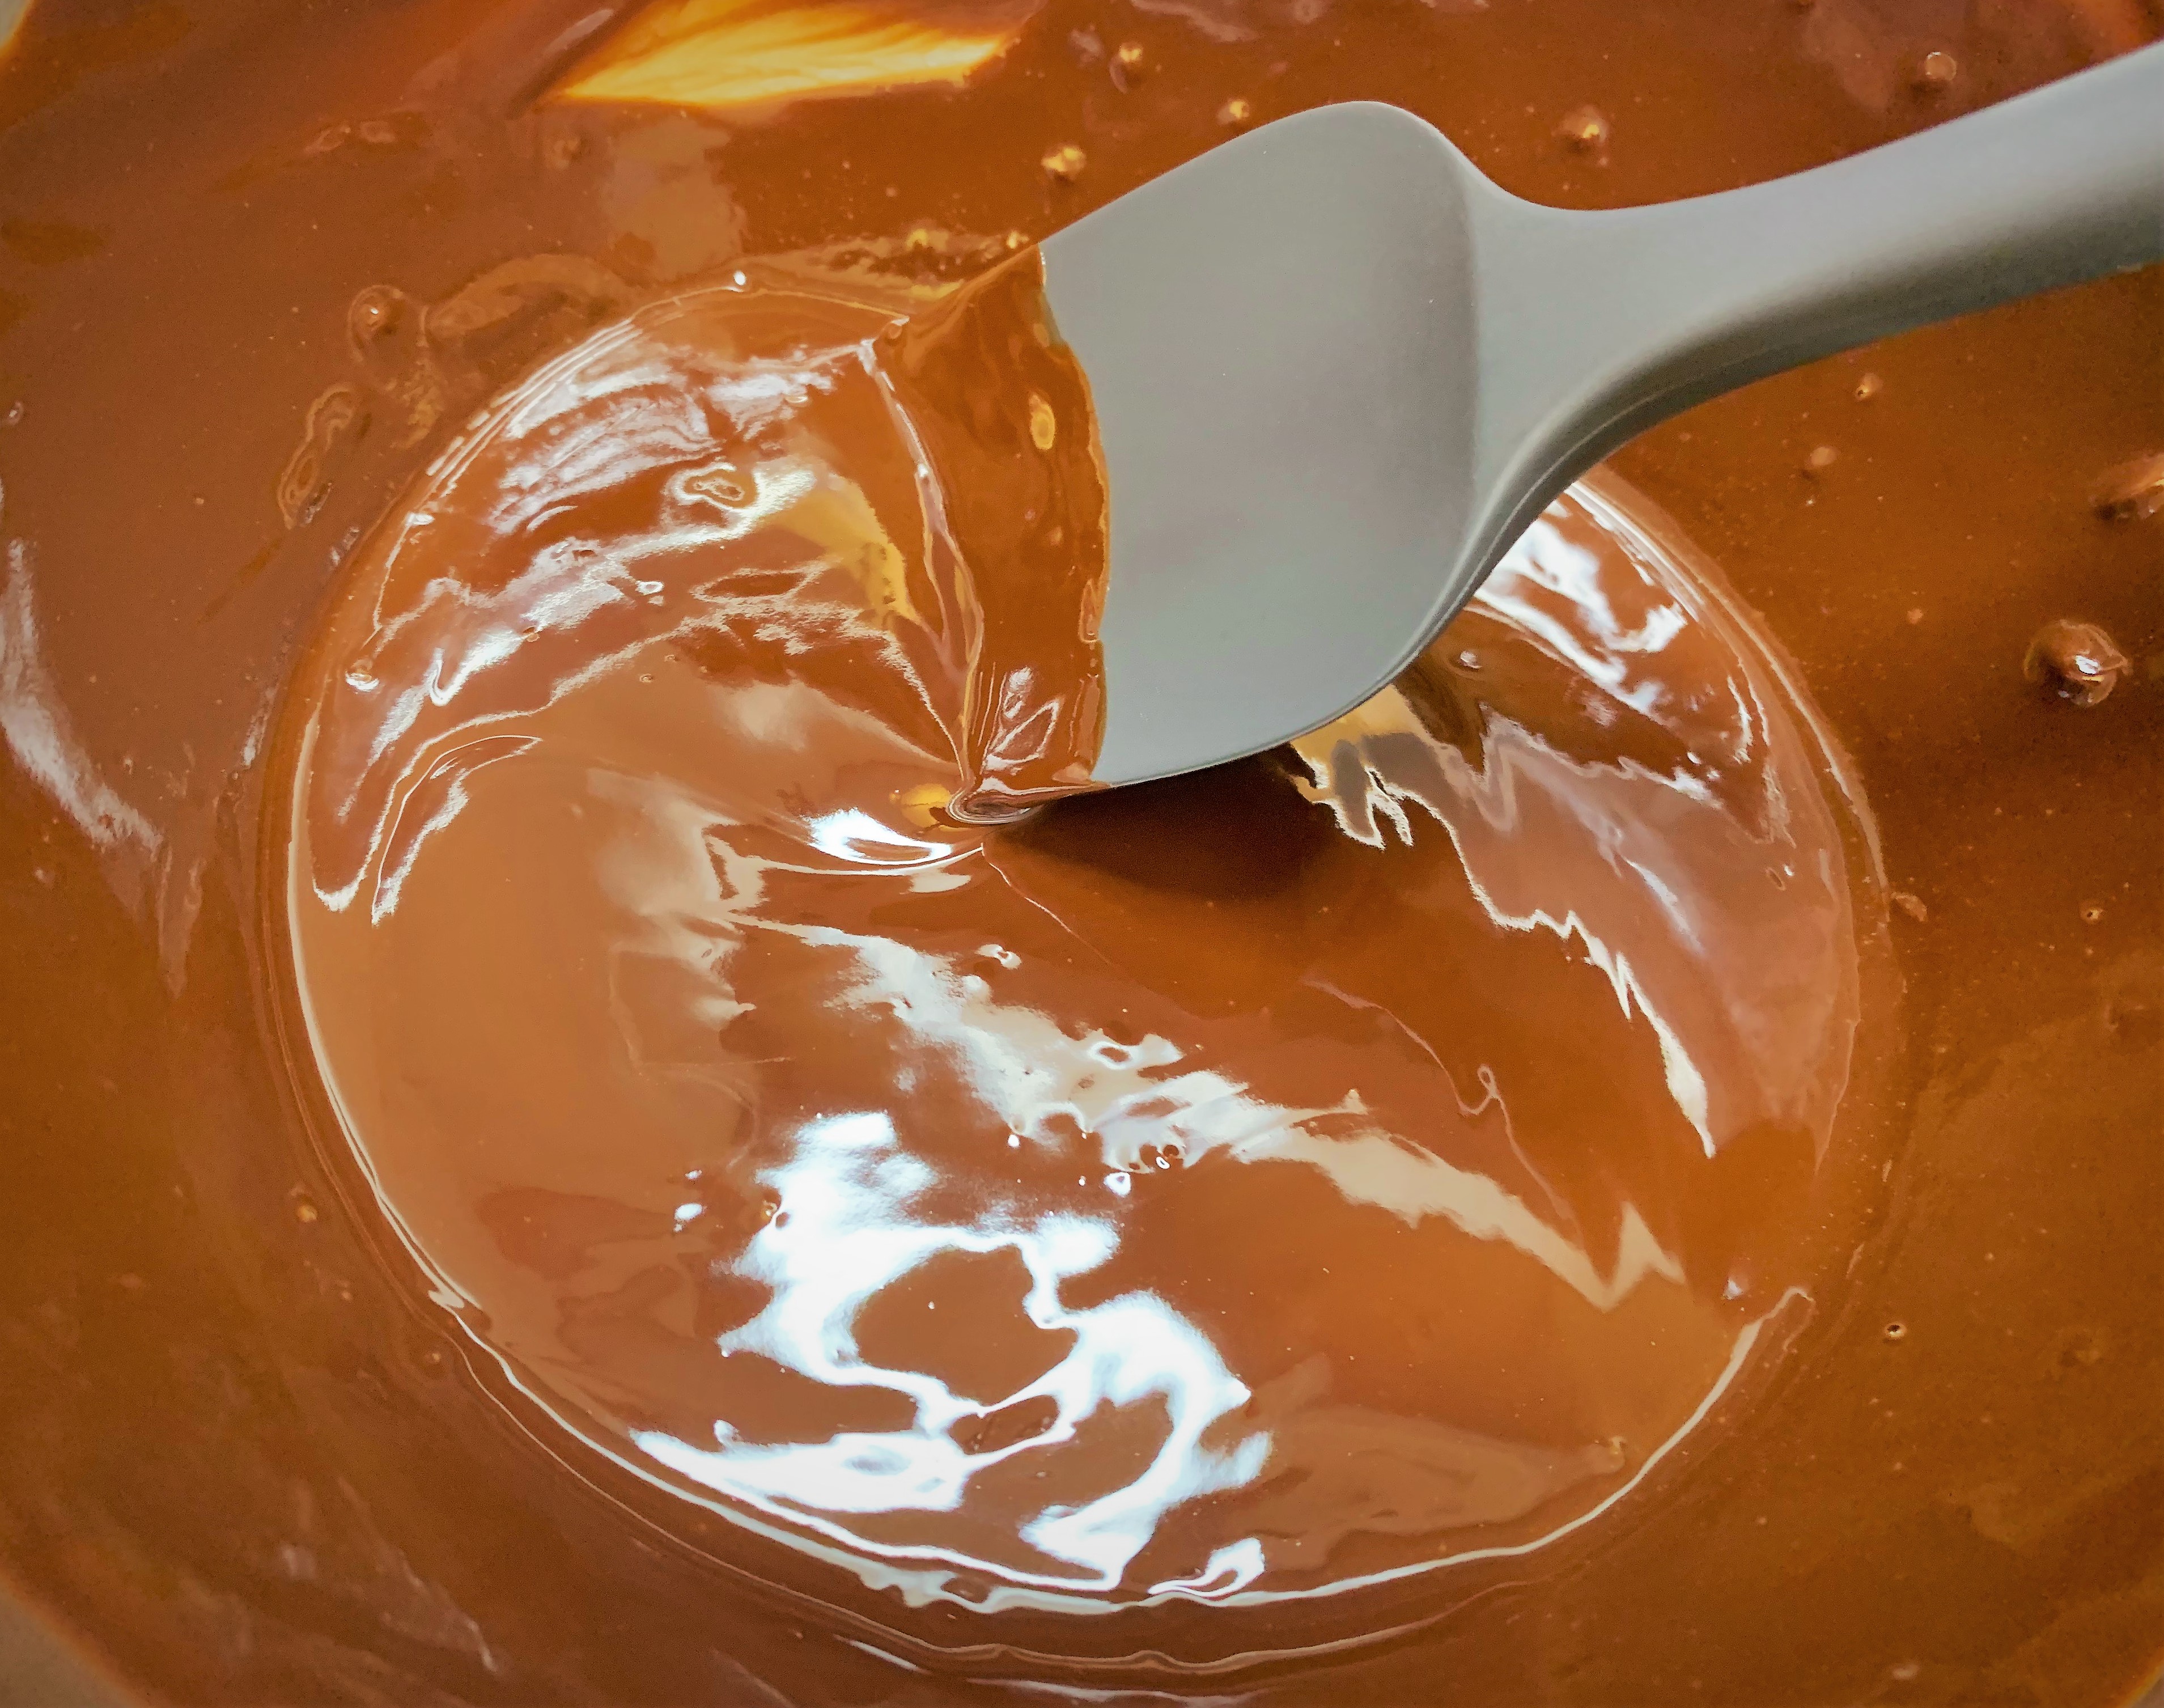
More Chocolate is a Good Thing
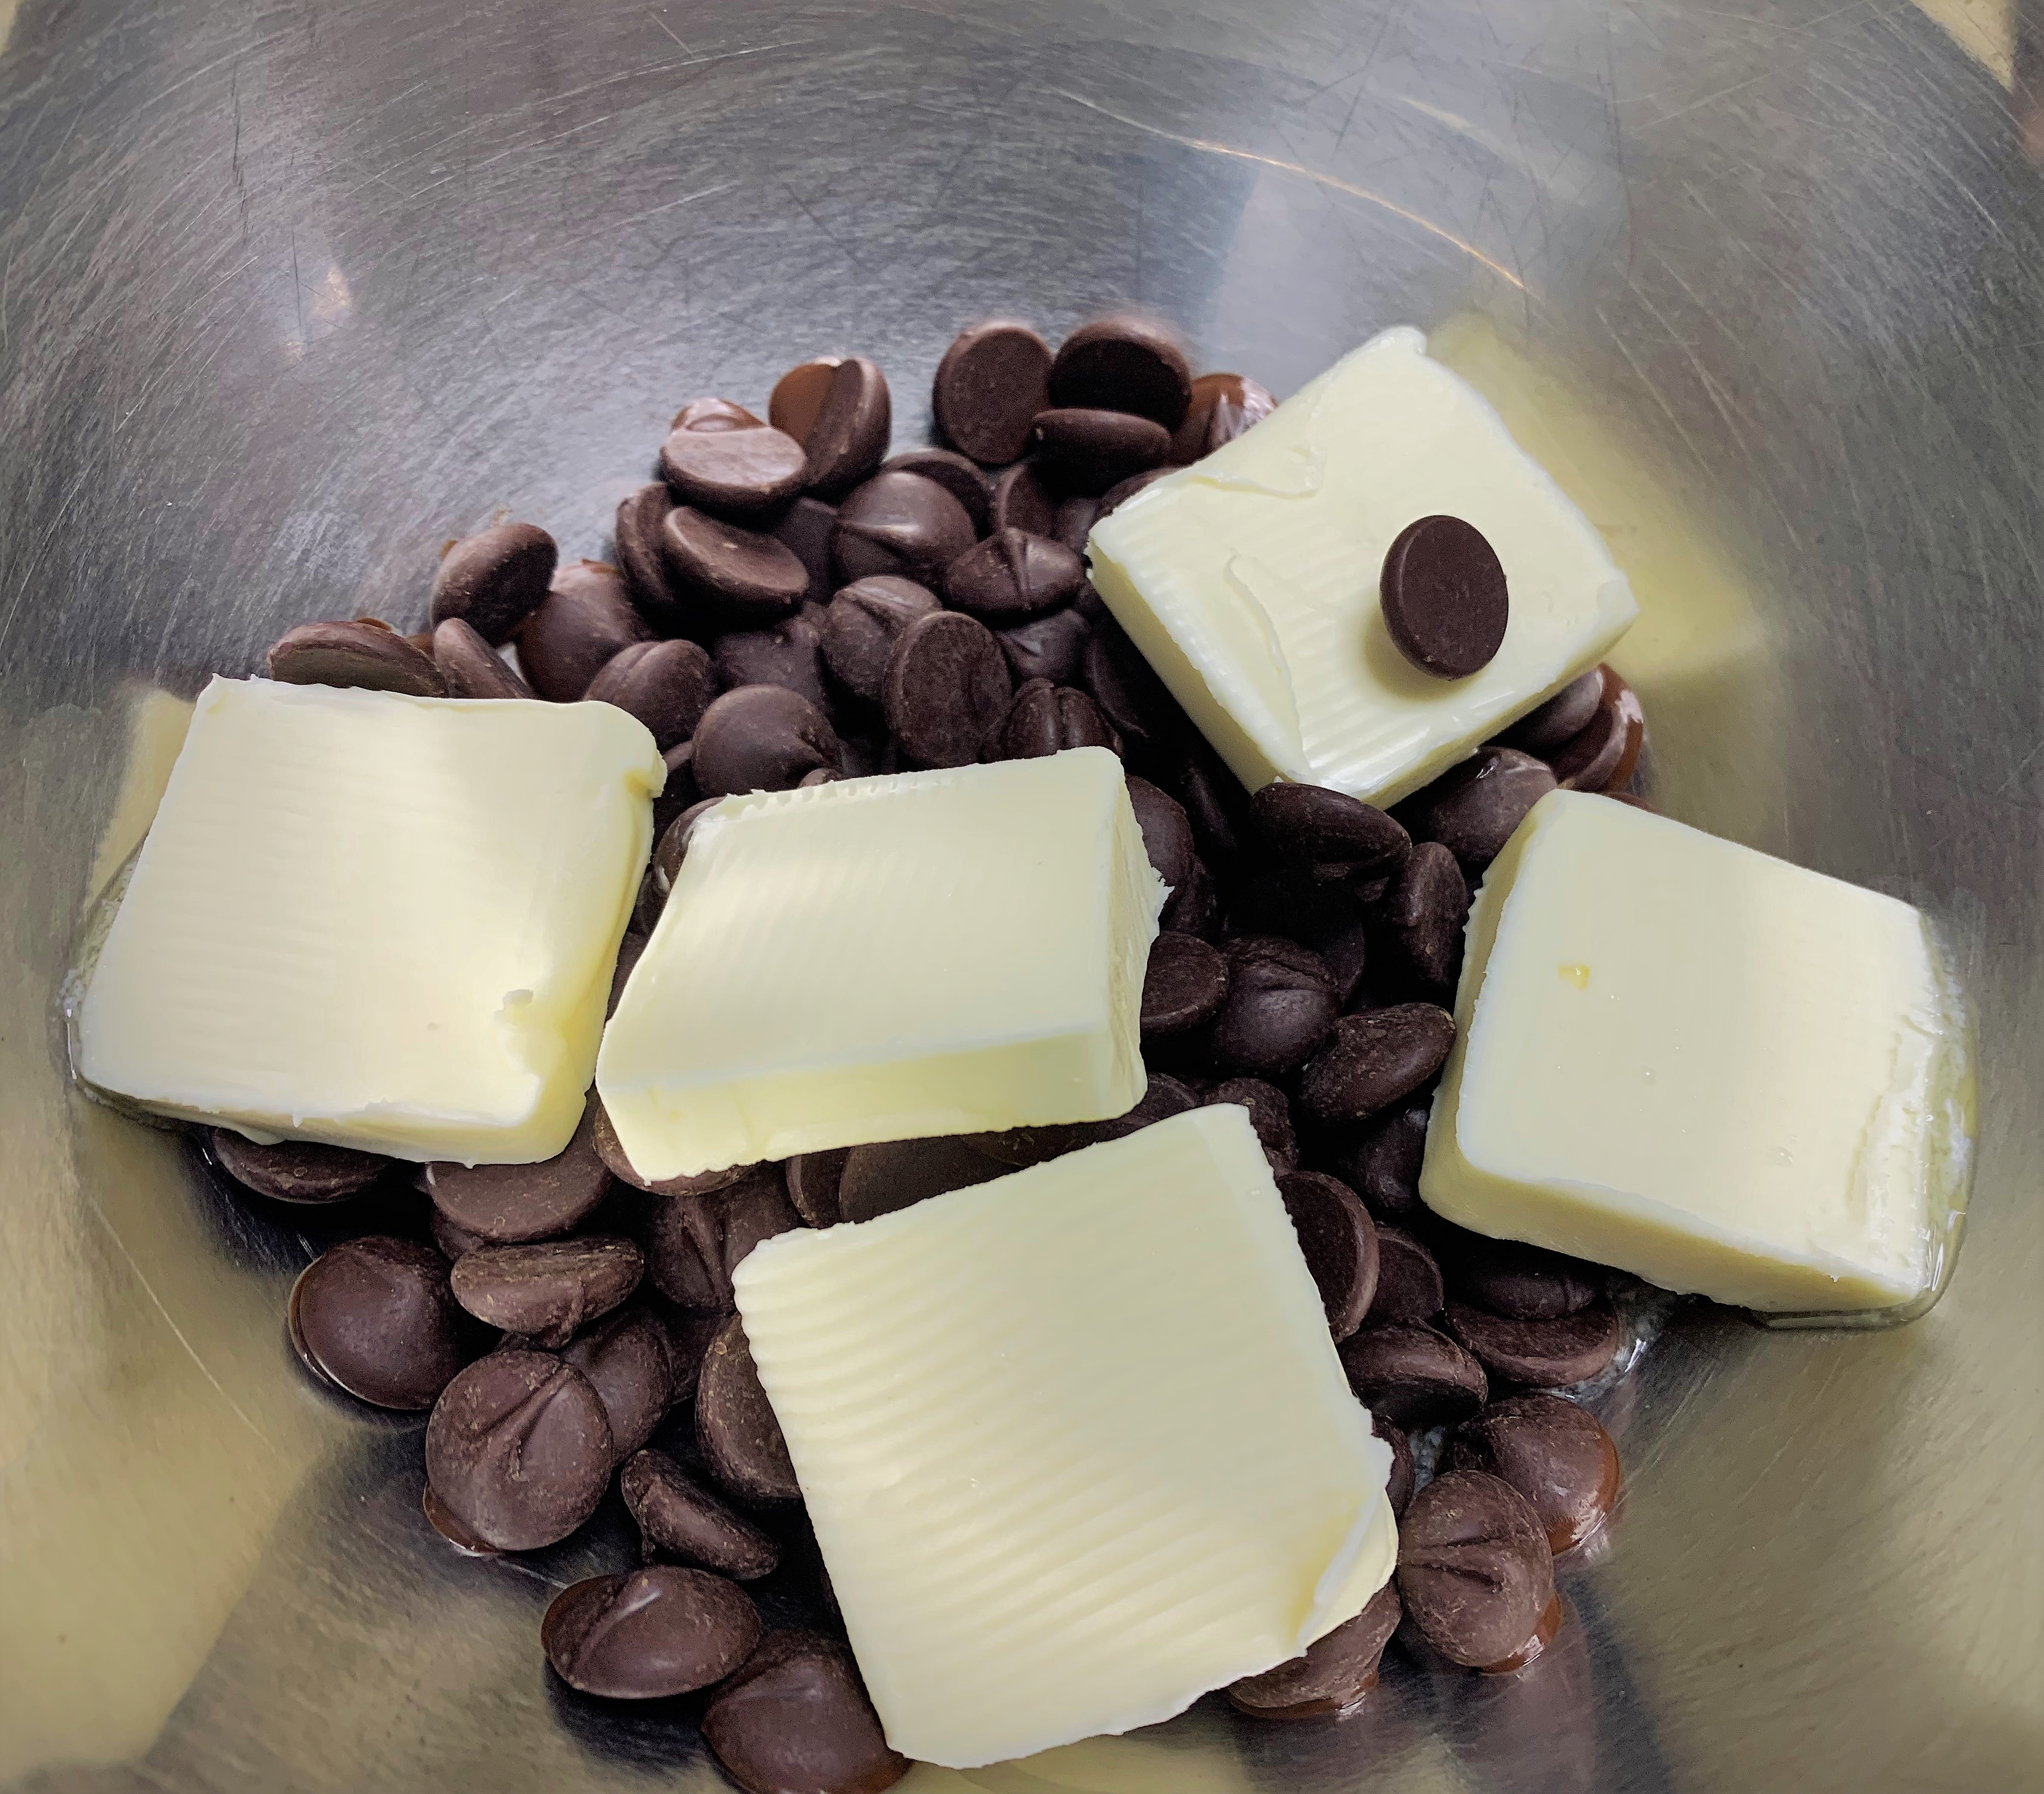
Start by setting up a double boiler over medium heat. (If you don’t have a double boiler, that’s okay. I discussed that in our Peanut Butter Blondie recipe, as well) Place the remaining 5 ounces of Chocolate Chips and the Unsalted Butter in the top and melt, stirring occasionally, until well blended and smooth.
Whip It Up!
Next, it’s time for the body of the cake. As you may have noticed from the ingredient list, there’s very little flour in this recipe. Most of the body from this cake comes from the eggs. So, you want to be sure not to cut corners on this step.
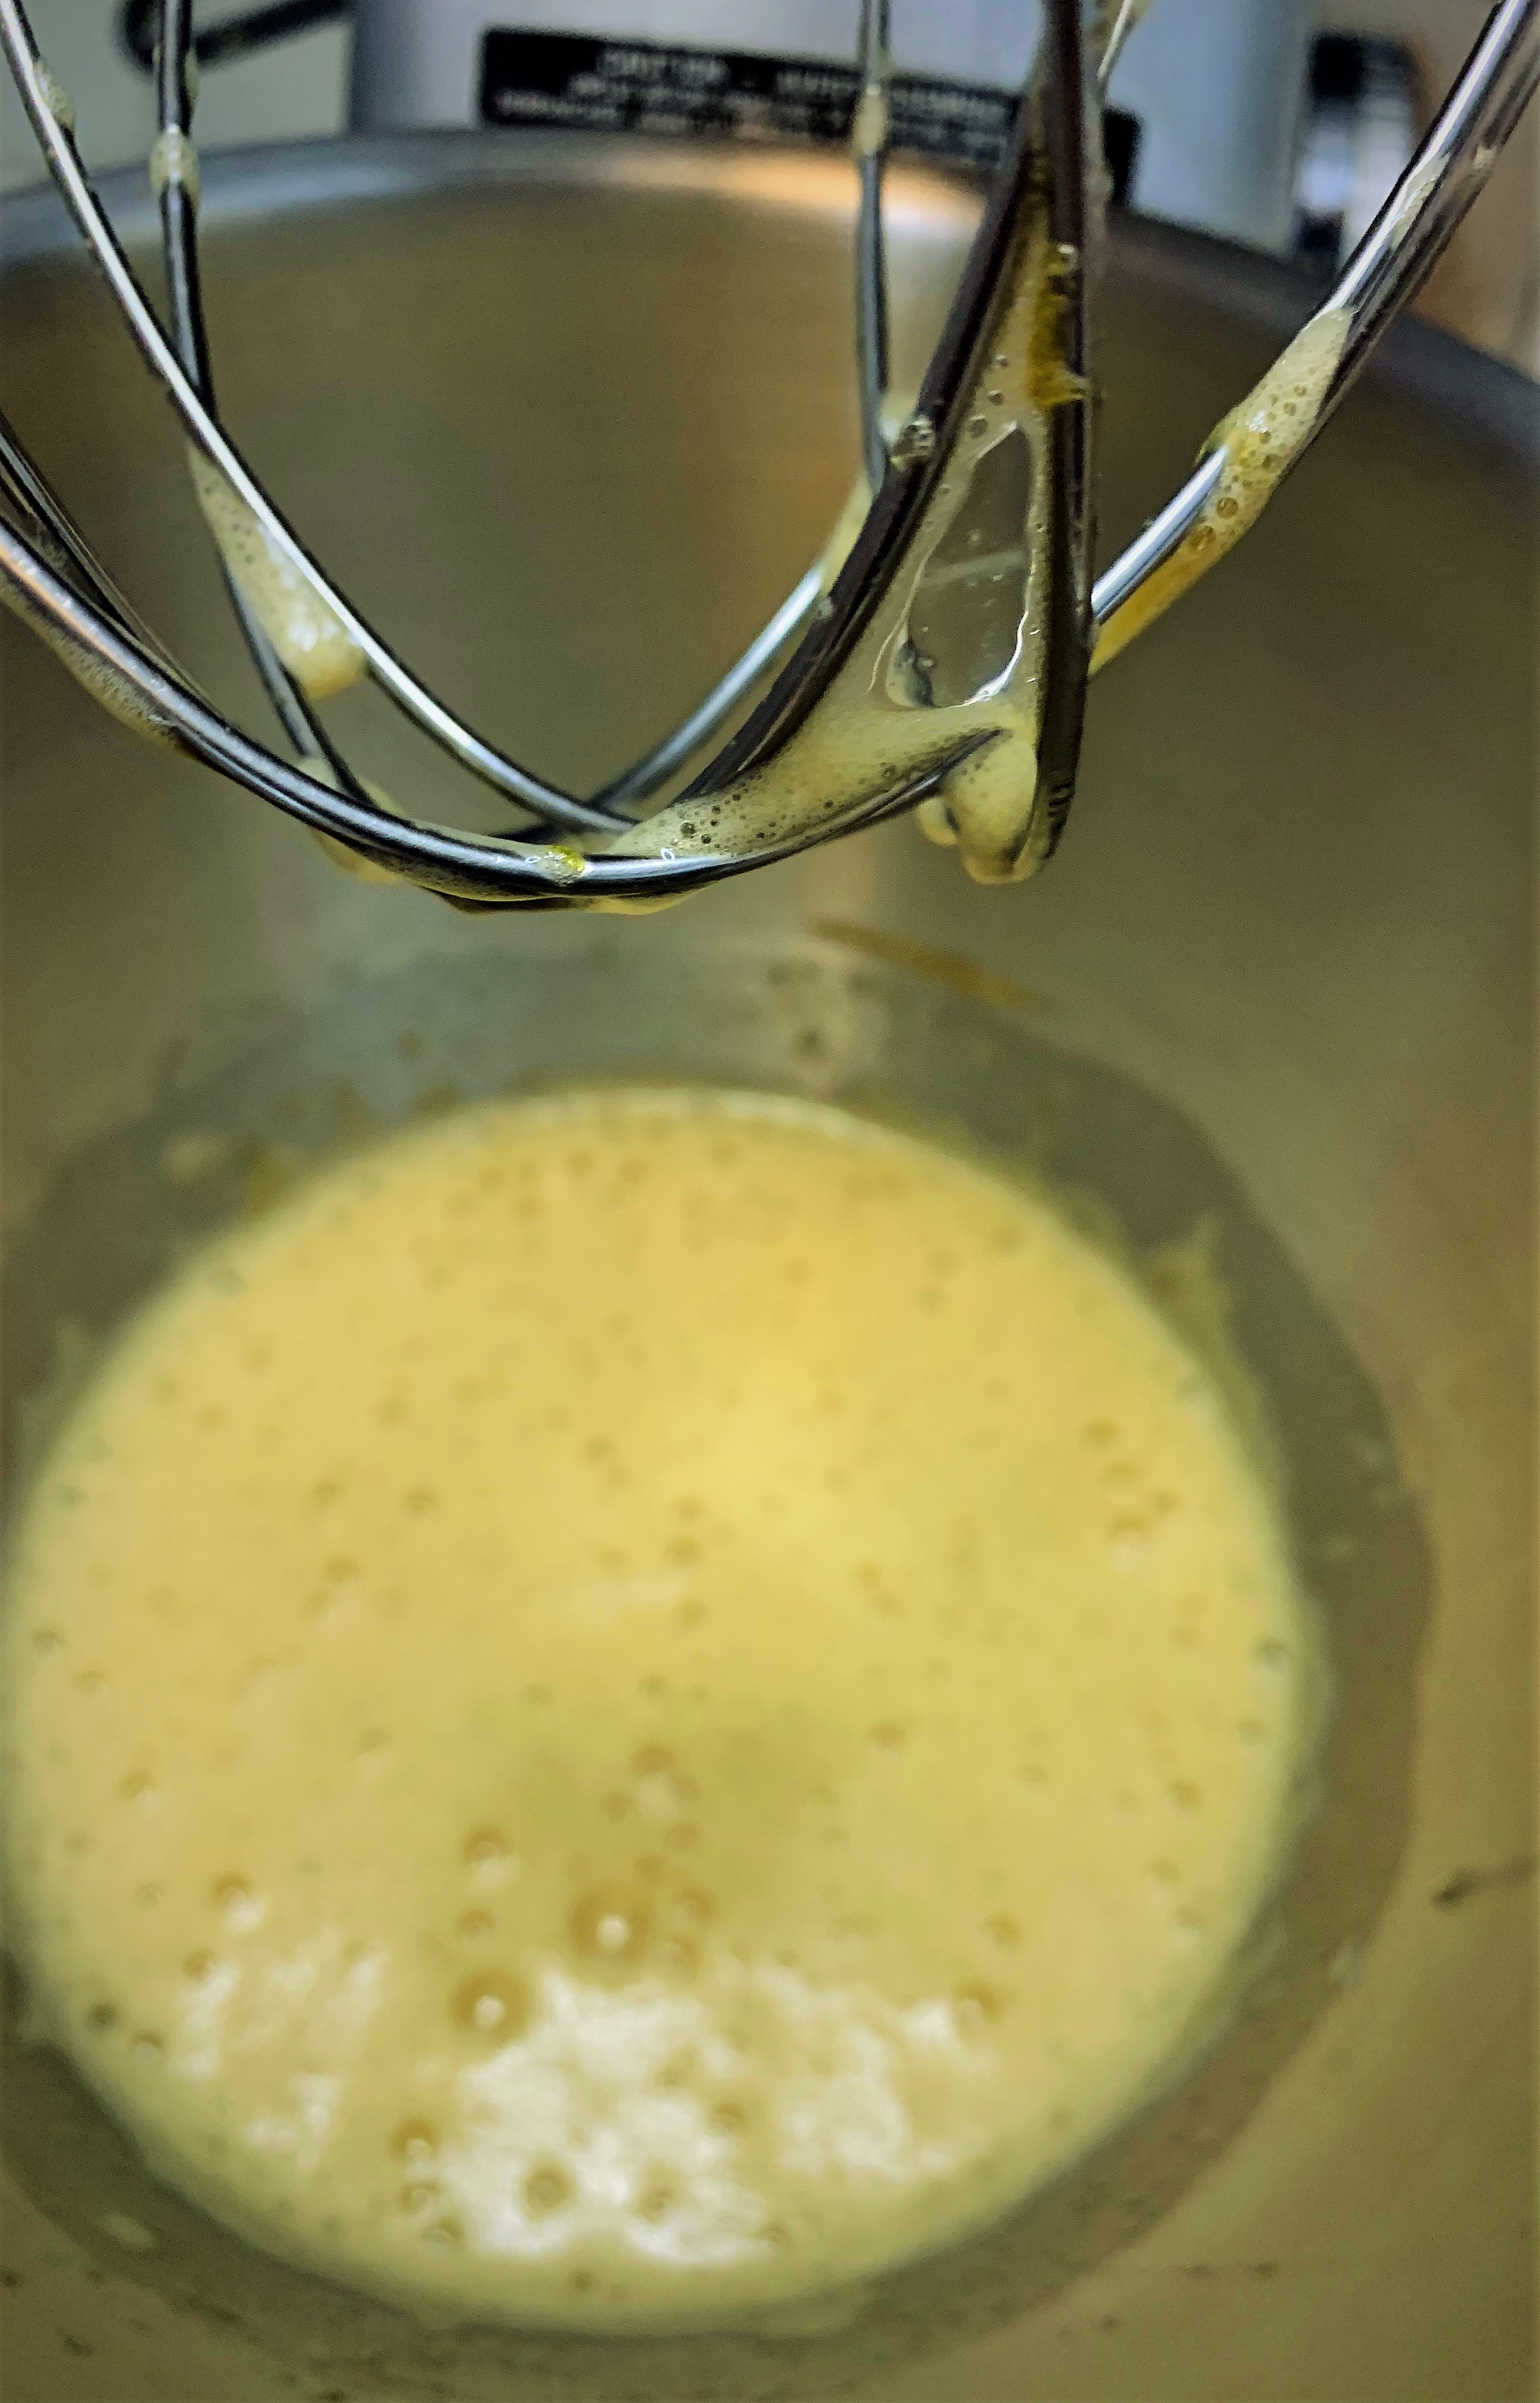
Add the Eggs and Brown Sugar to a large bowl and whip with an electric mixer for about 4 minutes. The mixture should be light and have, about, tripled in volume. Then, add the Vanilla Extract and beat for another 30 seconds.
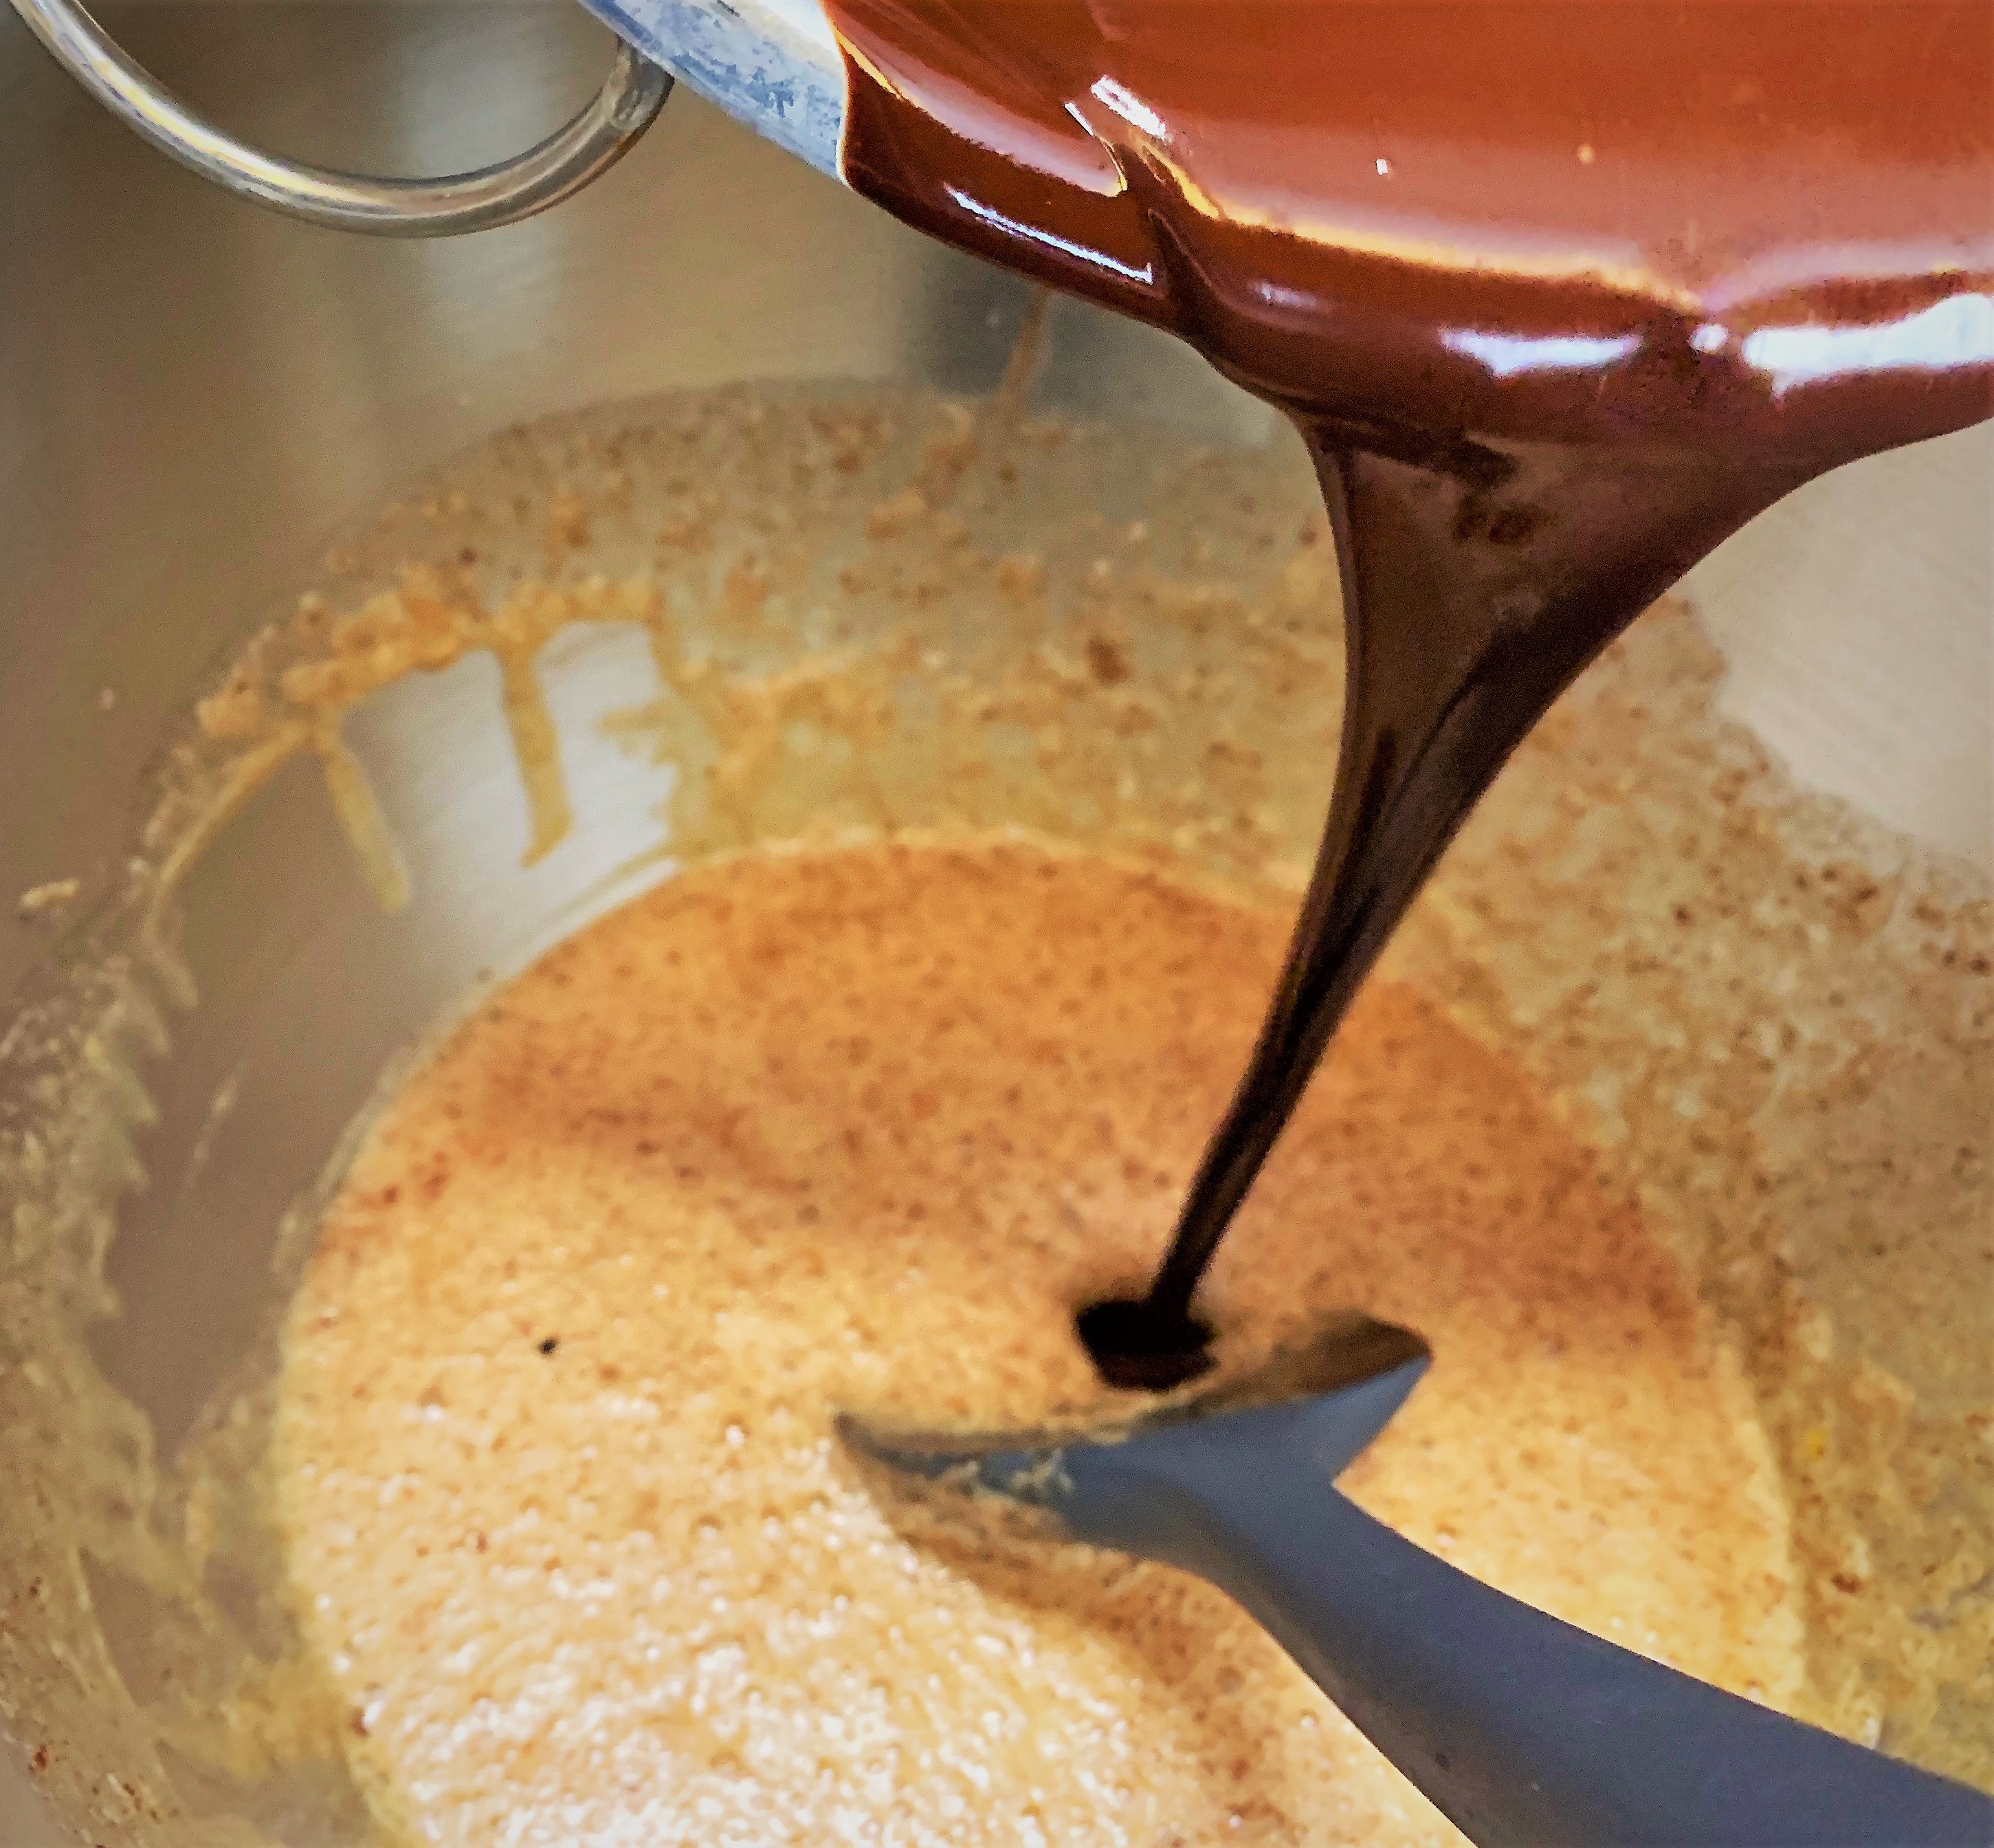
Now it’s time to add the melted Chocolate and Butter combination to our Egg Mixture. You’ll want to do this gradually to make sure the hot chocolate doesn’t cook your eggs. So, add a little at a time and fold in gently. Repeat the process until the chocolate is completely incorporated.
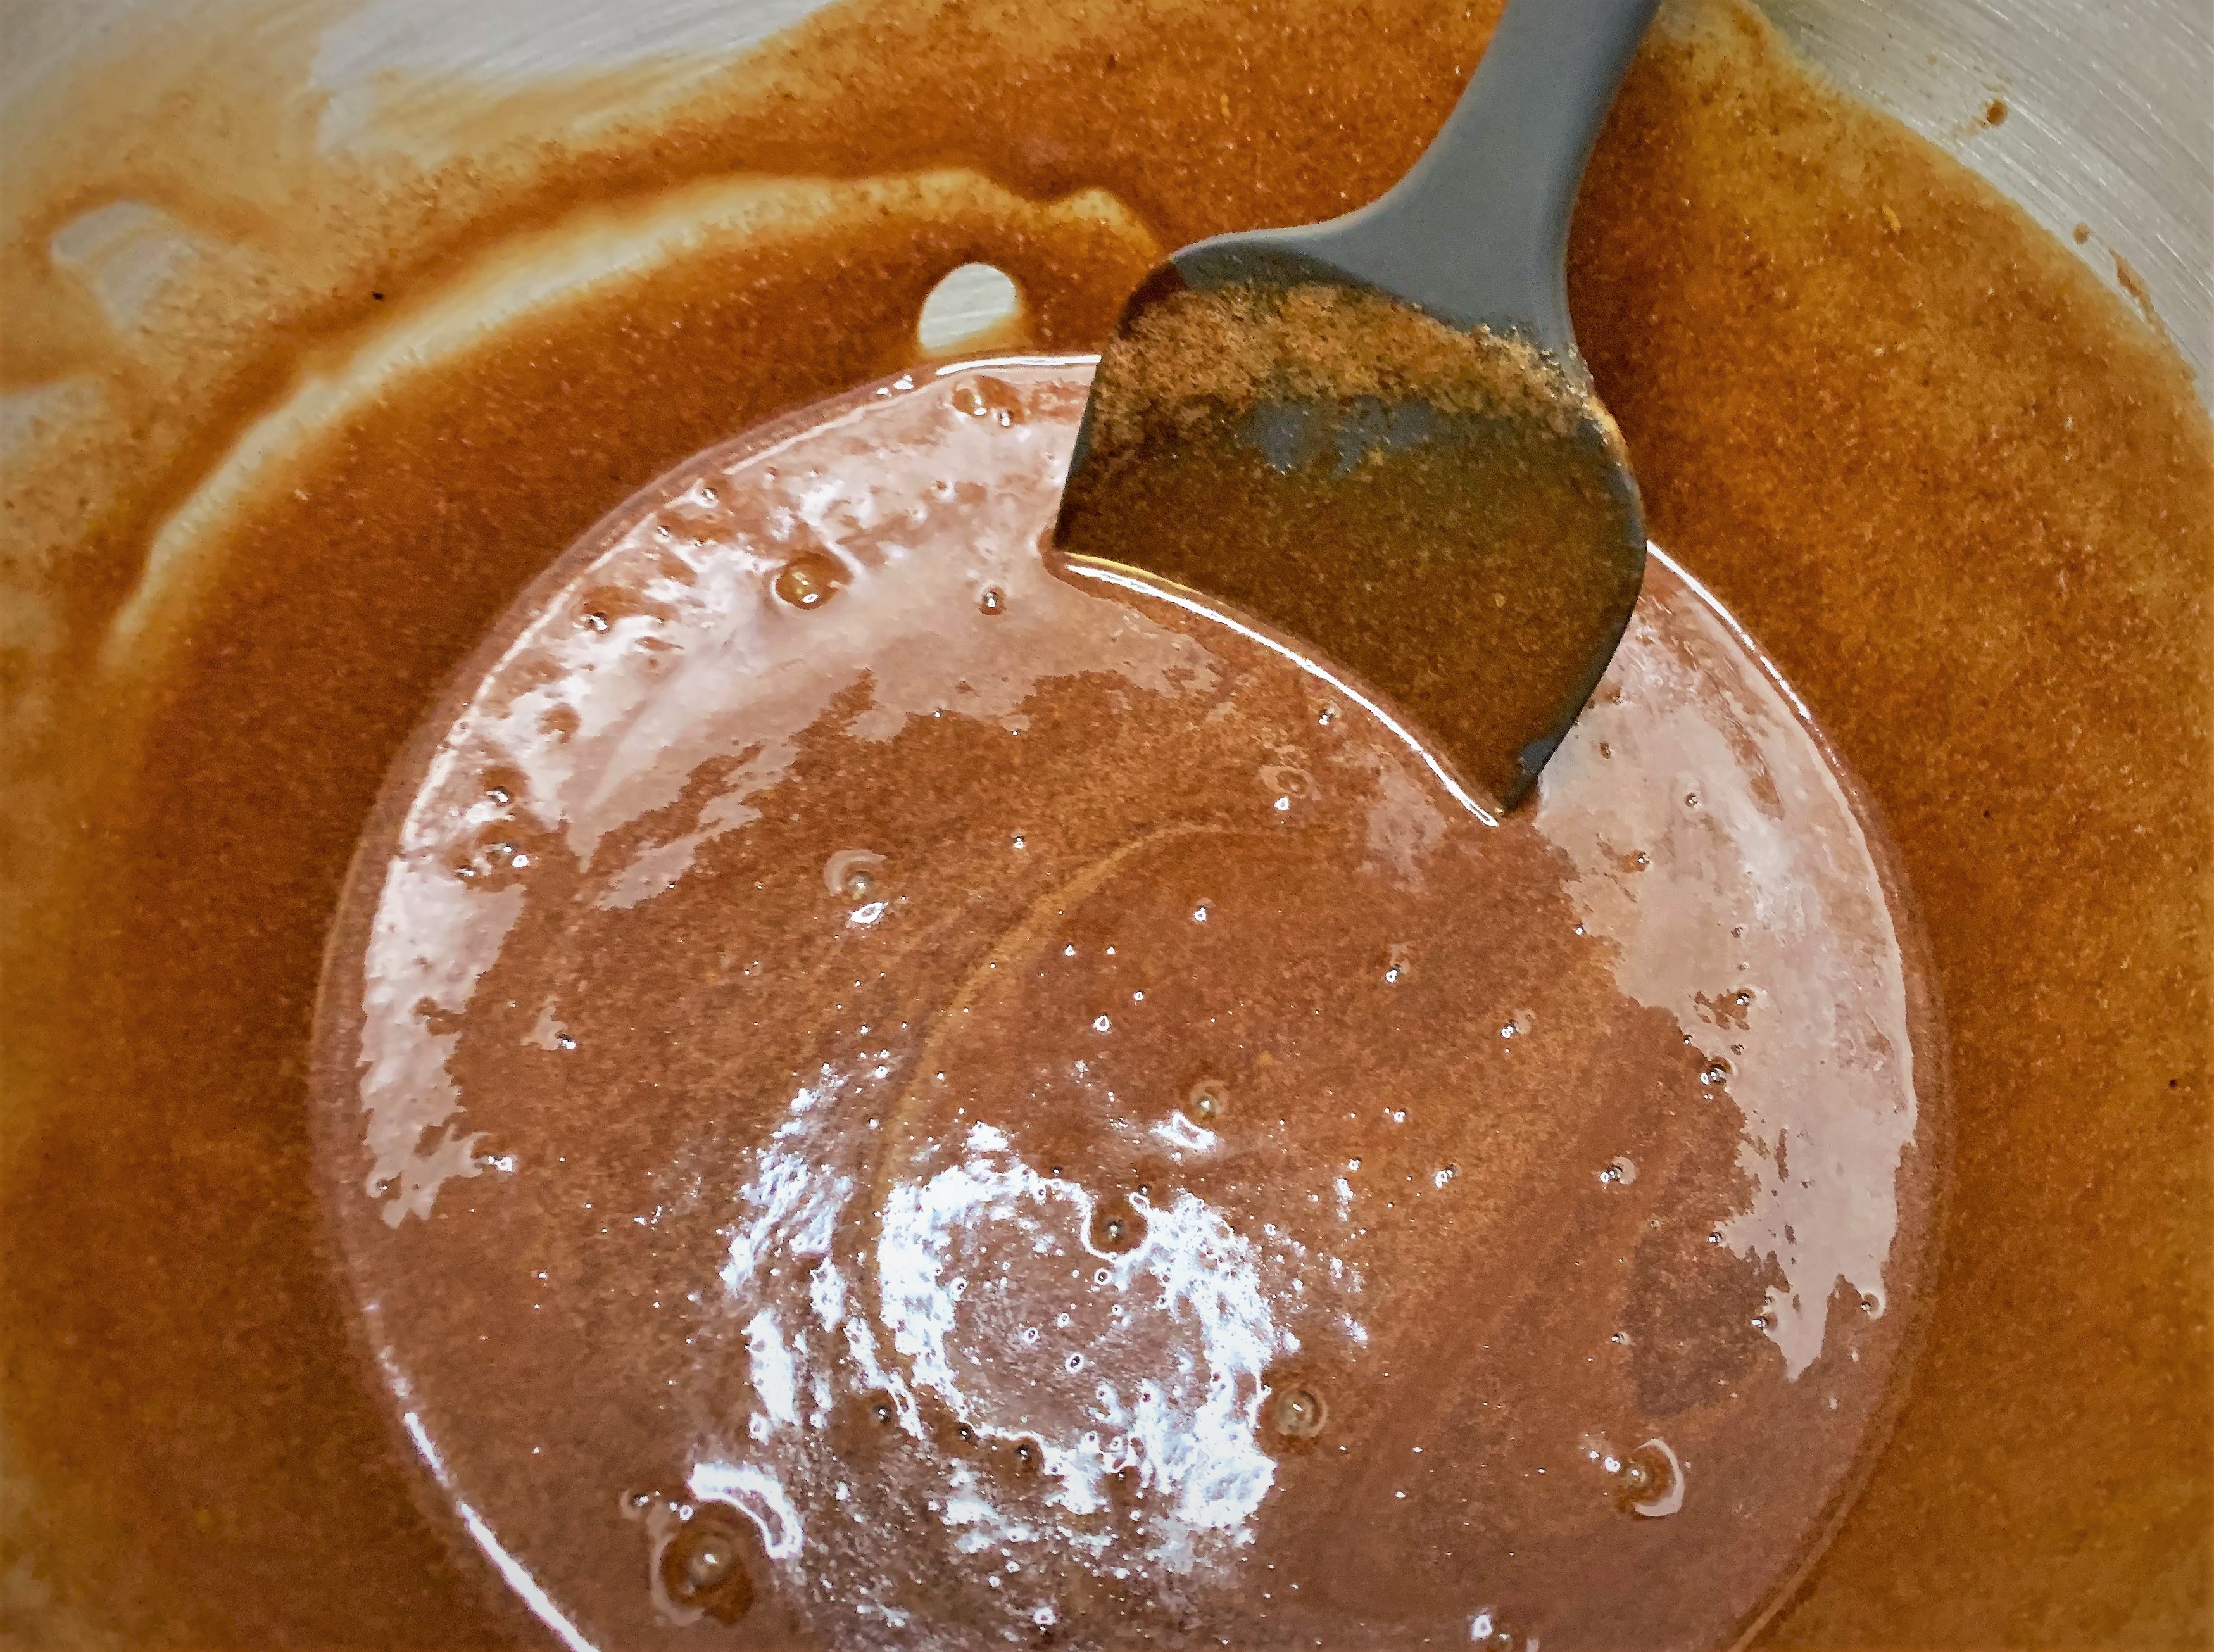
We finish our batter by adding the All-Purpose Flour and Salt and gently folding it in until just incorporated. You want take a little care with all of this because we don’t want to “deflate” the eggs.

Building Our Cake
Now that the Chocolate Ganache is chilled and our batter is complete, it’s time to put together our Molten Chocolate Cake.
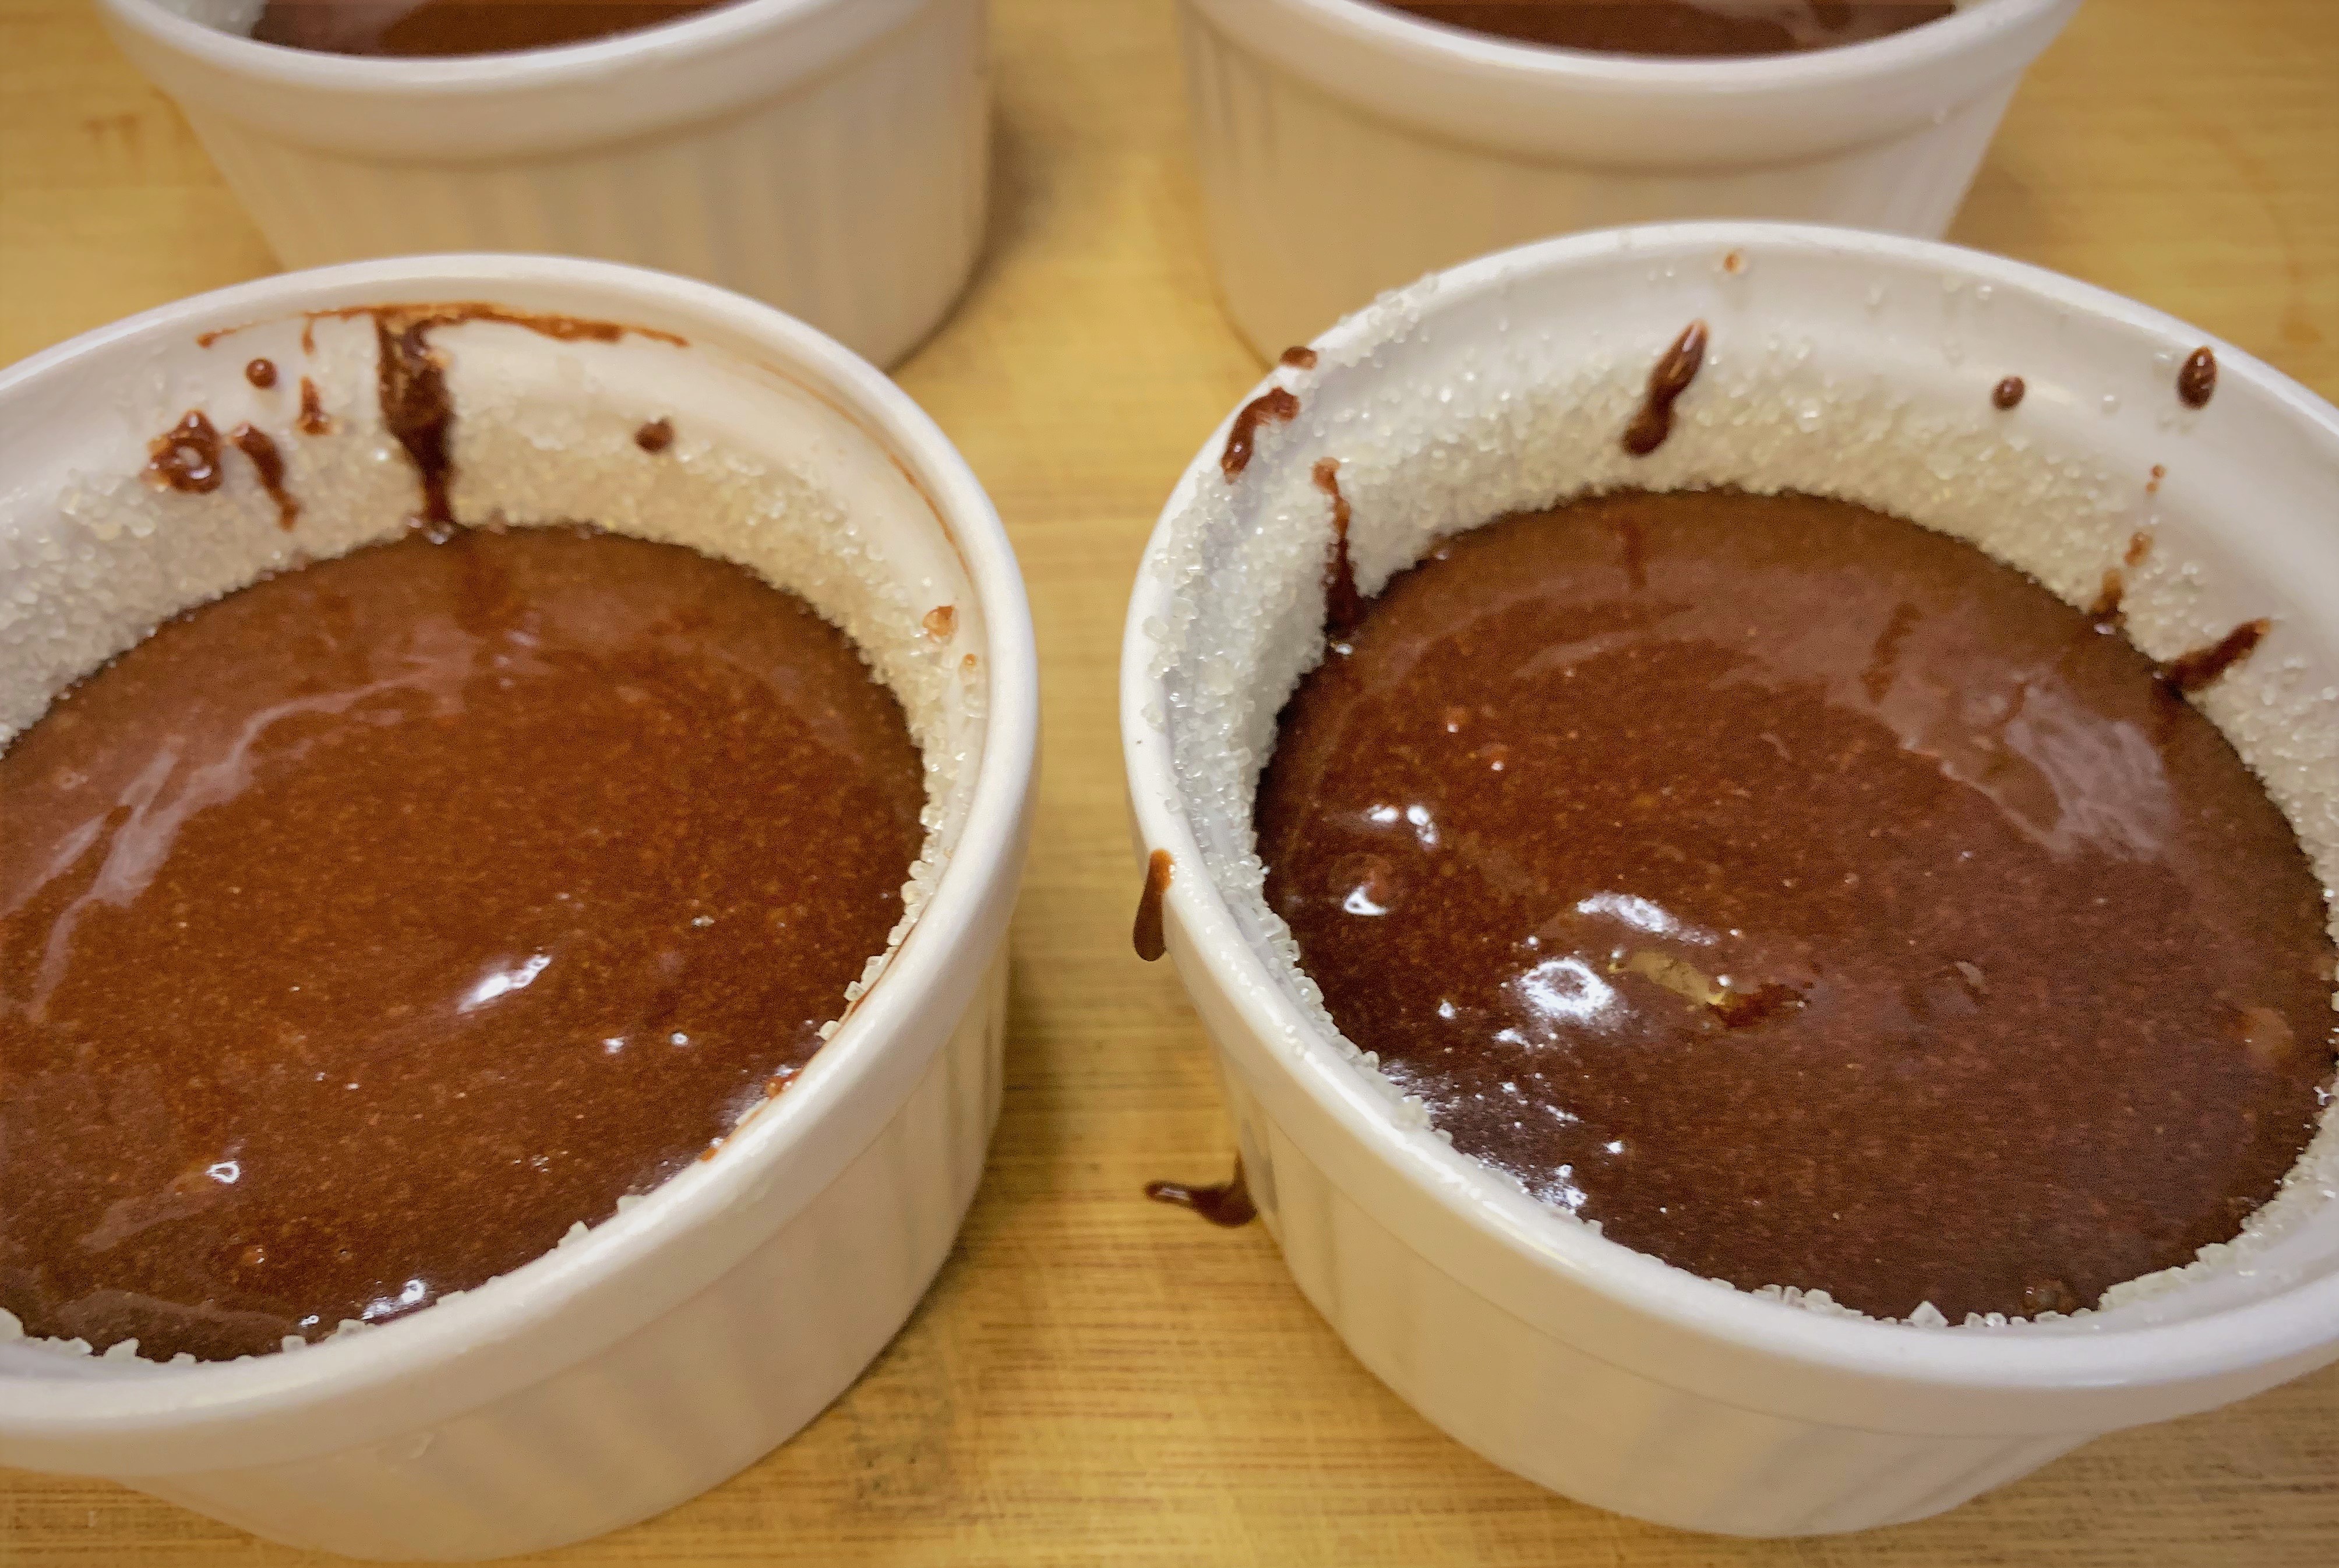
Begin by ladling about 1/3 of a cup of the Cake Batter into each prepared ramekin. As you can see from the picture above, I slipped and let a little drip on the side. That won’t be a problem unless you’re serving your cake in ramekin (not what I would suggest). If you want to avoid this, keep a towel under your ladle while you are transferring the batter.
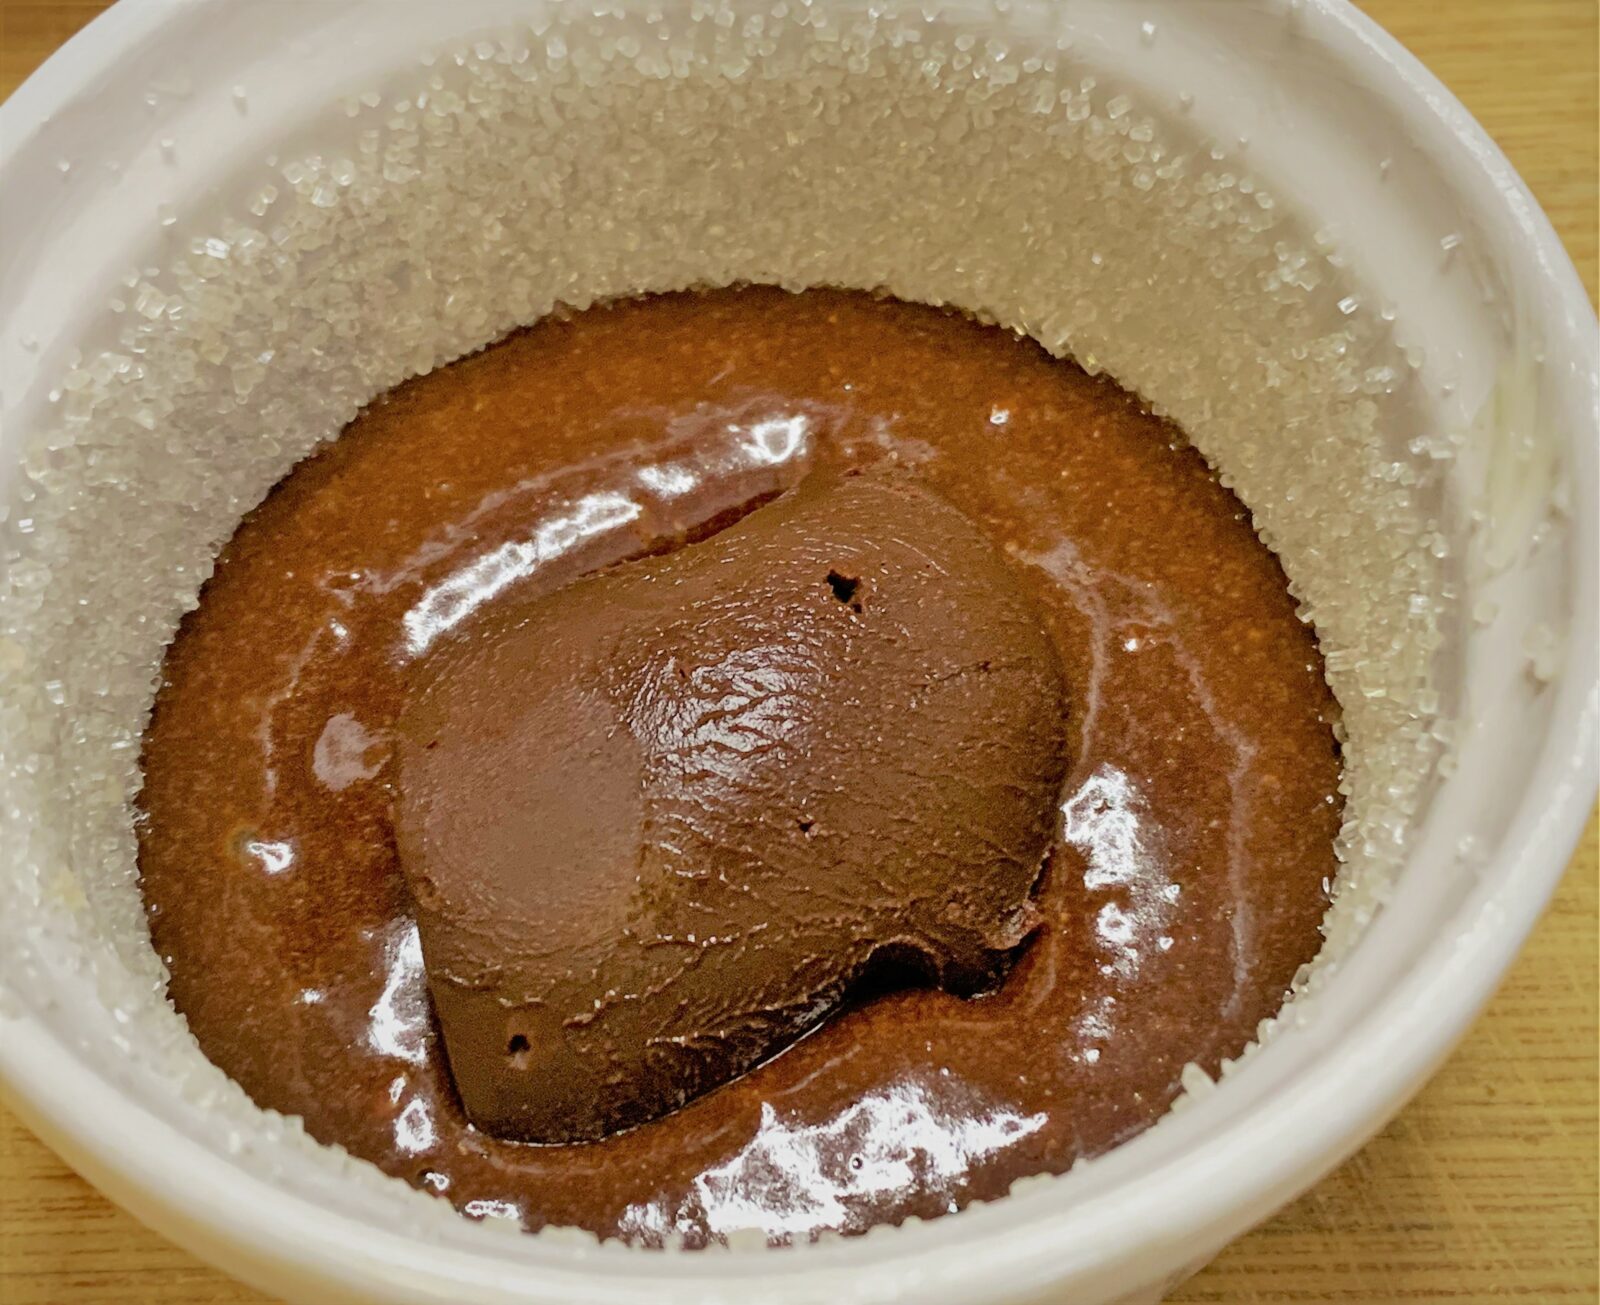
Now you’ll want to add the component that will make this dish so wonderful. Grab the Chocolate Ganache from the fridge. It should be nice and, mostly, firm at this point. Scoop a rounded tablespoon from the bowl and add it to the center of each ramekin like in the picture above. As the cake cooks around the ganache, it will melt and eventually become your flowing river of molten chocolate goodness.
To finish your individual Molten Chocolate Cakes, you’ll want to ladle the remaining batter into the ramekins. Make sure you do this evenly and that the batter completely covers the Chocolate Ganache.
Once complete, you can bake your cakes immediately or reserve until you’re just about ready to serve. If you are reserving for later, just cover each ramekin with plastic wrap and store for up to 24 hours in the refrigerator or one week in the freezer.
- If you end up freezing your uncooked Molten Chocolate Cakes, you’ll want to take them out of the freezer to semi-thaw for about an hour before baking.
Once you’re ready to bake your Molten Chocolate Cakes, you’ll want to first preheat your oven to 425ºF. Next, place the ramekins on a baking sheet and bake at 425ºF for about 13 – 15 minutes. You’ll know your cakes are done when they are, mostly, firm but the center is slightly “jiggly” when lightly shaken.
Plating Our Cakes
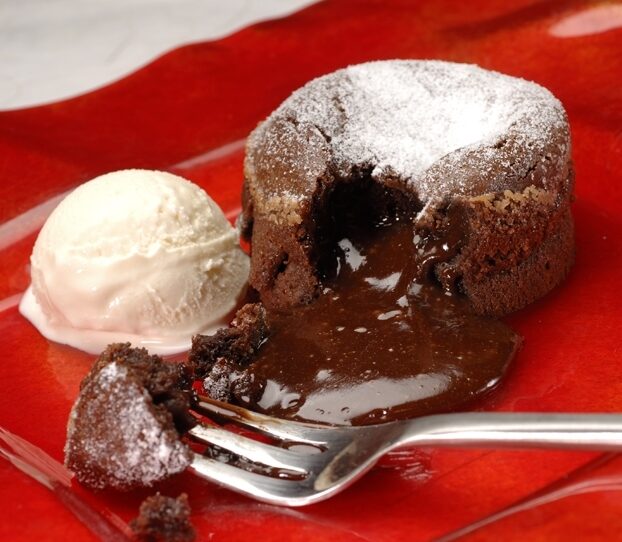
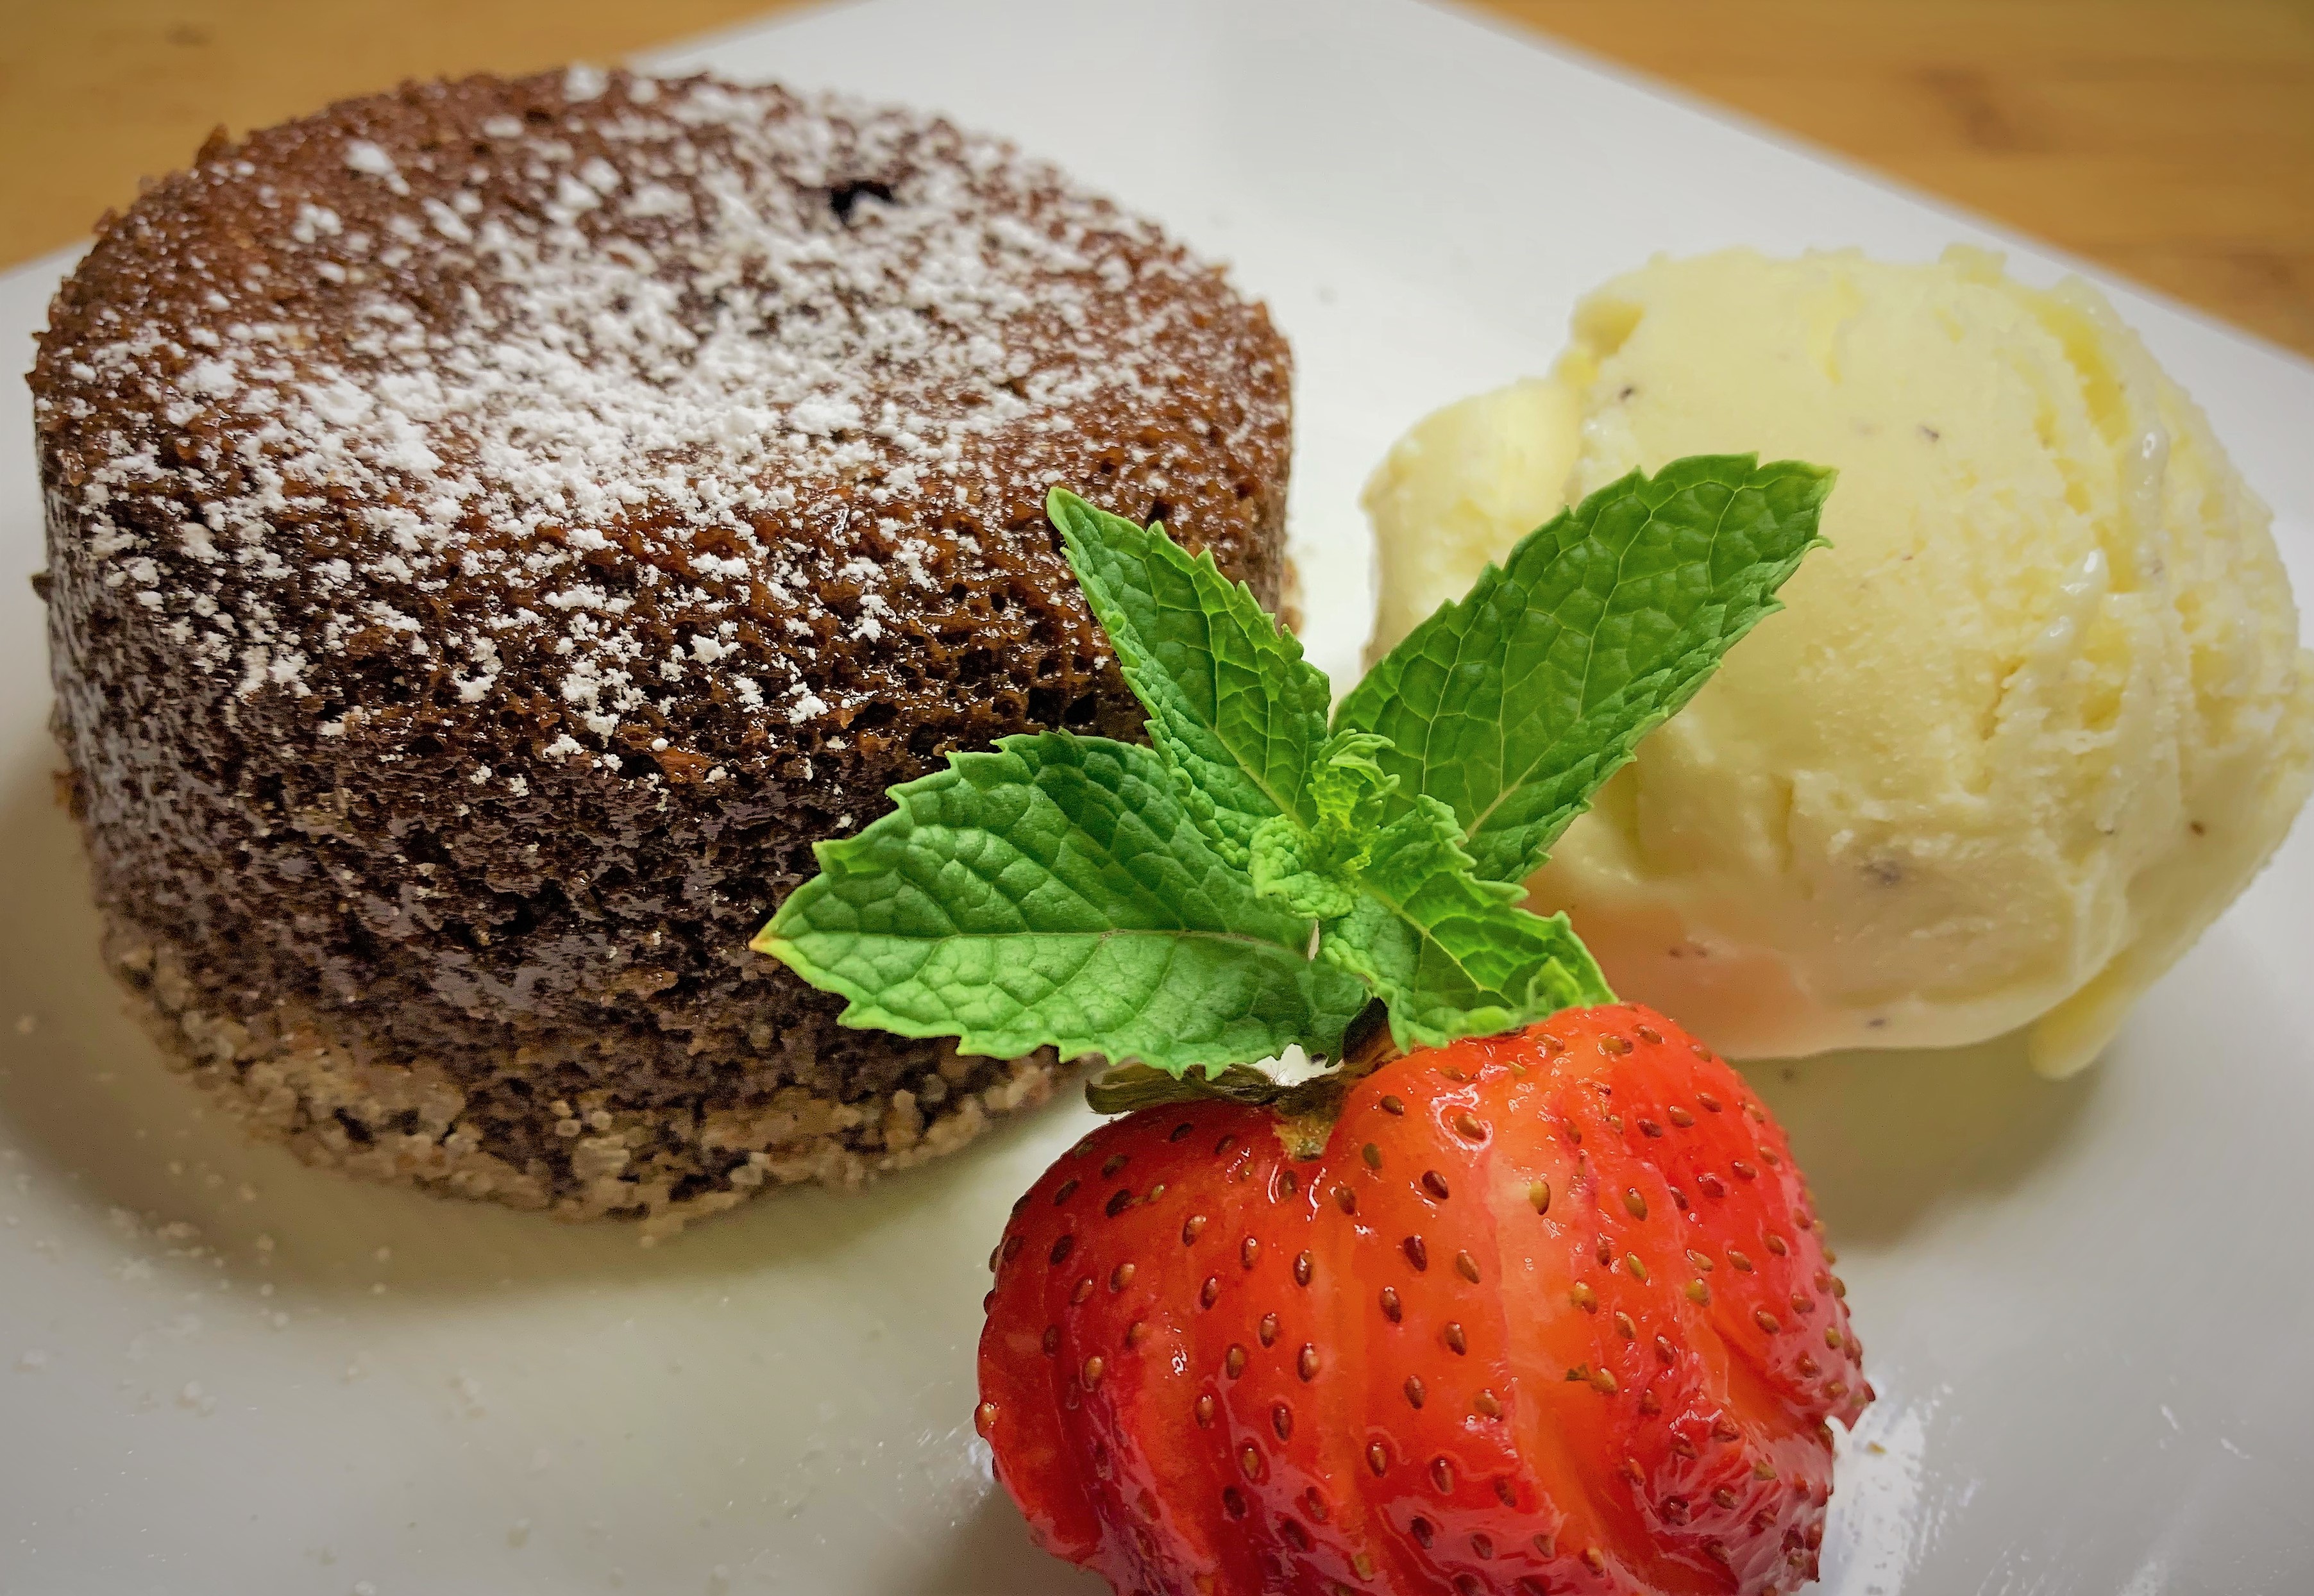
One your Molten Chocolate Cake has completed baking, remove from the oven and let sit for about 30 seconds. Then, carefully invert the ramekins on to your serving plates and give them a light tap. (The cake should come out just like in the picture above) Sprinkle with a light dusting of powdered sugar (if desired) and serve with a scoop of vanilla (or whatever flavor is your favorite) ice cream.
Yum!!!!!!
Our Conclusion
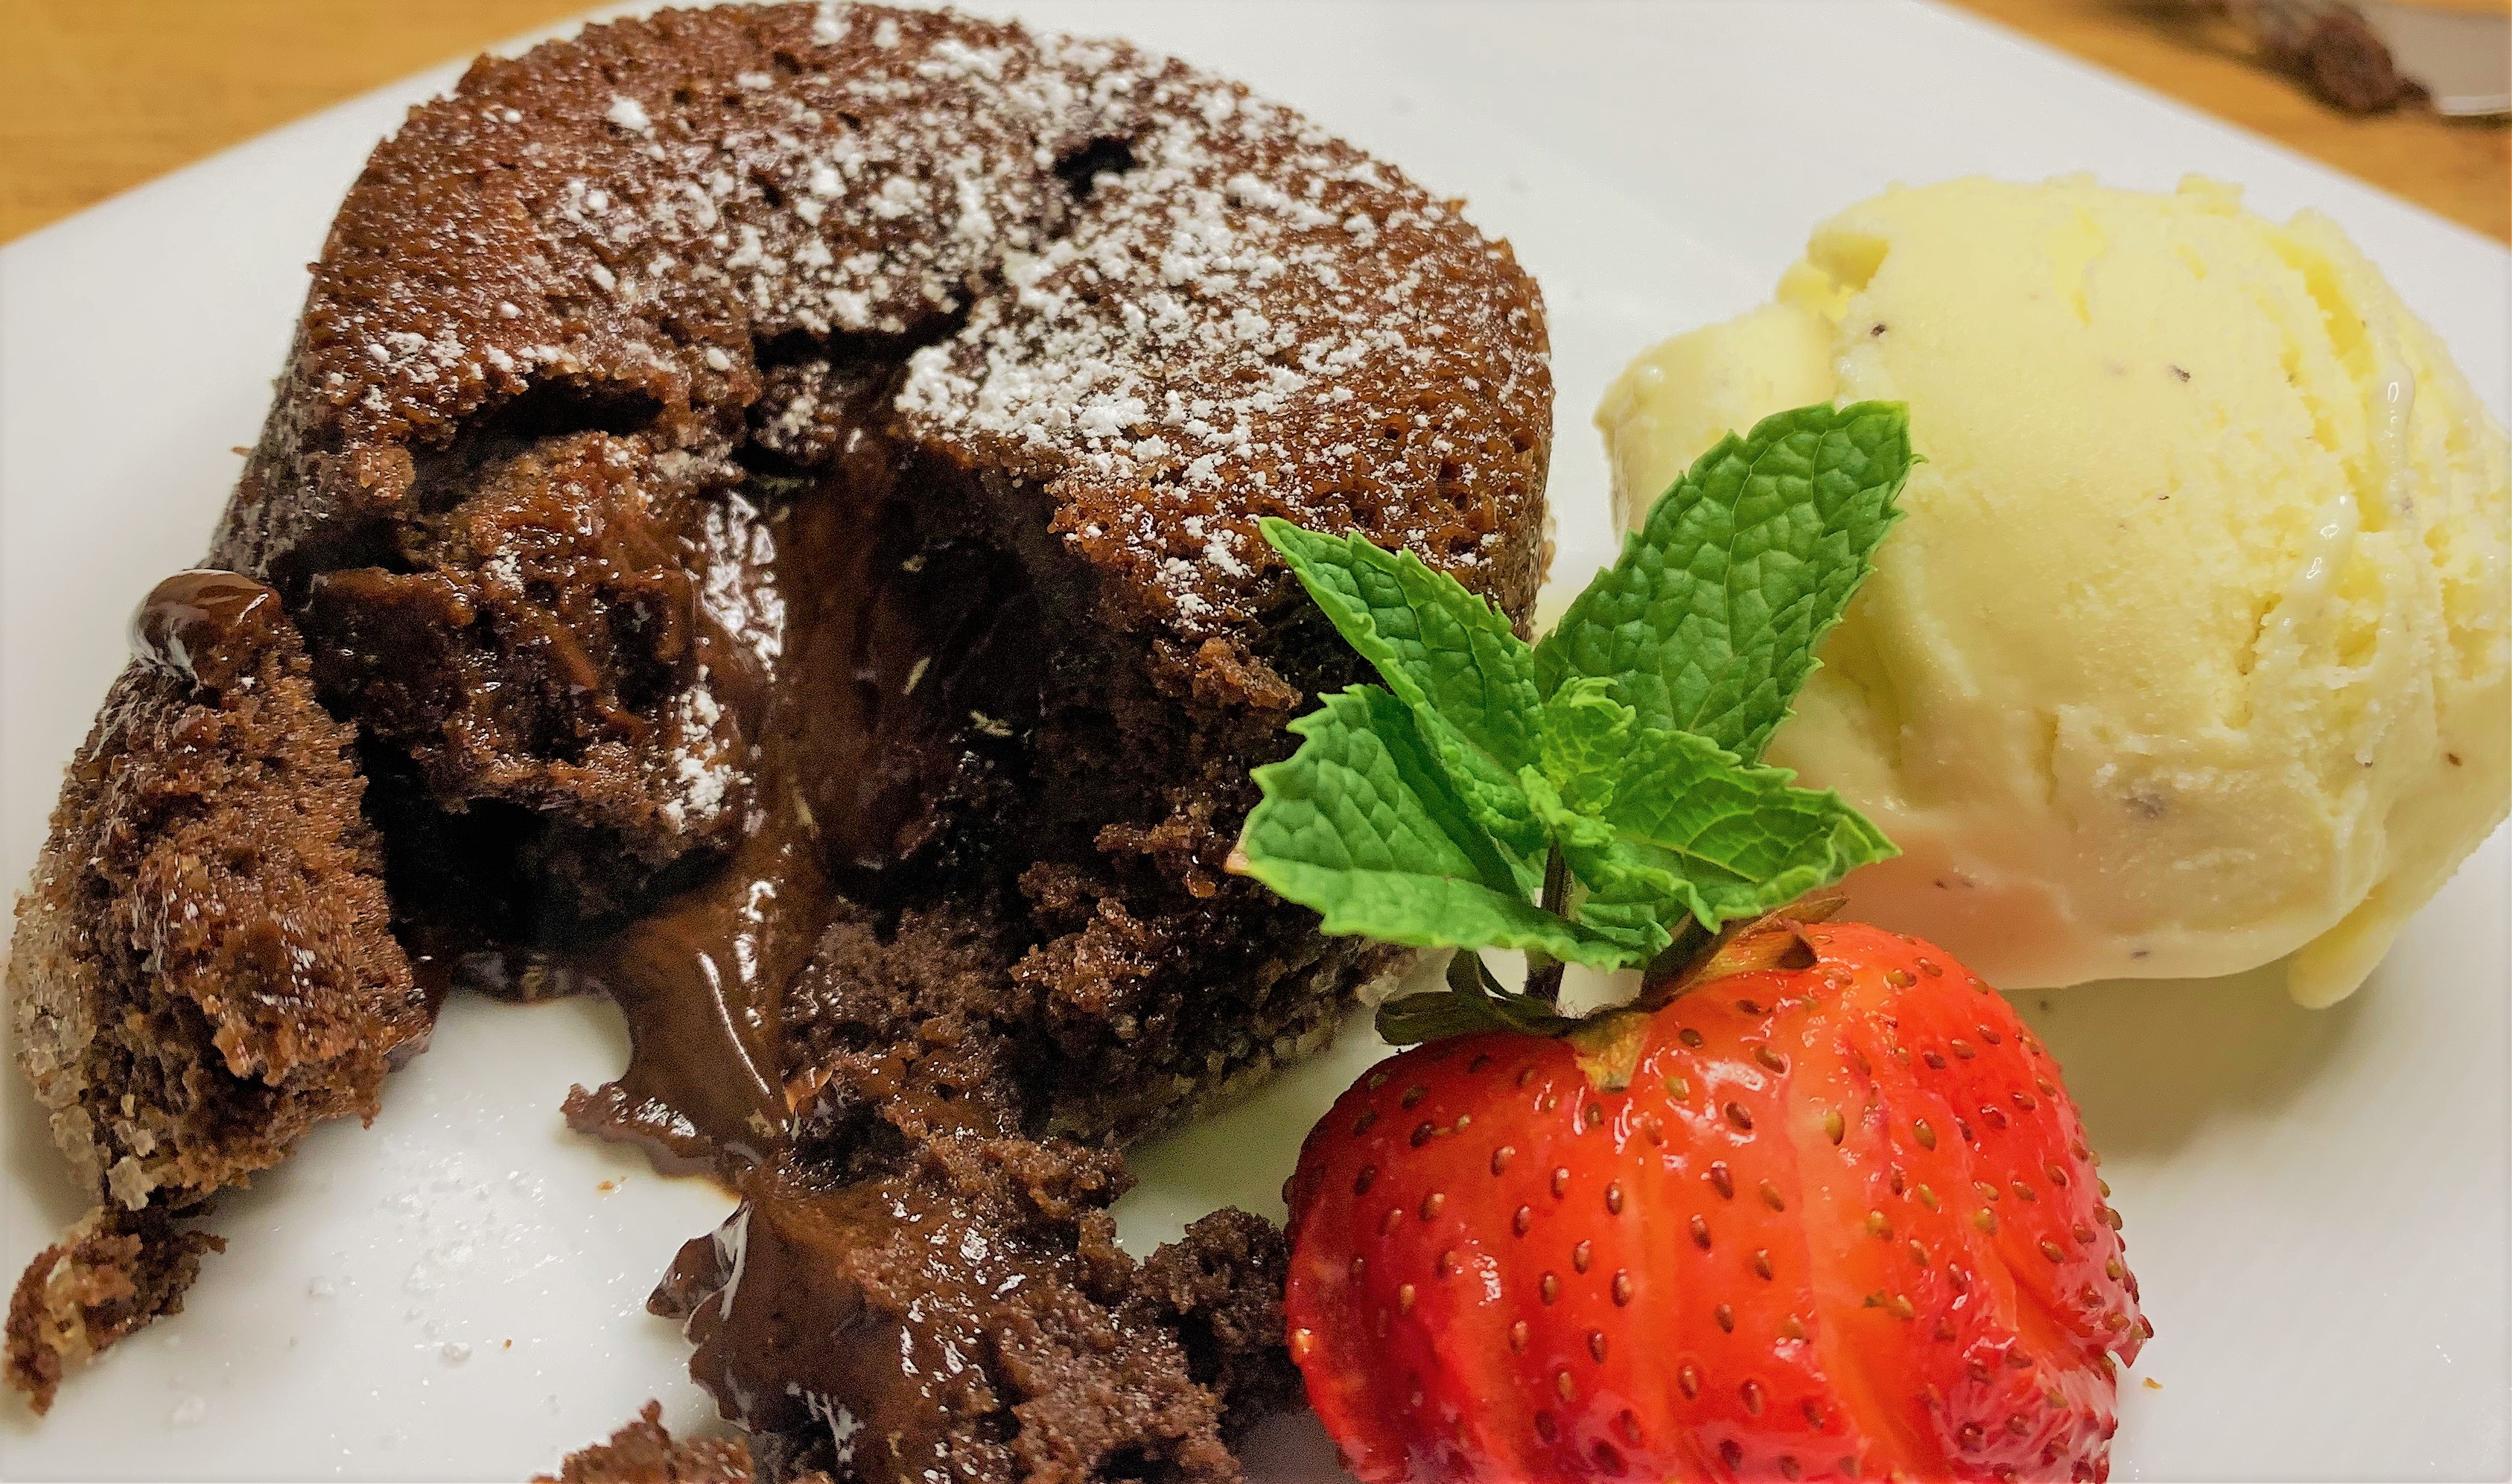
Our completed Molten Chocolate Cake is a rich and wonderful treat. The cake is light and airy and the molten chocolate center is luxurious with a deep chocolate flavor. You’re transported to your favorite upscale restaurant with every bite.
It can be eaten by itself but I heartily suggest serving it with the ice cream because it acts as a wonderful counterpoint to the cakes richness.
As I stated before, it’s also an amazing dish for entertaining. You can prepare it well ahead of time, bake it for a short time and knock your guests socks off when you present it to them.
Make extra of this Disney Dish because you’re going to want to enjoy it several times!
If you have any questions about this or any of our recipes, just hit us up below in the comments. You can also reach us through our Contact Us page or through email.
Molten Chocolate Cake
4 Servings
For Chocolate Ganache Filling
- 2 oz – Bittersweet Chocolate Chips (or Solid Chocolate chopped into small pieces)
- 1/4 cup – Heavy Cream
For Cake Batter
- 5 oz – Bittersweet Chocolate Chips (or Solid Chocolate chopped into small pieces)
- 6 tbls – Unsalted Butter
- 3 – Large Eggs
- 1/3 cup – Light Brown Sugar – Packed
- 1 tsp – Pure Vanilla Extract
- 3 tbls – All-Purpose Flour
- 1/2 tsp – Kosher or Sea Salt
Also Needed
- 4 – 6 oz Ramekins
- Extra Unsalted Butter (for ramekin preparation)
- Raw Sugar (for ramekin preparation)
- Powdered Sugar (for serving – if desired)
- Vanilla Ice Cream (for serving – if desired)
Directions
For the Chocolate Ganache Filling
- Place the Bittersweet Chocolate in a small bowl
- Warm the Heavy Cream in a small sauce pan over medium heat until just boiling
- Immediately remove the Cream from the heat and pour over the Chocolate
- Stir until the mixture is smooth and completely combined
- Chill in the refrigerator for at least one hour
For the Cake Batter
- Prepare the Ramekins by covering the inside with Unsalted Butter and Raw Sugar; shaking out any excess
- Add the Bittersweet Chocolate and Unsalted Butter to a double boiler over medium heat, stirring occasionally until melted and completely combined
- Add the Eggs and Light Brown Sugar to a large bowl and whip with an electric mixer on medium-high until the mixture is light and has tripled in volume; about 4 minutes
- Add the Pure Vanilla Extract and whip for an additional 30 seconds
- Gently fold in the Melted Chocolate and Butter into the Egg Mixture a little at a time until combined
- Gently fold in the All-Purpose Flour and Kosher Salt until just combined
Filling the Ramekins
- Ladle about 1/3 cup of the Cake Batter into the bottom of each prepared ramekin
- Add a rounded tablespoonful of the Chocolate Ganache Filling into the center of each ramekin
- Ladle and even amount of the remaining Cake Batter into each ramekin being sure to cover the Chocolate Ganache
- Bake immediately or cover each ramekin with plastic wrap and reserve in the refrigerator for up to 24 hours or in the freezer for up to a week
Baking the Molten Chocolate Cakes
- Preheat the oven to 425ºF
- Place the filled ramekins on to a baking sheet (if frozen, let thaw for at least 1 hour before baking)
- Bake at 425ºF for 13 to 15 minutes. Baking is complete when the cakes are mostly firm but jiggle slightly when gently shaken
Serving
- After baking is complete, let sit for about 30 seconds
- Carefully invert the ramekins over the serving plate and lightly tap the bottom. The cakes should remain once you lift the ramekin
- Sprinkle lightly with Powdered Sugar (if desired) and serve with a scoop of Vanilla Ice Cream
Be sure to check out our other Disney Dishes
Enchanted Cauli-Flower Sandwich from Red Rose Taverne
Wild Mushroom Risotto from Palo
Cheeseburger Pods from Satu’li Canteen
Lobster Nachos from Lamplight Lounge
Cocoa Brownies with Browned Butter
S.E.A. Shu Mai from Jungle Navigation Company LTD Skipper Canteen
Hoisin Sticky Spare Ribs from Morimoto Asia