
We hope you’re all having a wonderful Holiday Season. Even though 2020 has been quite a different year, we still have a lot to cherish from this year. We also have one more Disney Dish for you that we feel your family will adore as much as we do. It’s also perfect for this time of year. It’s our recipe for Red Velvet Mickey Whoopie Pies.
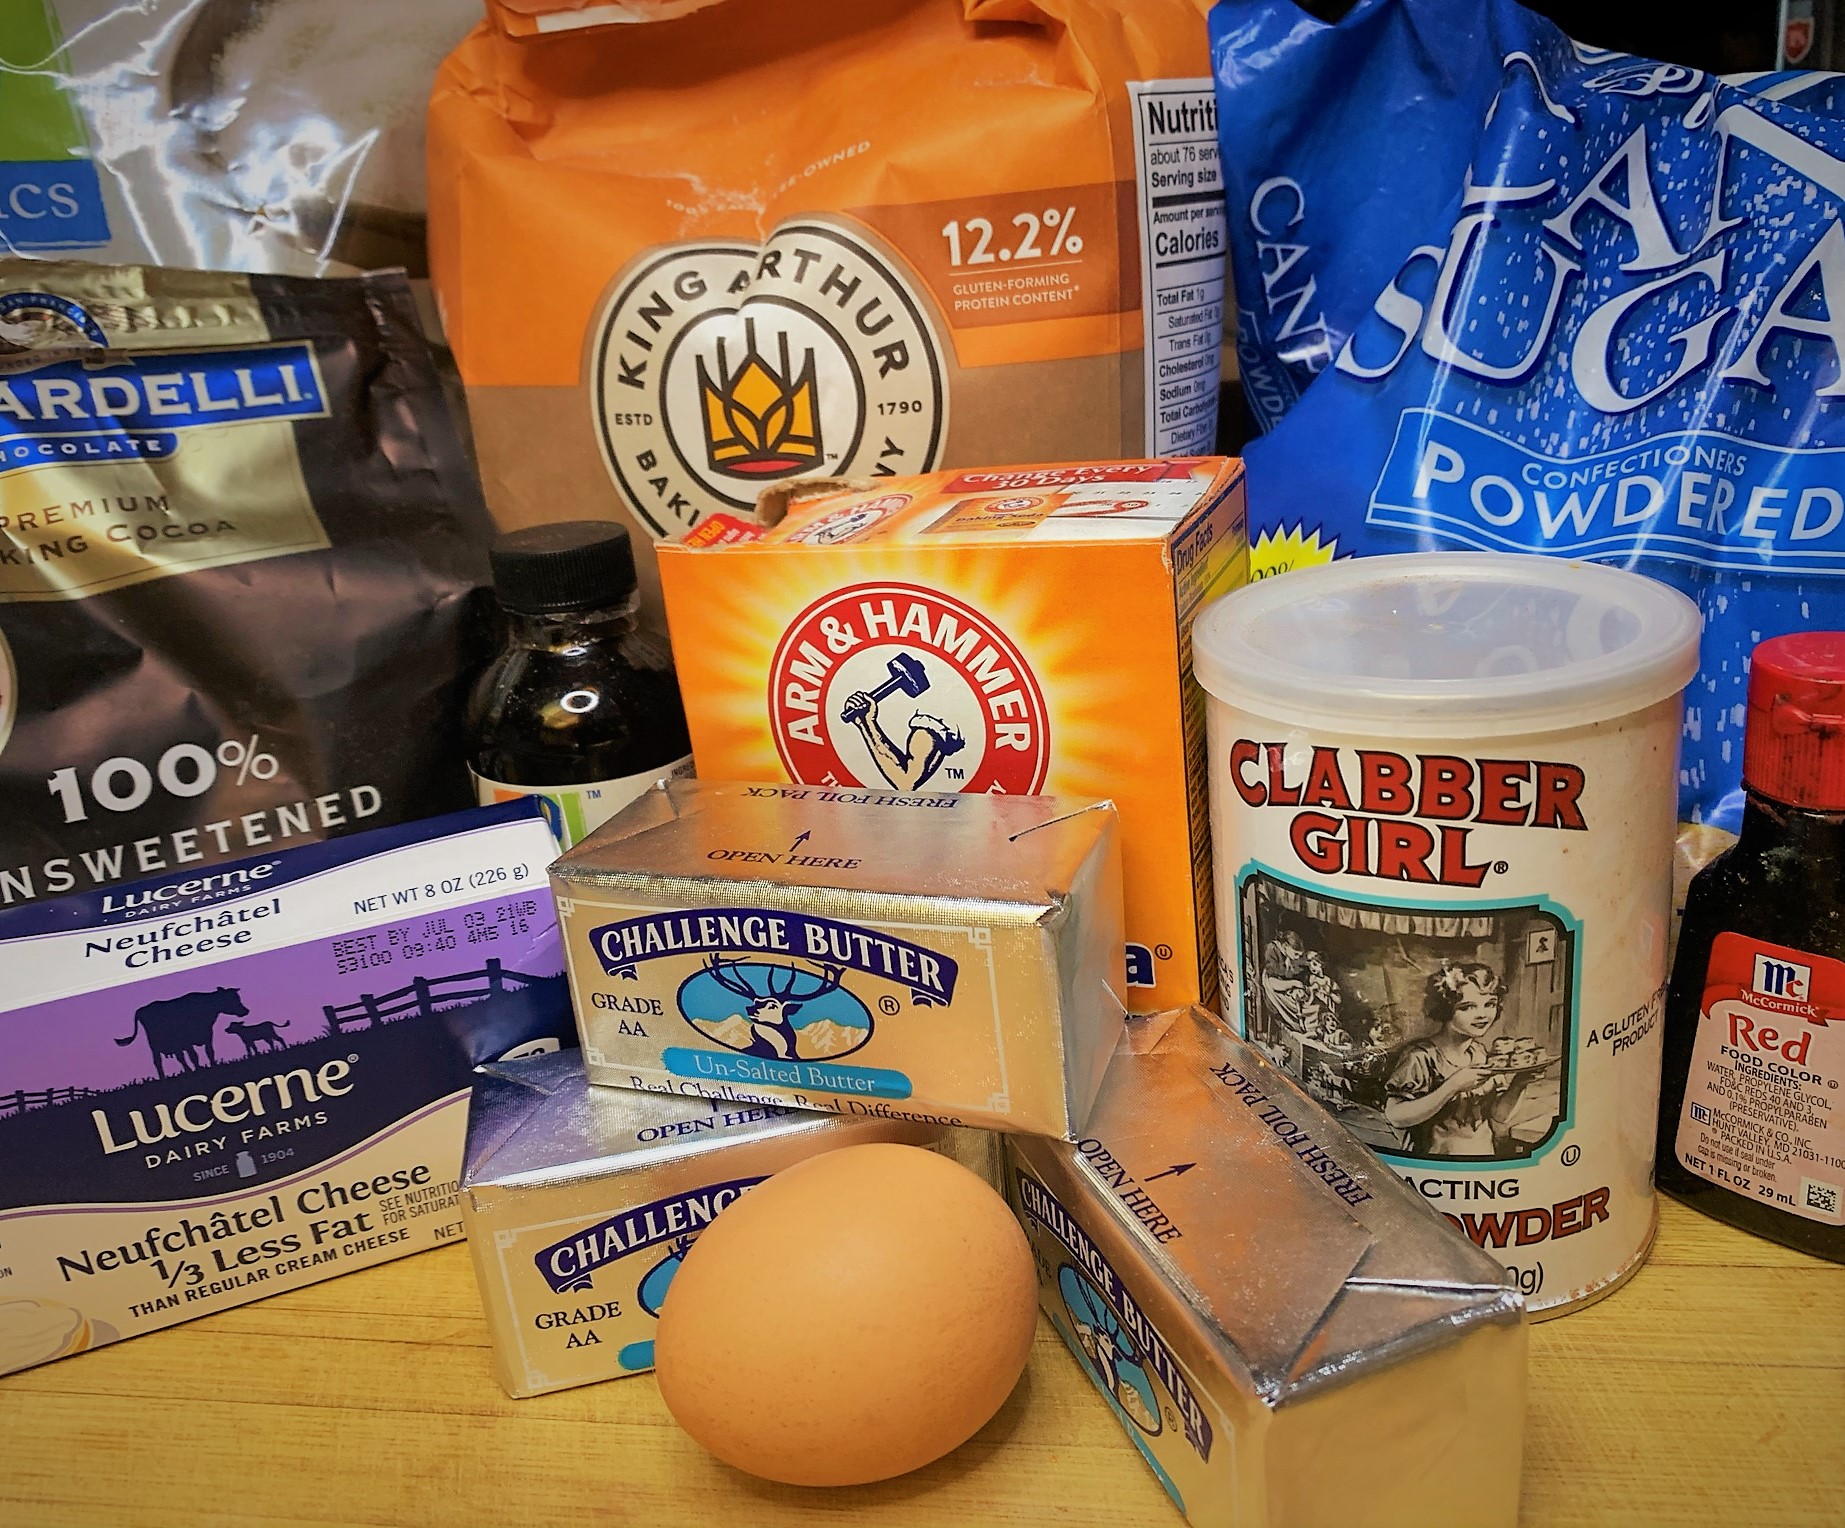
Our Ingredients
The components for our Red Velvet Mickey Whoopie Pies are, pretty much, what you’d expect.
There are a couple of things that are important to making anything Red Velvet. The first, which is most notable, is the coloring. It’s probably the most distinctive thing about it. I mean, it’s right in the name! To accomplish this coloring, we will be using Red Food Coloring. Now, some people have issues with using that type of ingredient; which I totally understand. If you do object to it, you can accomplish the color with Beet Juice. You can also just leave it out entirely. Yes, you won’t get the “Red” part of the “Red Velvet” but the lack of it won’t affect the flavoring.
The other important ingredient in anything Red Velvet is a little bit of acid to give it it’s little touch of sourness. We’ll be doing that, in this recipe, by using Buttermilk. Now, as I explained in our recent Tostada de Chroizo from Las Posadas Holiday Kitchen recipe, I don’t normally buy a lot of Buttermilk. That’s because, once I use however much I need, the rest just sits in the fridge until it goes bad. Instead, I make my own by mixing 1 cup of Milk with 1 tablespoon of White Wine Vinegar and letting it sit for about 15 minutes. That works just fine if you don’t have the actual ingredient around.
Since this is, technically, a cookie, we will be needing items to help with the leavening. In this case, those will be the inclusion of both Baking Powder and Baking Soda. The butter will help make sure our cookies are soft and fluffy, as well.
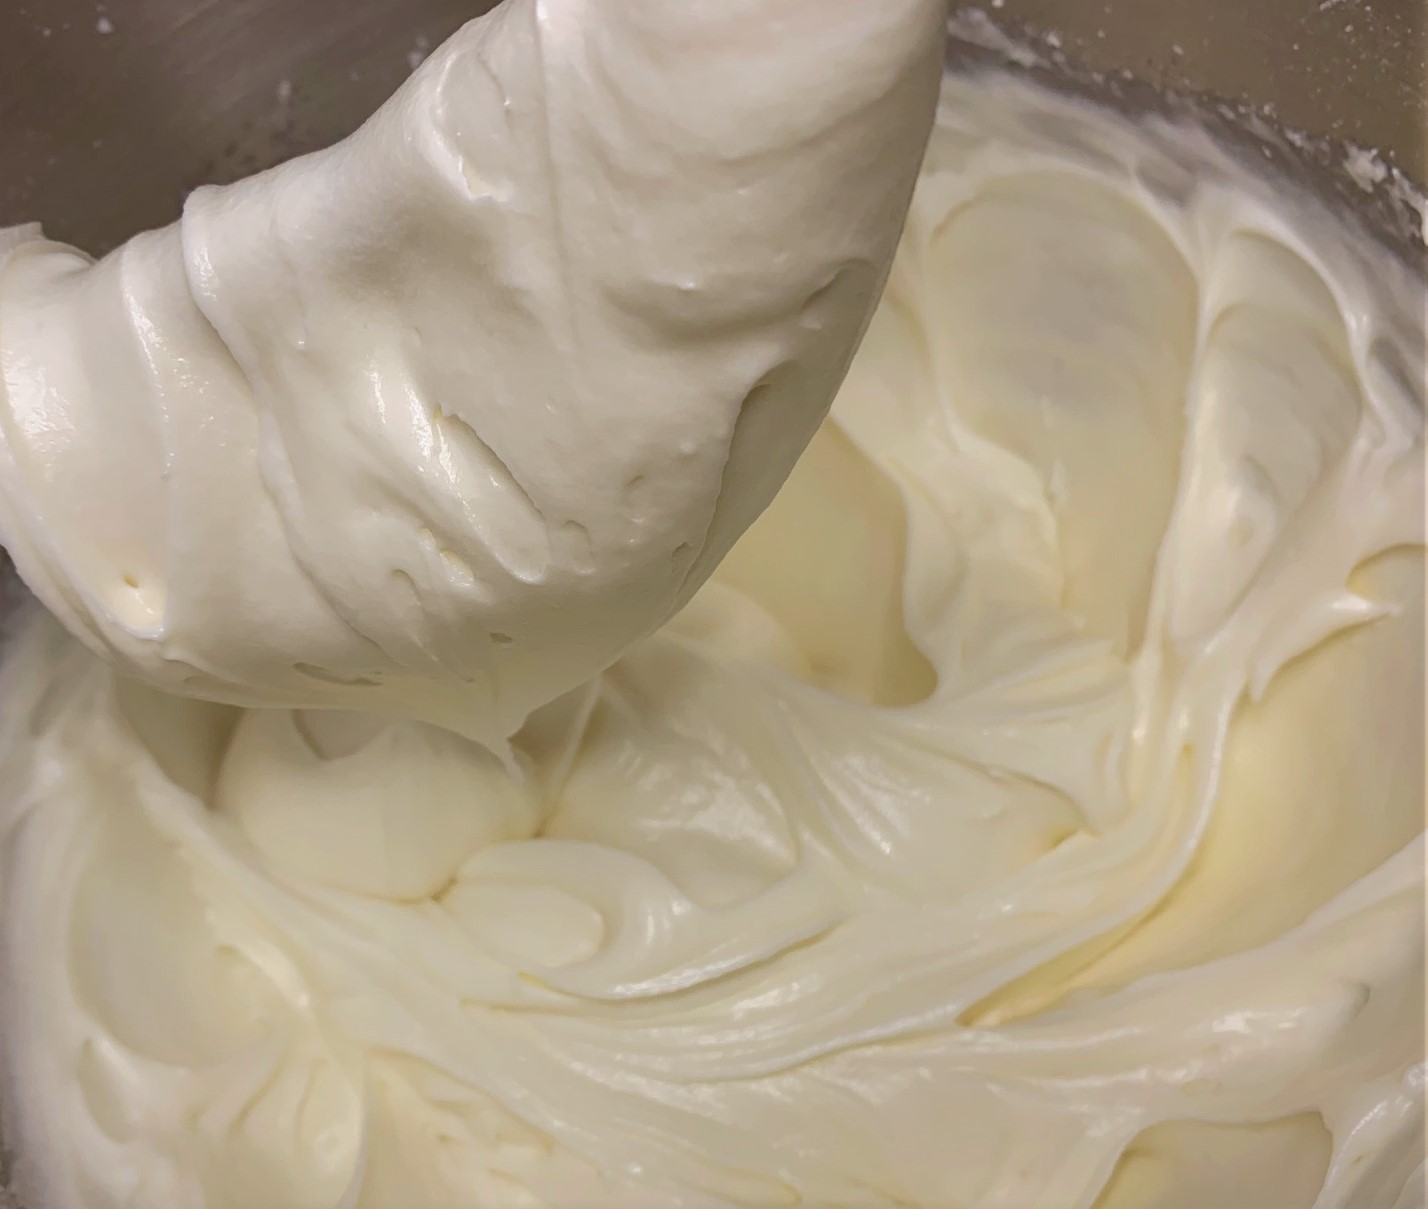
The filling is a traditional Cream Cheese Frosting, so you will need Cream Cheese (of course) and a large amount of Powdered Sugar. Or you can just go ahead and buy a pre-made frosting. But, what fun is that?
As far as not-so-traditional cooking equipment, I would suggest using a Pastry Bag with a medium-sized round tip. However, we know not everyone has one of those just lying around in their kitchen. So, you can also use a couple of large plastic bags with a corner cut off, if need be.
Cookie Time!
We need to start with our cookies. That means baking. So, we begin by pre-heating our oven to 375ºF.
Meanwhile, add the Butter and Granulated Sugar to a large electric mixing bowl on medium speed and cream together. Then add the Egg and mix until it’s well incorporated. Finally, beat in the Pure Vanilla Extract until well combined.
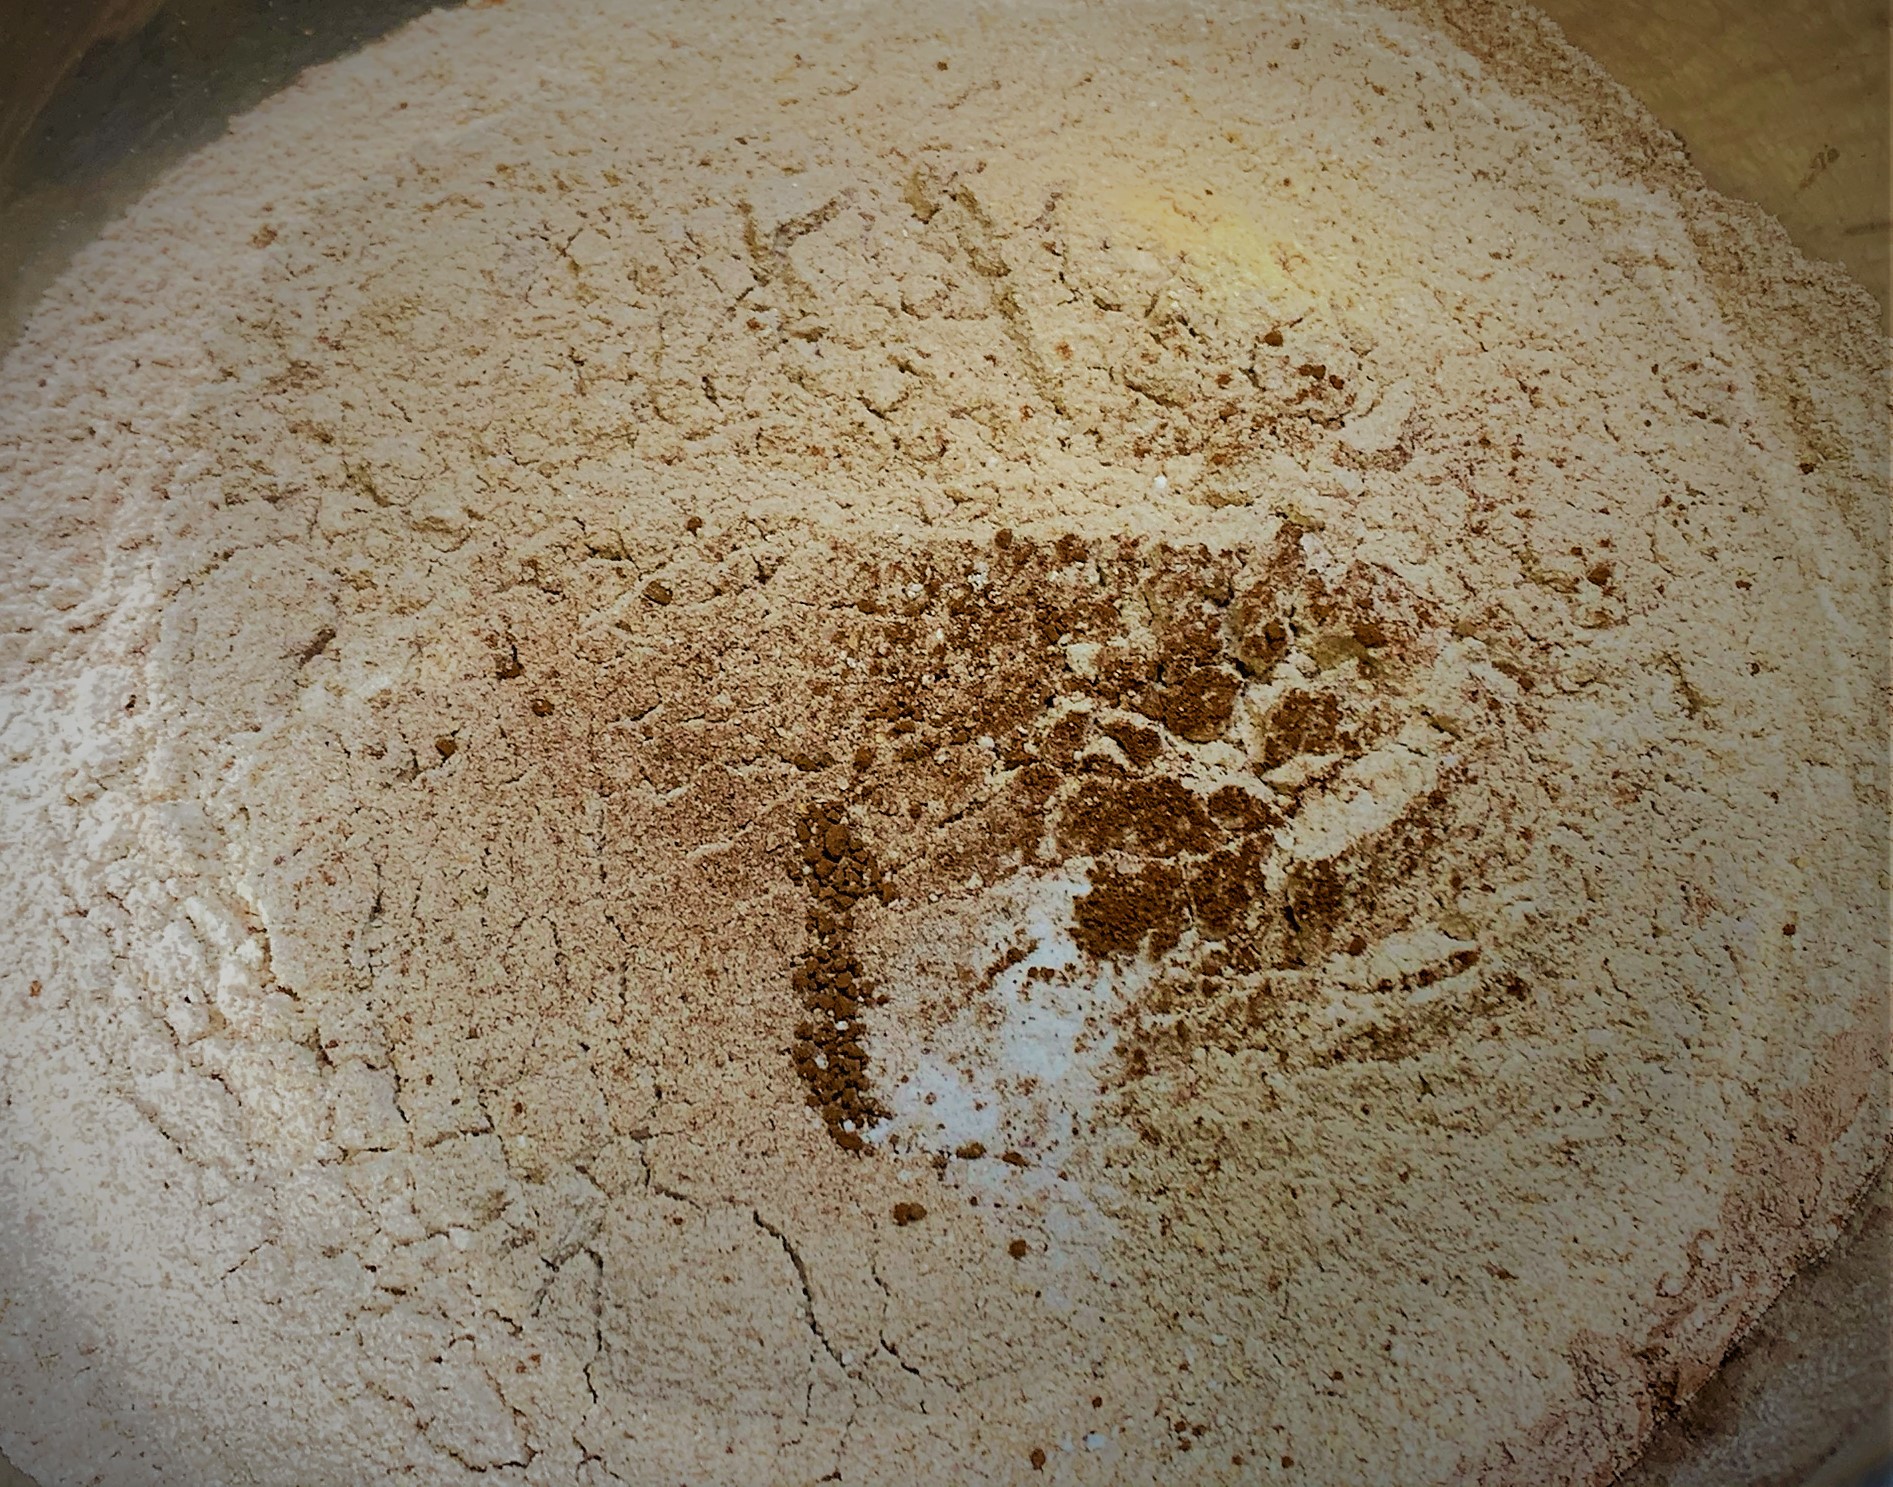
Next, sift together the All-Purpose Flour, Baking Powder, Baking Soda, Cocoa Powder, and Salt in a medium-sized bowl.
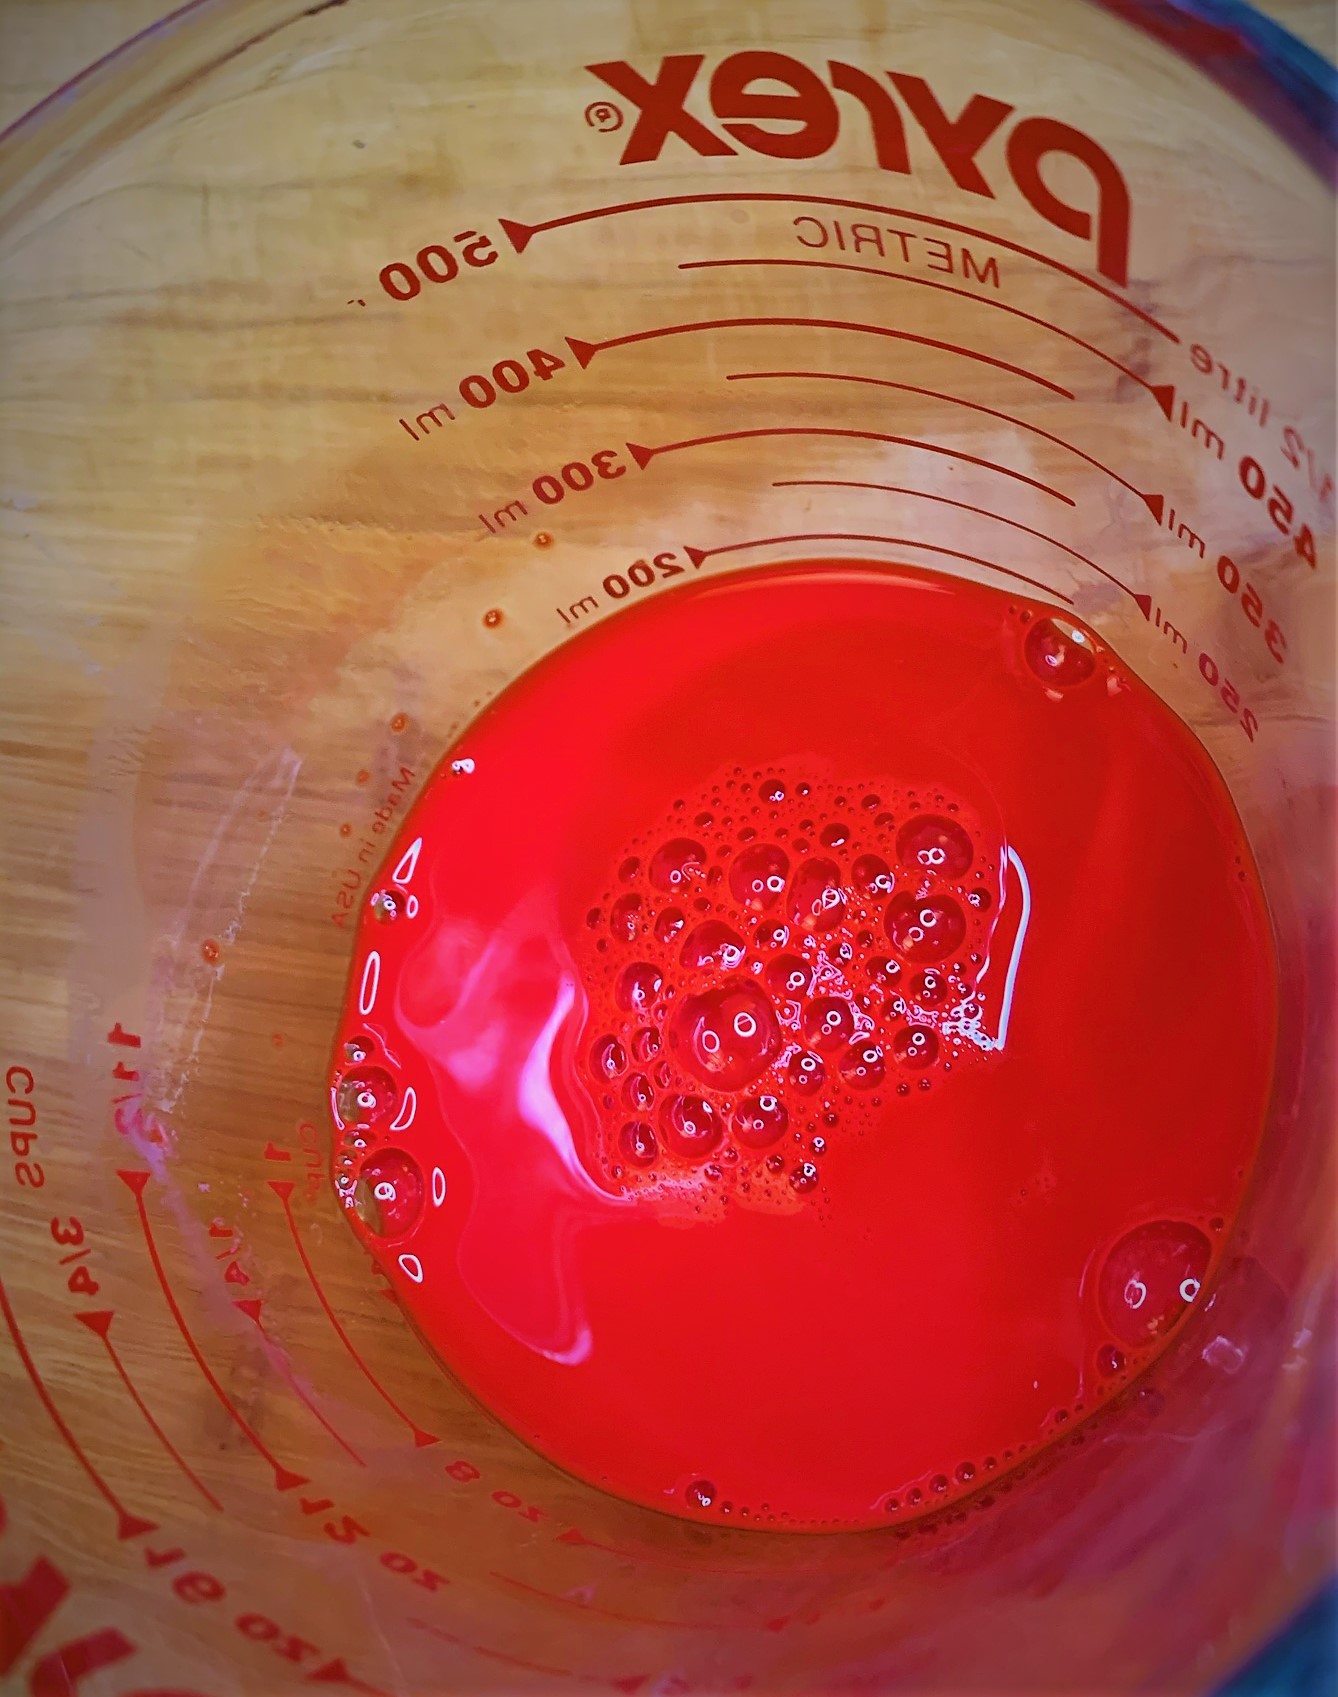
Meanwhile, combine the Buttermilk and Red Food Dye in a small bowl or glass measuring cup and stir to combine.

With the mixer on low, alternate in adding the Dry Ingredients and Red Buttermilk to the Creamed Butter and Sugar. First half of the Flour/Cocoa, then the Buttermilk and then the rest of the Flour/Cocoa.
Mickey Time!
Now it’s time to start creating our Mickey cookies. Start by placing a sheet of Parchment Paper on a Baking Sheet and coat it lightly with Cooking Spray or a light brush of Vegetable Oil.
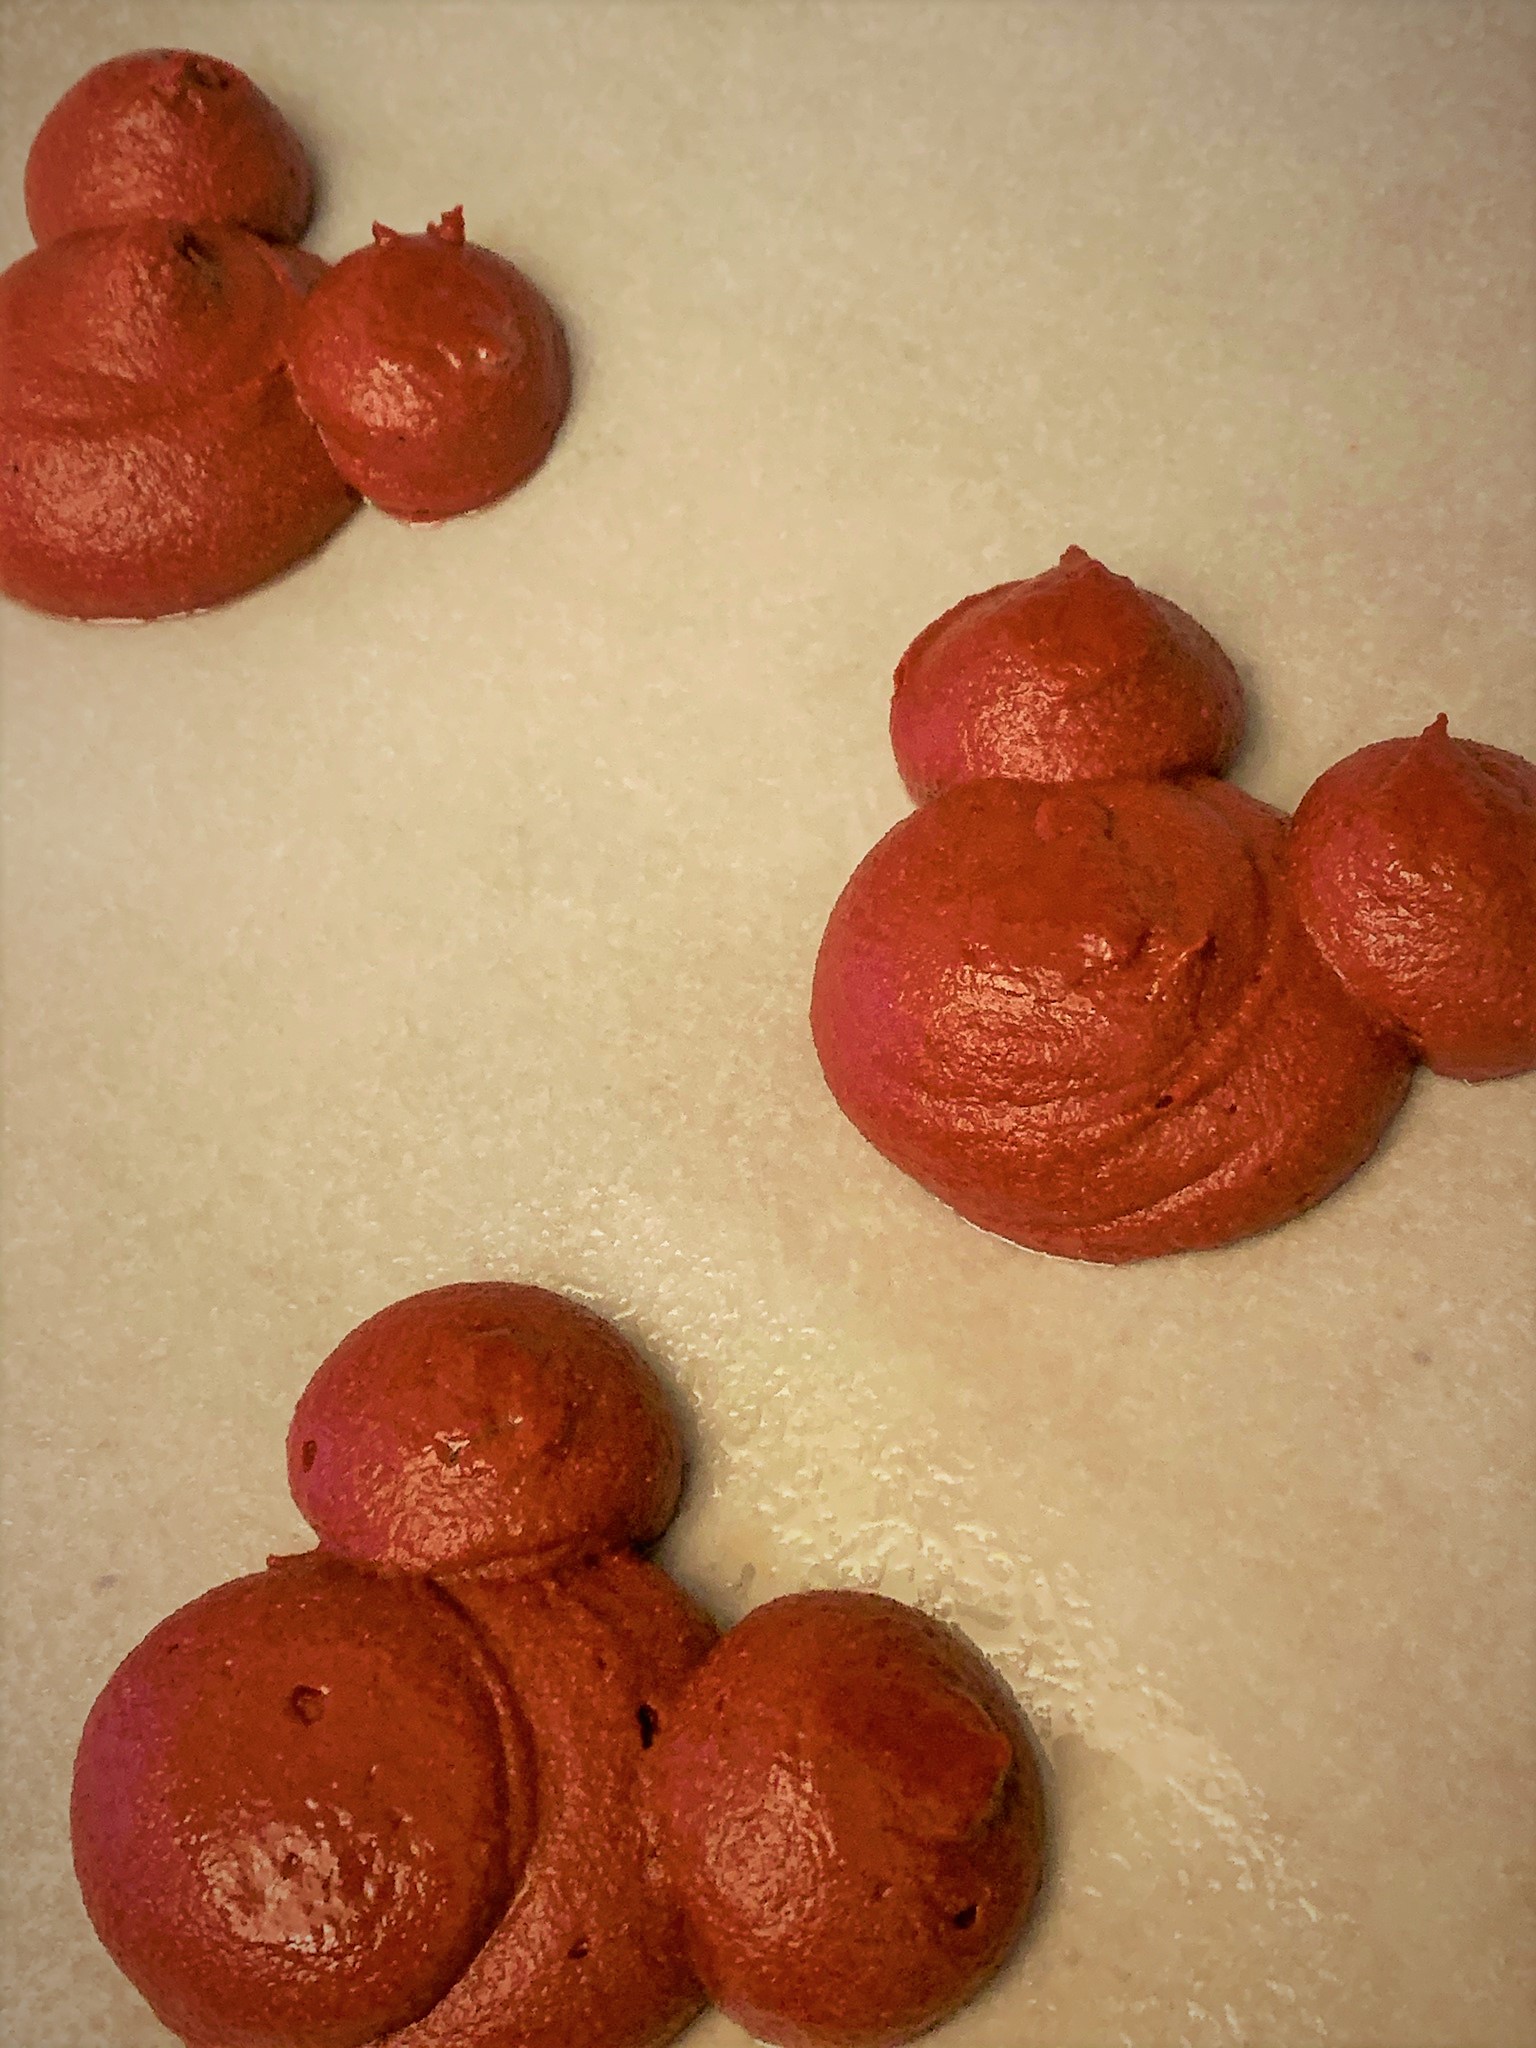
Next, add the Red Velvet Batter to a Pastry Bag (or large plastic bag with one corner cut off). Squeezing gently, add about a 2 inch “blob” to the baking sheet followed by 2 smaller ones on top, if desired. Be sure to leave plenty of space in between each cookie because they will spread significantly while baking.
- Note: You can make these as more traditional Whoopie Pies by not adding the “ears”. It is an easier way to go. However, we all know everything tastes just a little bit better when it’s Mickey shaped!
Continue until you have an even amount of cookies on the sheet. (This recipe should make about 16, depending on the size you make them)You’ll then want to flatten each “cookie blob” slightly. Since the dough will be a little sticky, at this point, you can use a spoon or spatula lightly coated with cooking spray to help make the process easier.
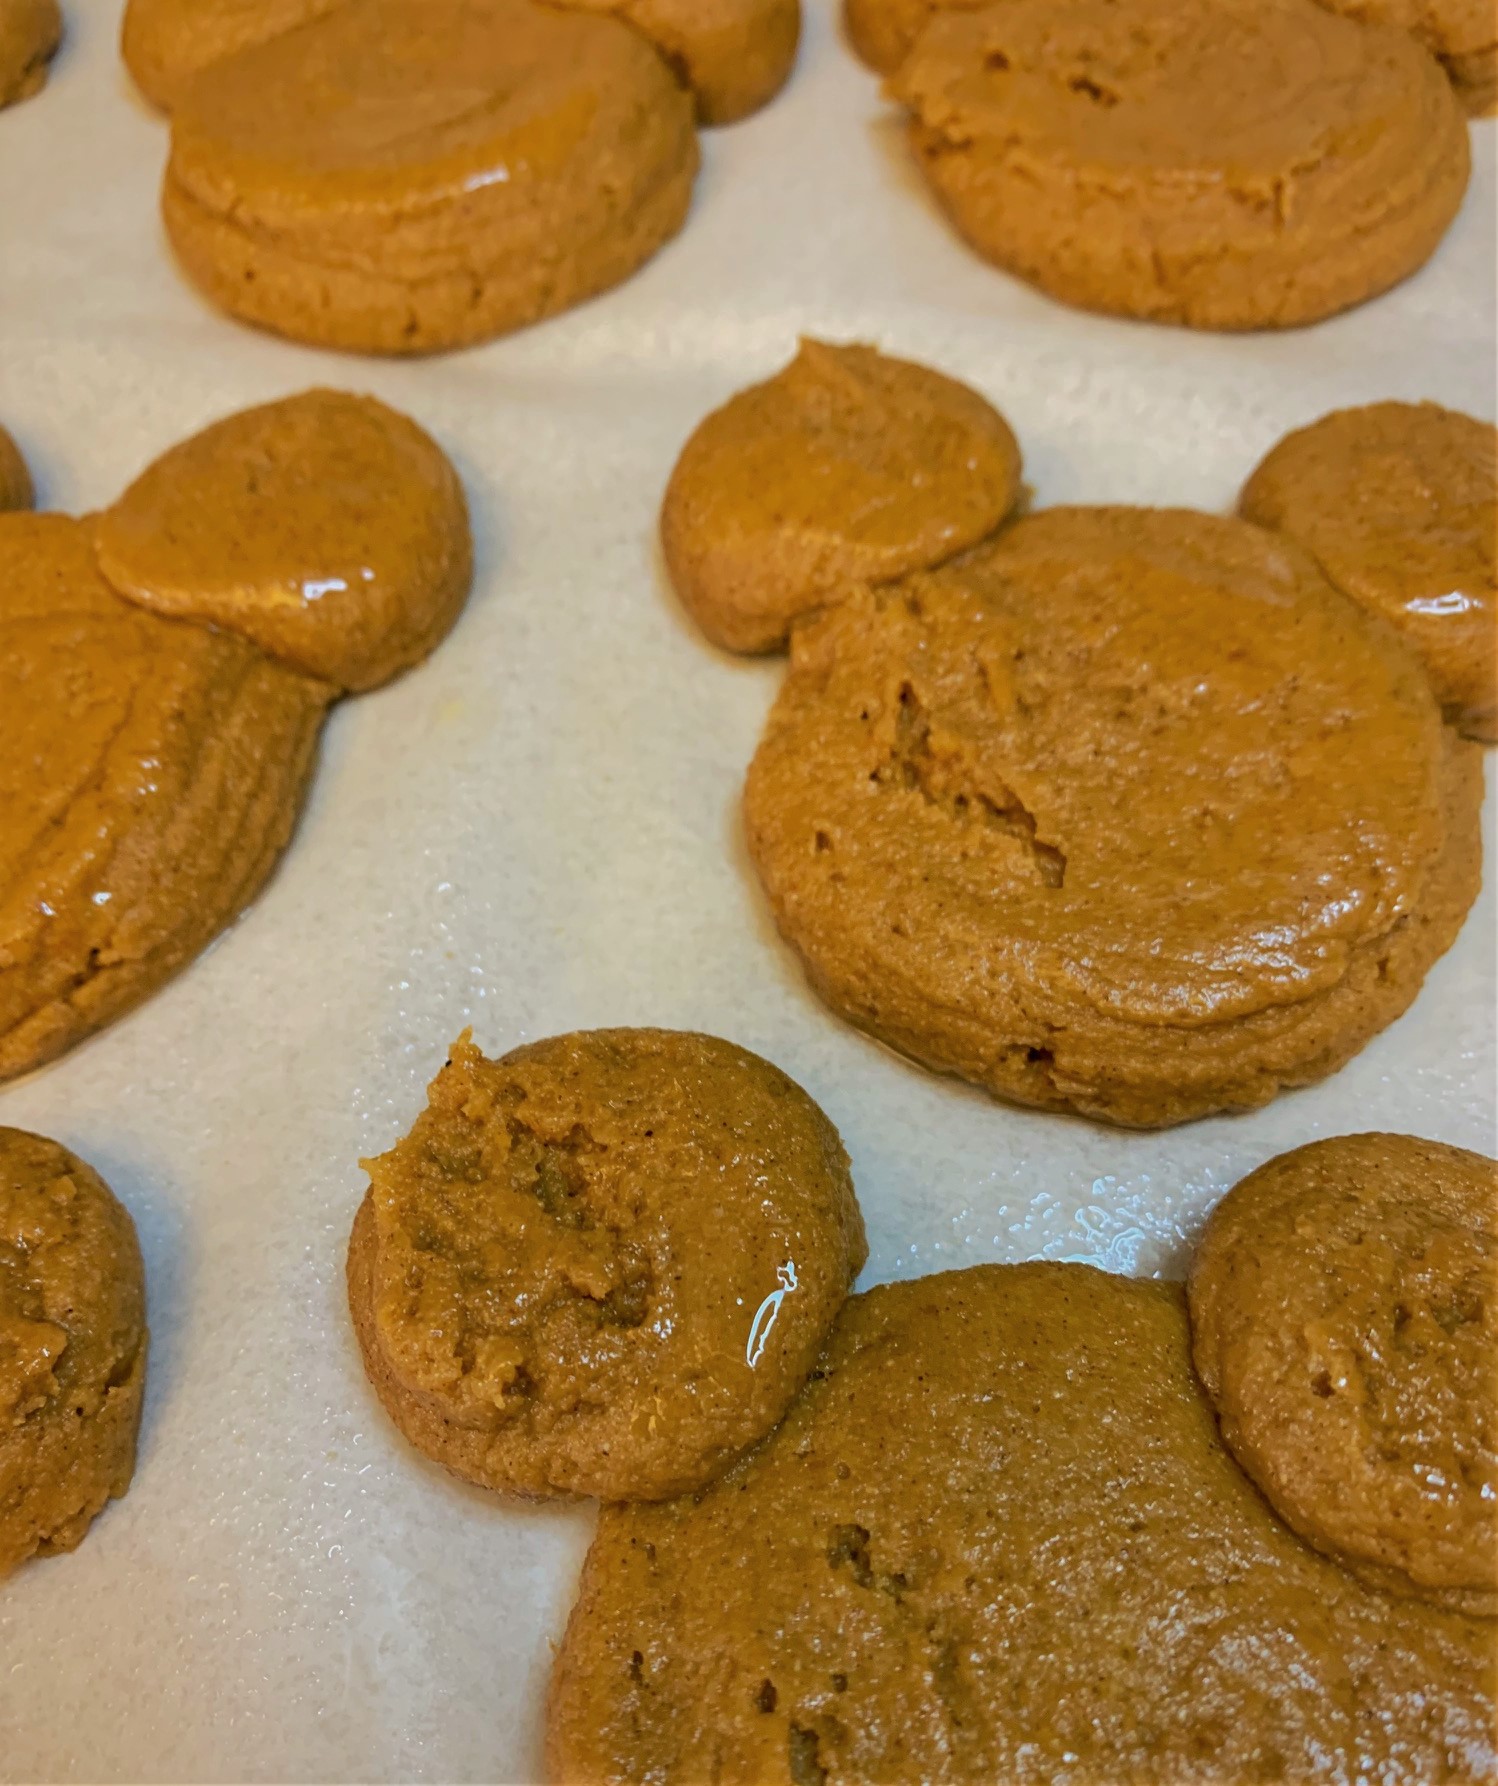
Once you have all of your Mickeys ready to go, place them in your preheated 375ºF oven and bake for about 8 to 10 minutes. You’ll know they’re done when you can lightly press on the center and the surface will, sort of, spring back from your touch.
Move to a baking rack and cool completely.
Filling Time!
While our cookies are cooling, it’s time to make the filling for our Pumpkin Mickey Whoopie Pies. Start by adding the Cream Cheese and Butter to the bowl of an electric mixer and cream together until completely combined. Next, add the Pure Vanilla Extract and the Sifted Powdered Sugar and mix until fully incorporated and creamy. Reserve until ready to use.
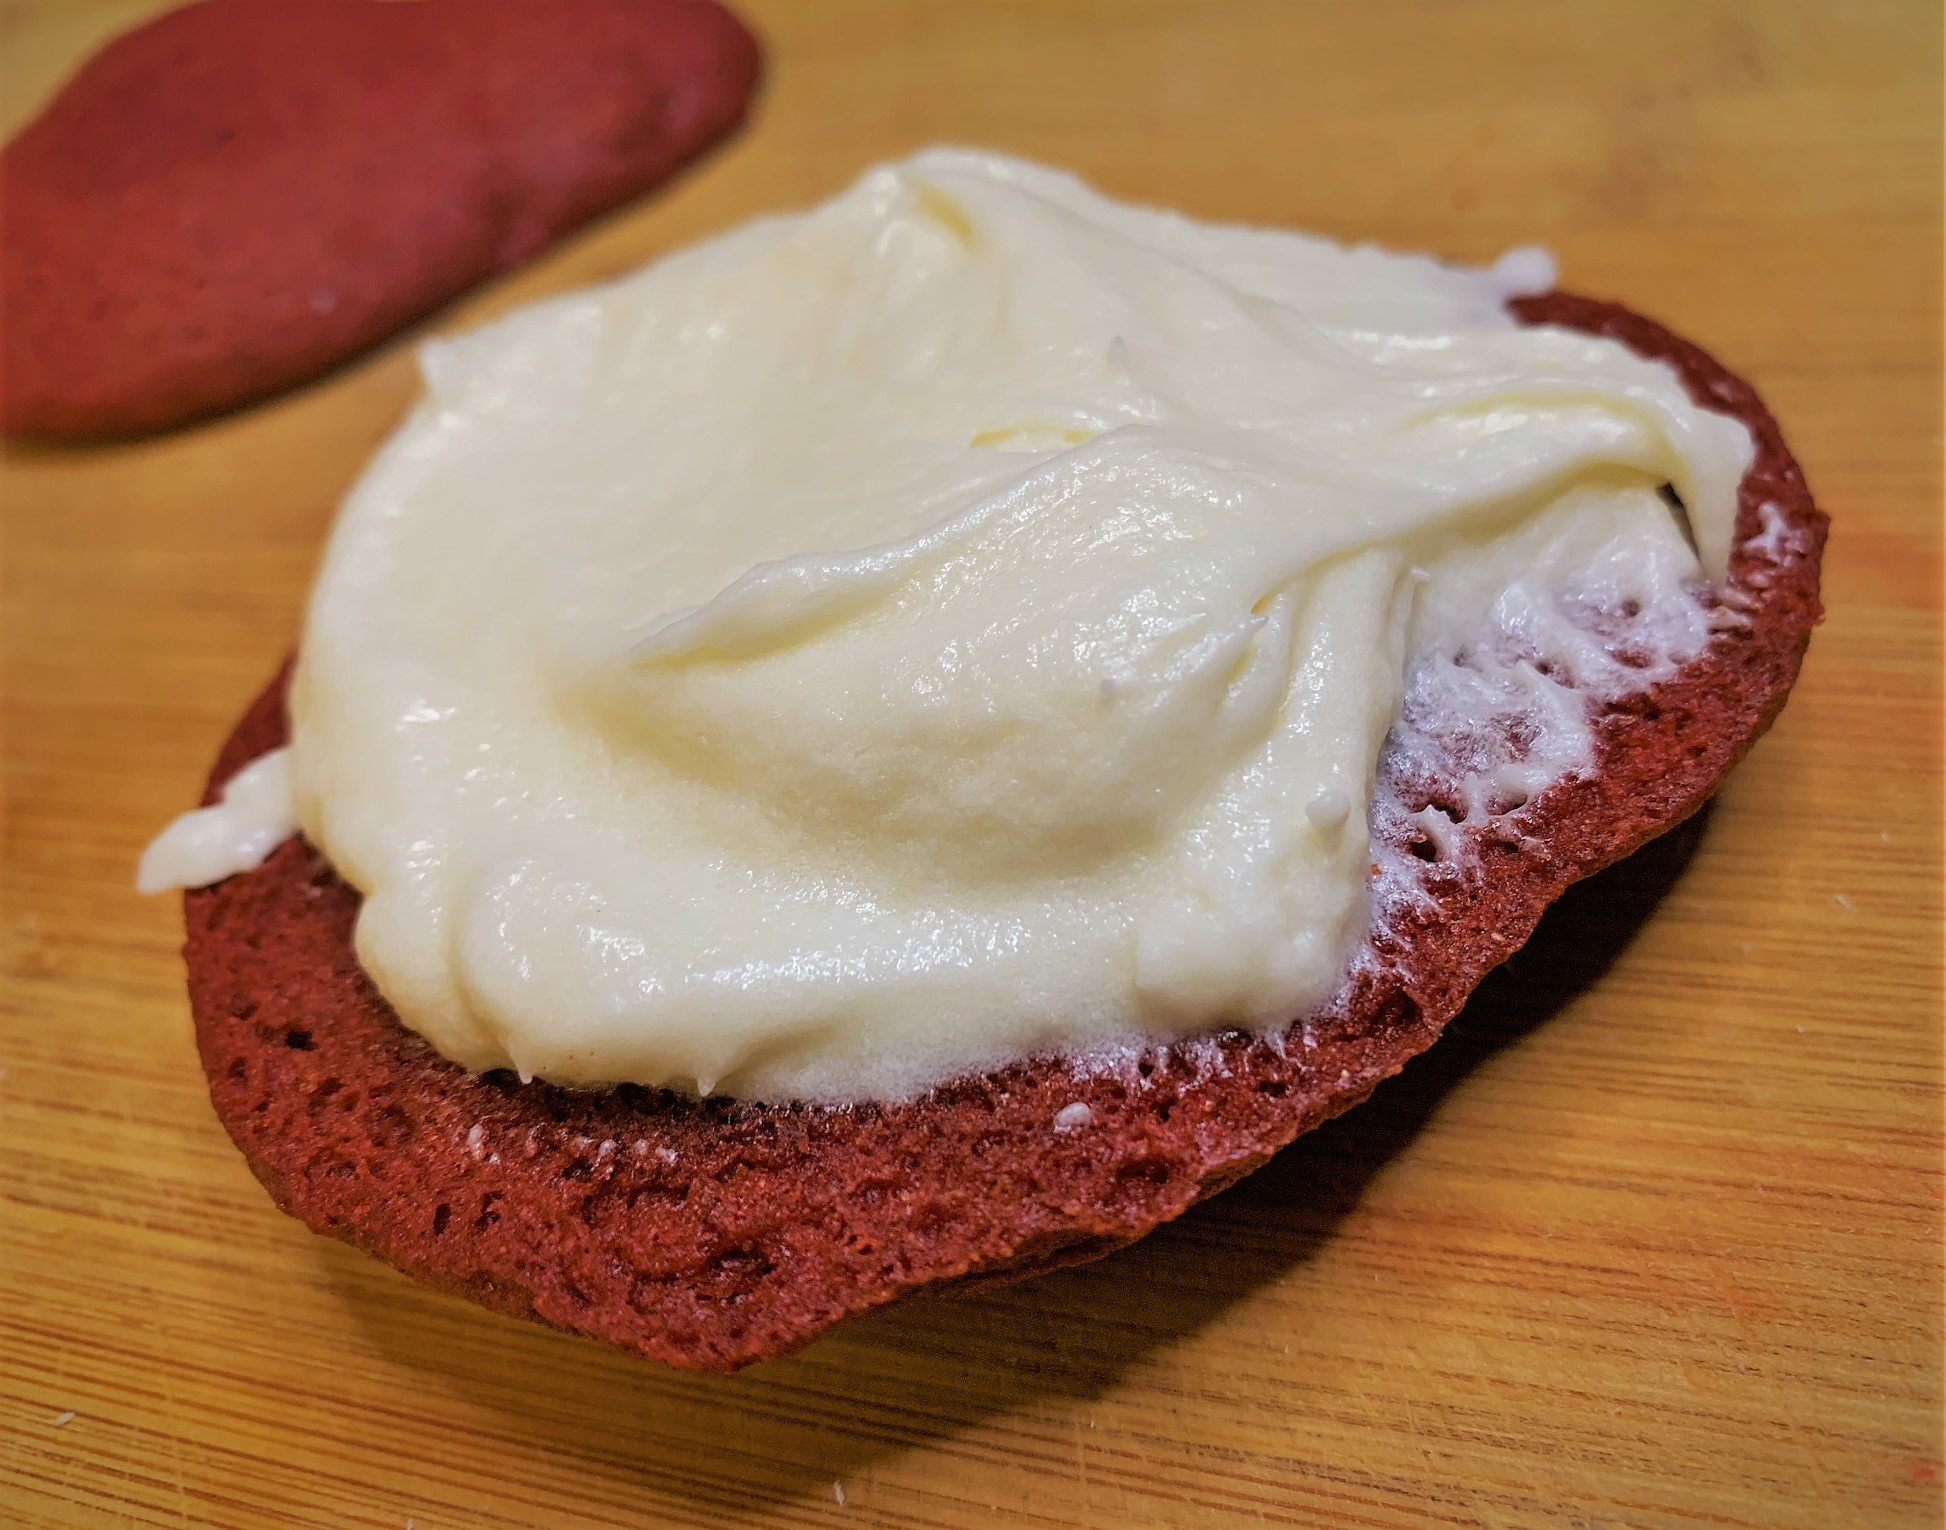
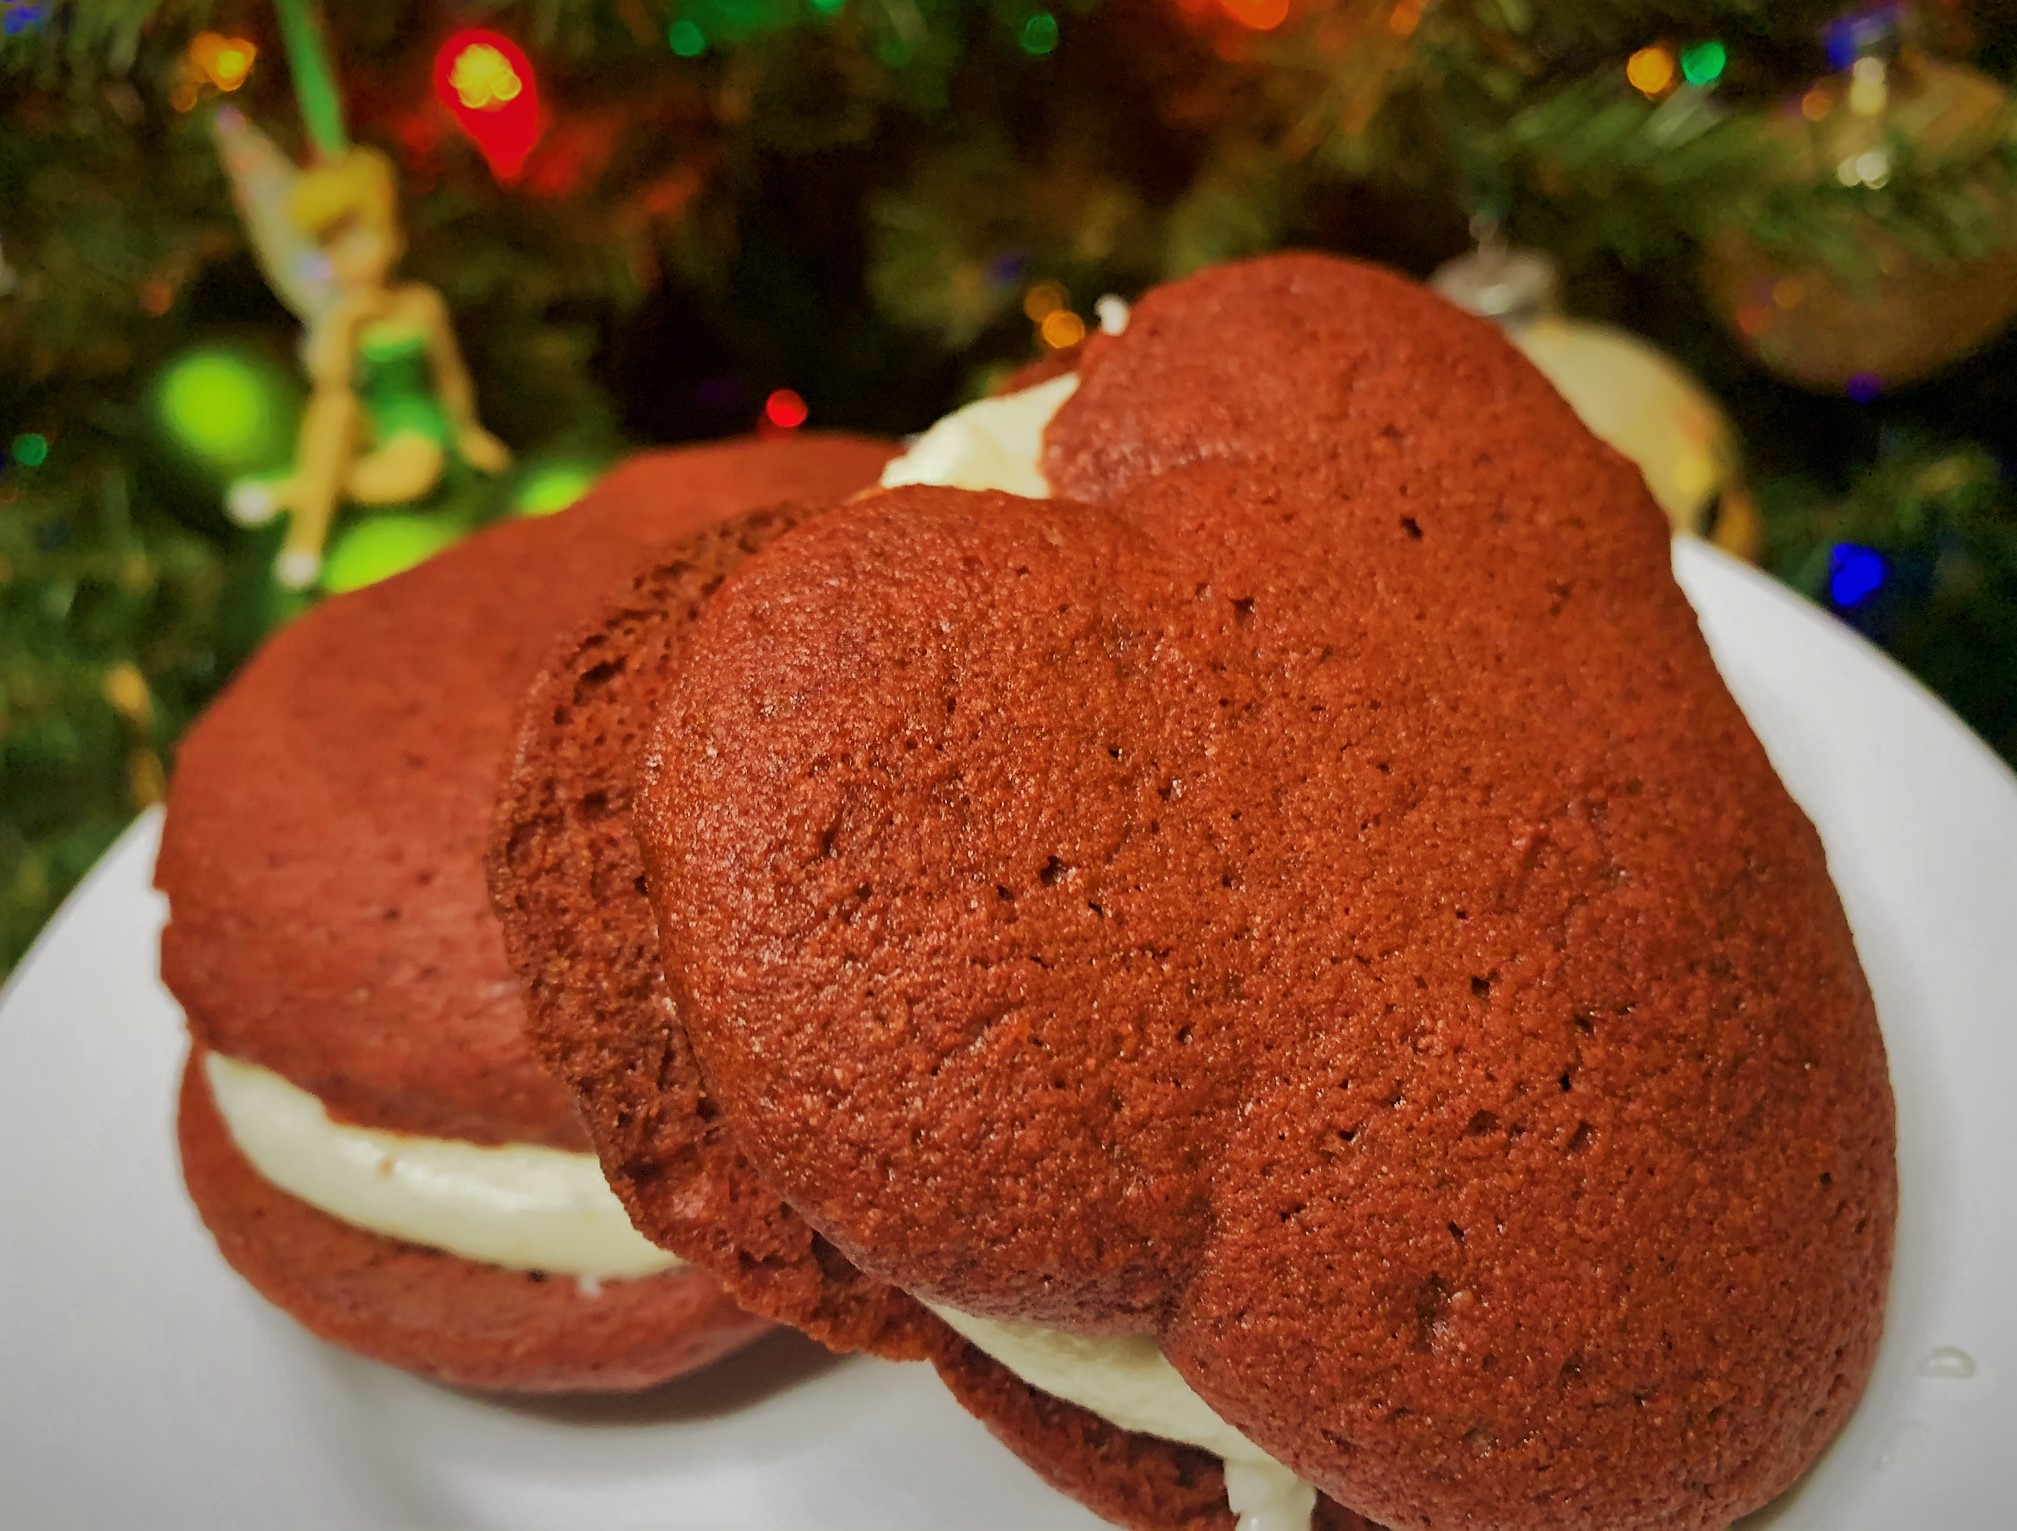
Once the cookies have completely cooled, it’s time to put our Red Velvet Mickey Whoopie Pies together. Pair off the cookies, trying to keep them as close in size as possible. Place them face down. Then, place a heaping spoonful of the Cream Cheese Filling in the center of the “bottom” cookie of each pairing
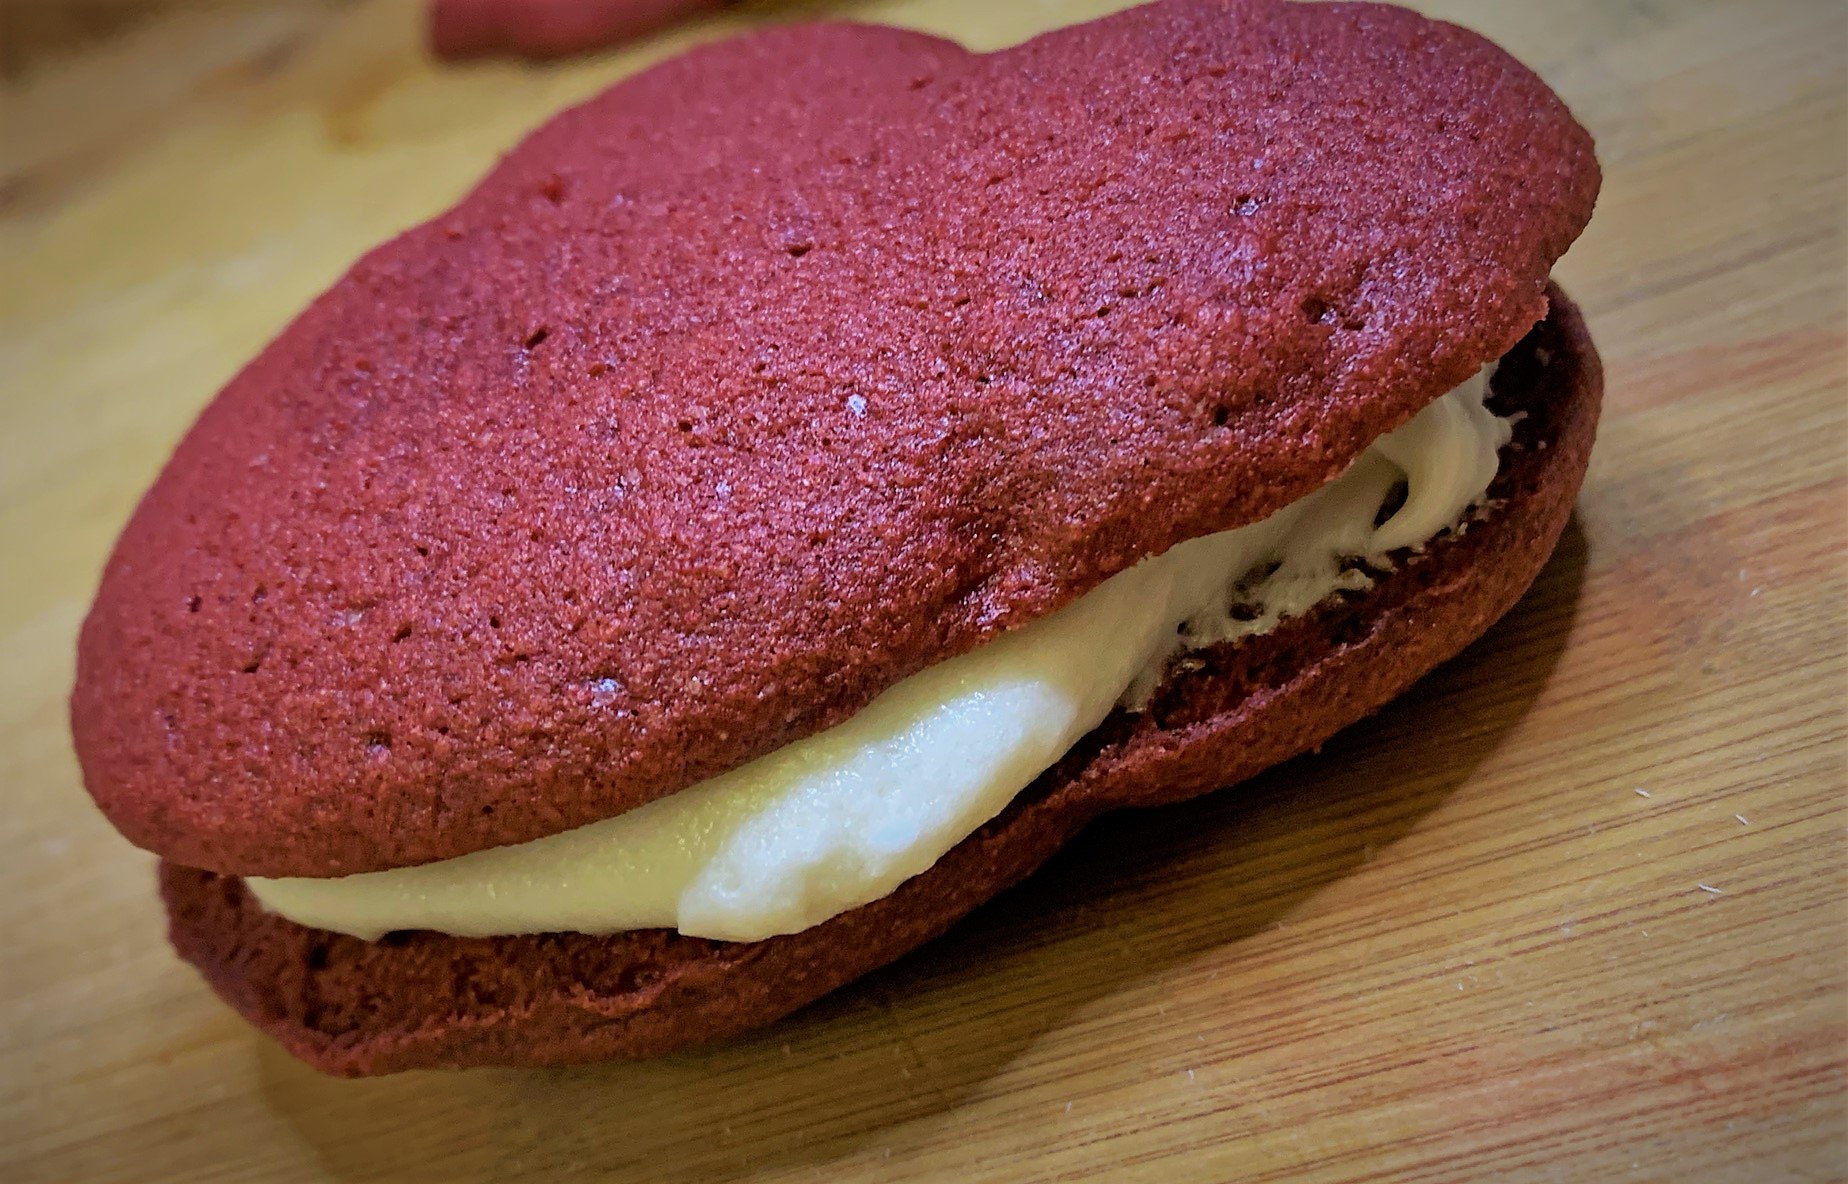
Then, place the other cookie on top and press together lightly until the filling is squeezed to the edges. Serve immediately or store in an air-tight container in the refrigerator.
Our Conclusion
These Red Velvet Mickey Whoopie Pies are a wonderful Holiday treat! You get the all the flavors you would ever expect from traditional Red Velvet but in a lovely, little, Mickey-shaped, hand held package.
The cookies are light and spongy. Each bite has is packed with Cocoa and just that light sour hint from the Buttermilk. Then you get the gorgeous, richness of the cream cheese filling. It’s sweetness provides a fantastic contrast the “chocolatiness” of cookie while the light tang from the cream cheese balances the entire dessert.
It’s spectacular!
Get the family together and make this Disney Dish! It will definitely light up your Holiday Season!
If you have any questions about this or any of our recipes, just hit us up below in the comments. You can also reach us through our Contact Us page or through email.
Red Velvet Mickey Whoopie Pies
Makes approximately 8 completed cookies
For the Cookies
- 1 cup – Granulated Sugar
- ¾ cup – Unsalted Butter – Softened
- 1 – Egg – Room Temperature
- 1 tsp – Pure Vanilla Extract
- 2¼ cups – All-Purpose Flour
- ¼ cup – Cocoa Powder
- 1 tsp – Baking Soda
- 1 tsp – Baking Powder
- ¼ tsp – Salt
- ¾ cup – Buttermilk
- 1 tbls – Red Food Coloring
For the Cream Cheese Filling
- 8oz – Cream Cheese – Softened
- ½ cup – Unsalted Butter – Softened
- 1 tsp – Pure Vanilla Extract
- 4 cups – Powdered Sugar – Sifted
Instructions
For the Cookies
- Preheat the oven to 375ºF
- Cream together the Unsalted Butter and Brown Sugar with an electric mixer
- Add Egg, and Pure Vanilla Extract and mix until completely combined
- Meanwhile, sift the All-Purpose Flour, Baking Soda, Baking Powder, Cocoa Powder, and Salt to a medium-sized bowl
- Place the Buttermilk and Red Food Coloring in a small bowl or glass measuring cup and stir to combine
- With the electric mixer on low, add half of the Flour/Cocoa mixture to the creamed Butter & Sugar. Mix until combined
- Continue with the mixer on low and add the Buttermilk/Red Food Coloring mixture. Mix until well combined
- Add the rest of the Flour/Cocoa blend and mix until combined
- Place a sheet of Parchment Paper to a Baking Pan and lightly coat with Cooking Spray or Vegetable Oil
- Spoon the Red Velvet Cookie Batter into a Pastry Bag with a medium-sized rounded tip or a Large Plastic Bag with the corner cut away
- Gently squeeze out an even amount of cookie dough “blobs” that are about 2 1/2″ in width, leaving plenty of space between each cookie
- Using the back of a spoon, lightly coated with cooking spray, press down on the cookie dough to flatten
- Add two more smaller cookie dough “blobs” to the top of each larger cookie to form the ears and, again, flatten with the back of a spoon
- Bake in a 375ºF oven for approximately 8 to 10 minutes or until the center of each cookie springs back when lightly pressed in the center
- Place on a baking rack and cool completely
For the Cream Cheese Filling
- Place the softened Cream Cheese an Unsalted Butter in an electric mixer and cream together
- Add the Pure Vanilla Extract and Sifted Powdered Sugar and beat until the mixture is completely combined and creamy
For the Red Velvet Mickey Whoopie Pies
- Once the Cookies have completely cooled, pair them off; trying to match them as closely in size as possible.
- Add a heaping spoonful of the Cream Cheese Filling to the center of the “bottom” Cookie
- Add the other half of the Cookies to the top and lightly press until the filling spreads just to the edge of the Whoopie Pies
- Serve immediately or store in an air-tight container in the refrigerator
If you liked this recipe, be sure to check out our other Holiday Disney Dishes
Tostada de Chorizo from Las Posadas Holiday Kitchen
Smoked Salmon Potato Latkes Recipe
Apple-Cinnamon Cranberry Sauce
If you’re a Disney Fan, be sure to check out our Disney Podcast, as well.
![]()