
It’s that time of year, again! That period at the Walt Disney World Resort when all different forms of art get their Winter showcase. That’s the Epcot International Festival of the Arts. We love so much about it. However, as you might expect, our favorite thing is the food! There are so many wonderful Disney Dishes to sample that are all tasty and extremely beautiful. They, truly, live up to the title “Works of Art:. Today, we’re re-creating one of our favorites. The Seared Scallops with Chorizo and Red Pepper Coulis from The Artist’s Table. This amazing dish is bright, spicy and rich and we think you’ll love it.
Our Ingredients
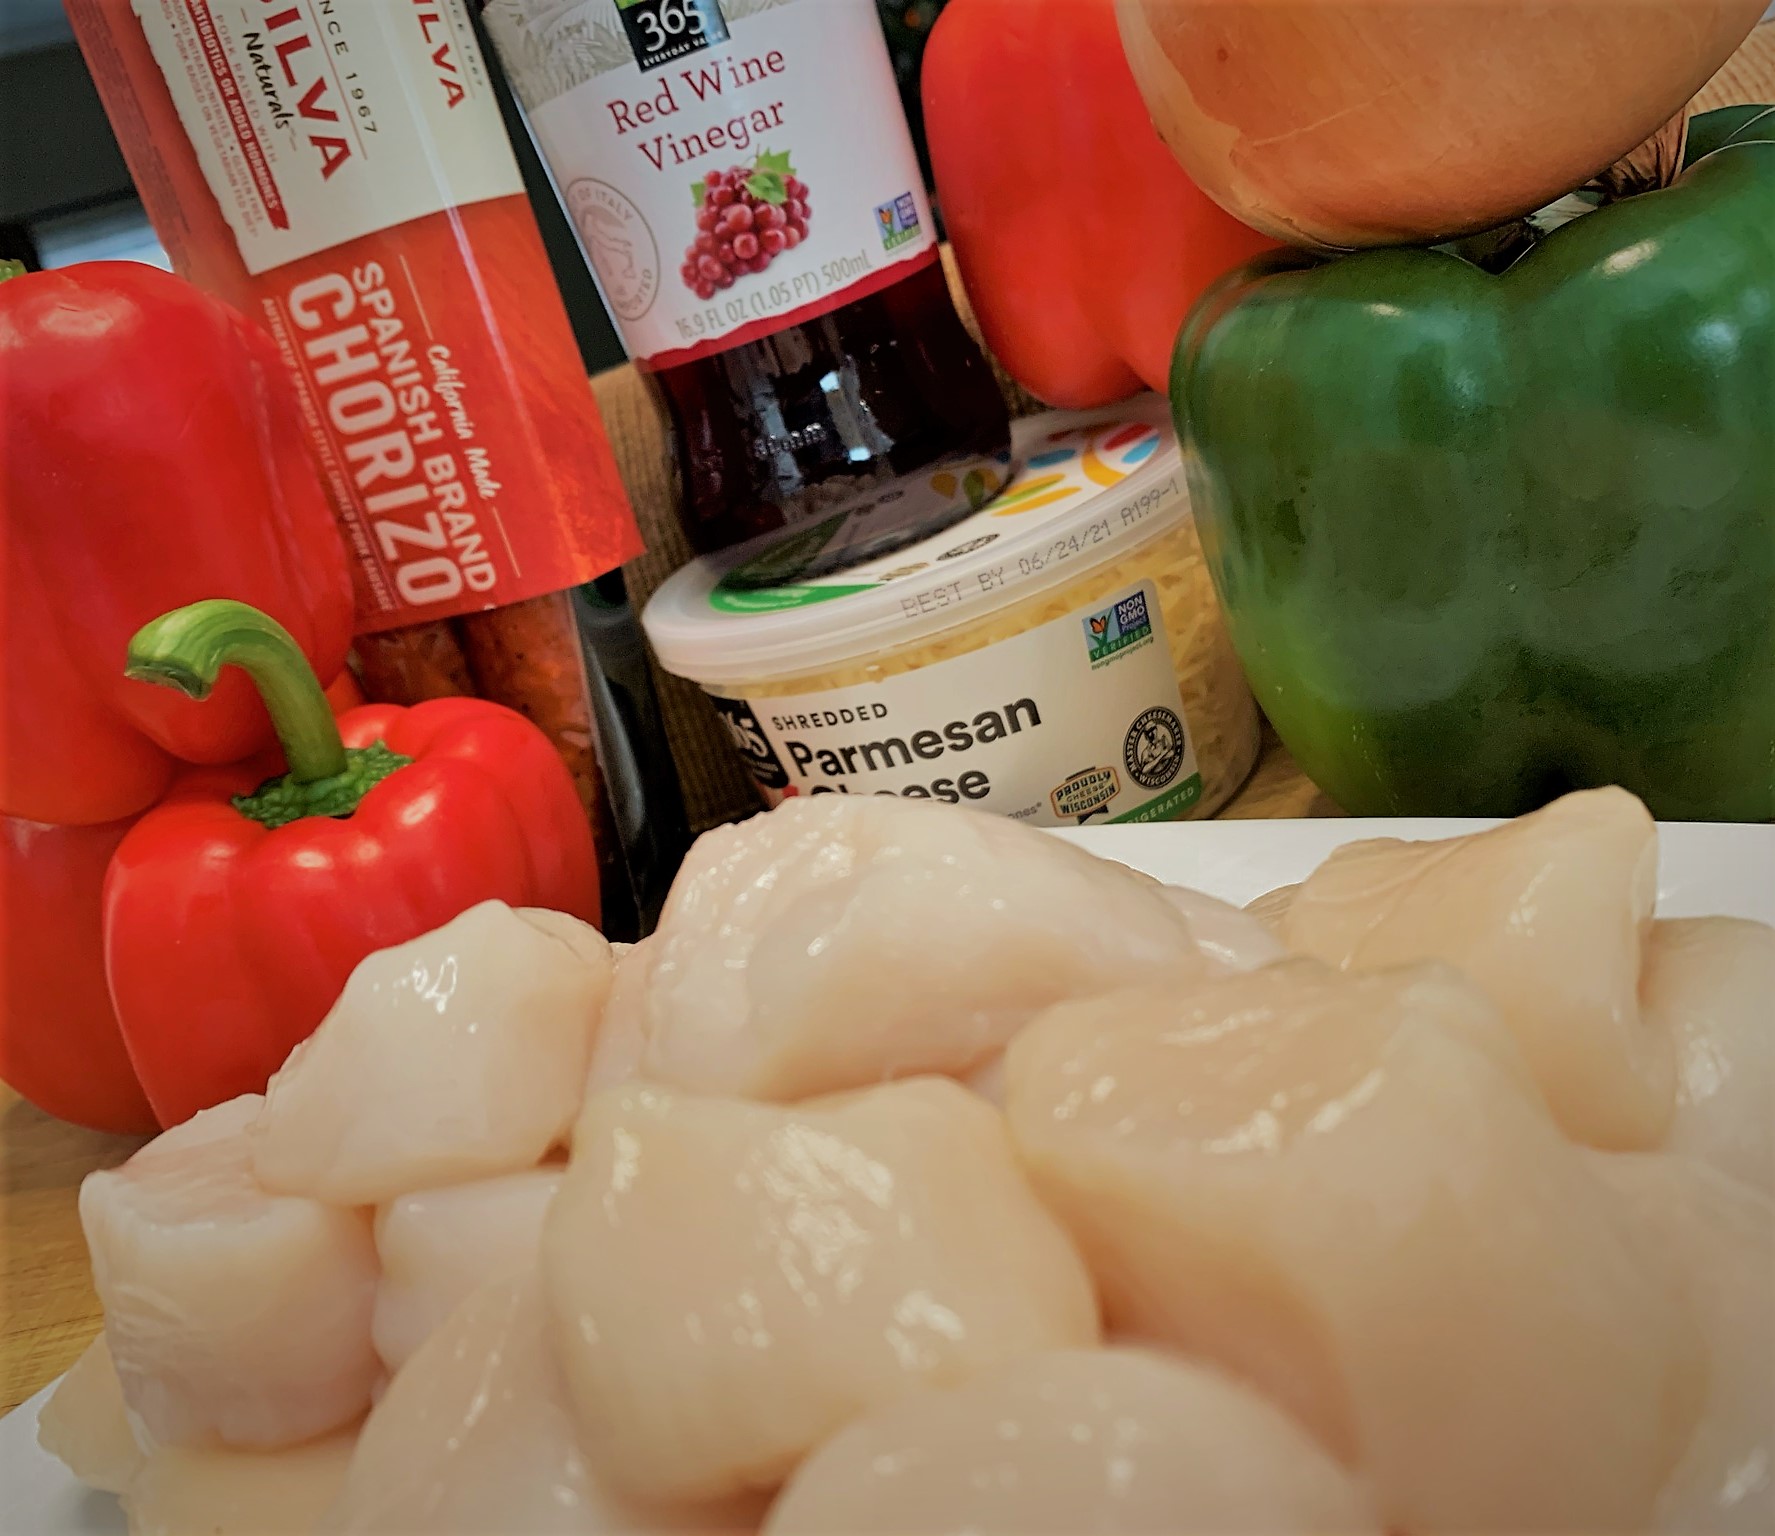
The list of components for our Seared Scallops with Chorizo and Red Pepper Coulis is not a lengthy one. One of the best things about this dish is the simplicity of it all. It provides a lot of flavor without a lot of difficult to find ingredients or a lot of prep.
The one tricky, key part of this dish may be the Spanish-Style Chorizo. As we explained in our Tostada de Chorizo from Las Posadas Holiday Kitchen recipe from a few weeks ago, there is a difference between the Mexican and Spanish versions of this sausage. Unlike that dish, we’ll be using the cured version that is prominent in Spain, today. It’s firmer and packs a bit less spice but balances this dish well.
Let’s get cooking!
The Red Pepper Coulis
The first thing you’ll want to get to work on for this Seared Scallops with Chorizo and Red Pepper Coulis recipe is the coulis, itself. I prefer a roasted version of this classic sauce because, to me, roasting the Red Bell Peppers really brings out the best of their flavor. So, that’s what we’re doing today. Now, you can roast your peppers over an open flame, if you so choose. This is the traditional process. However, I find oven roasting them in the oven to be a simpler and more consistent way to go. So, that’s what I’m doing, today.
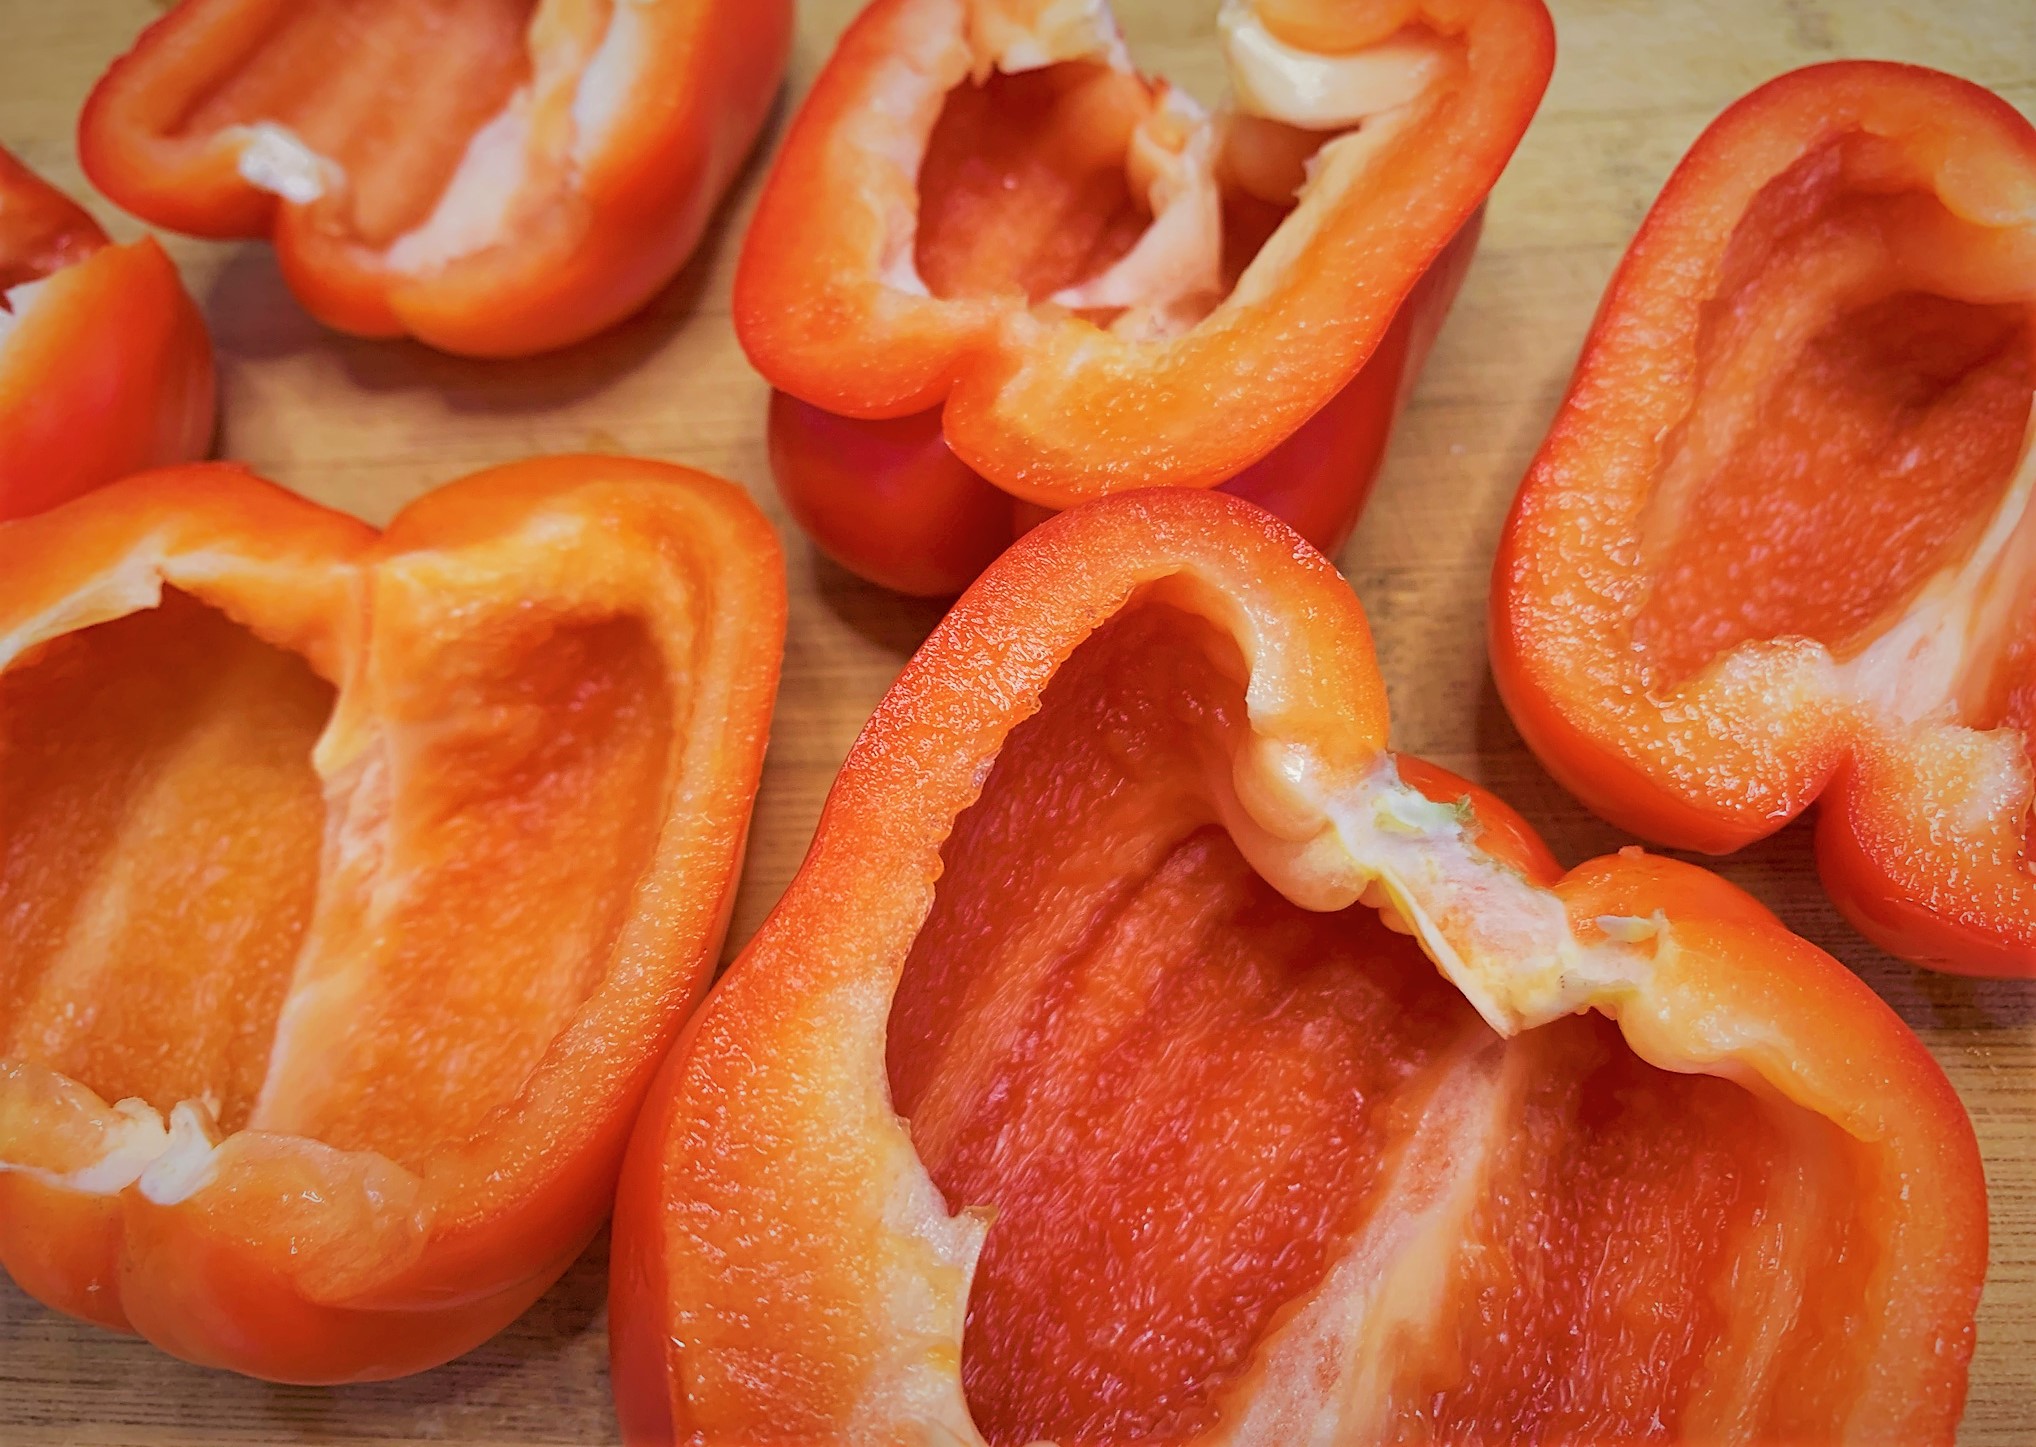
Begin by pre-heating the oven to 400ºF. Next, split the Red Bell Peppers in half, lengthwise, like in the photo above, and remove the stems and seeds.
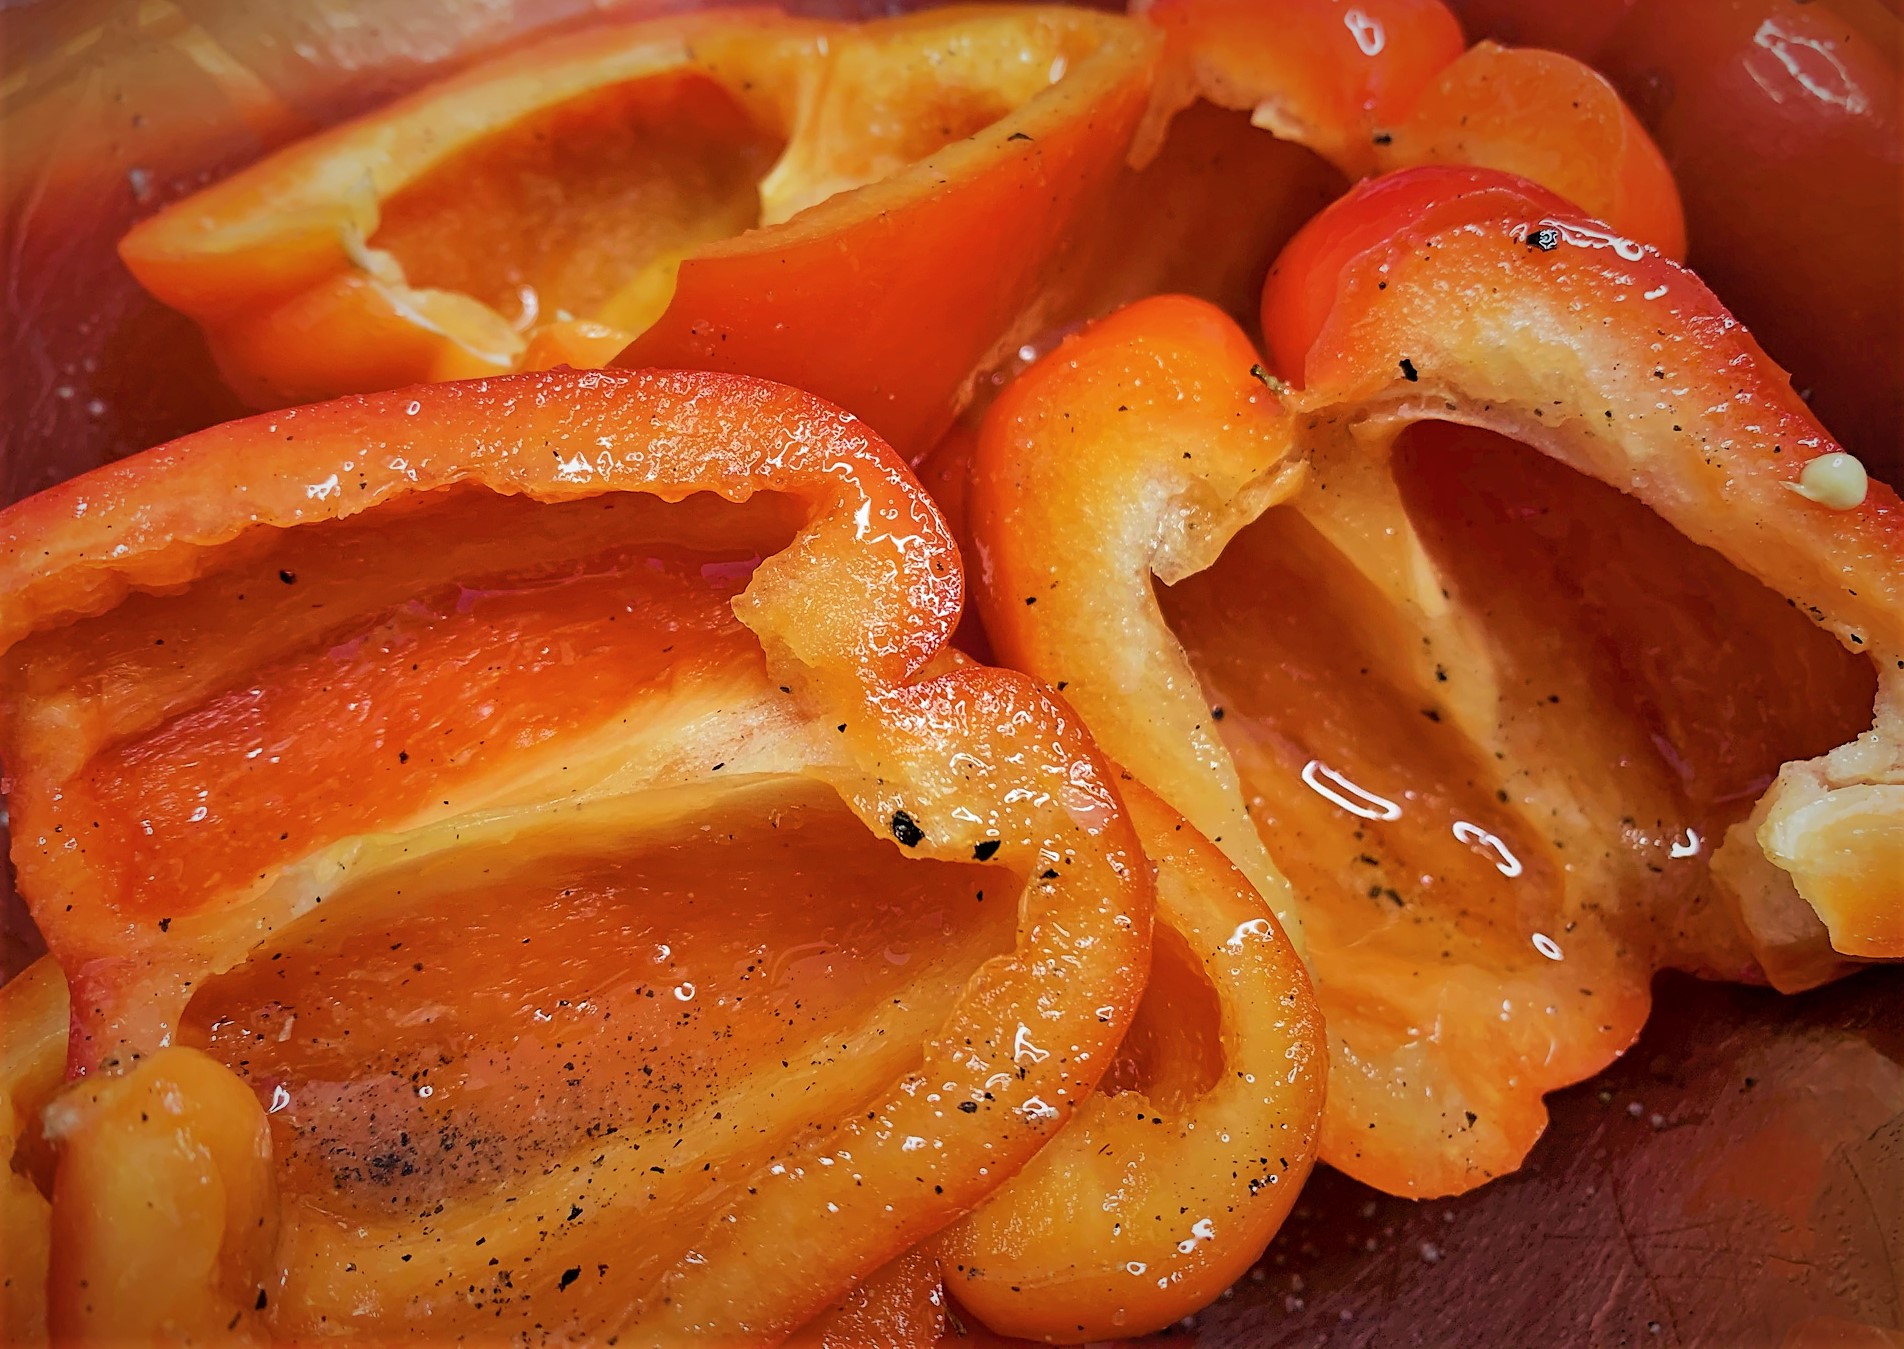
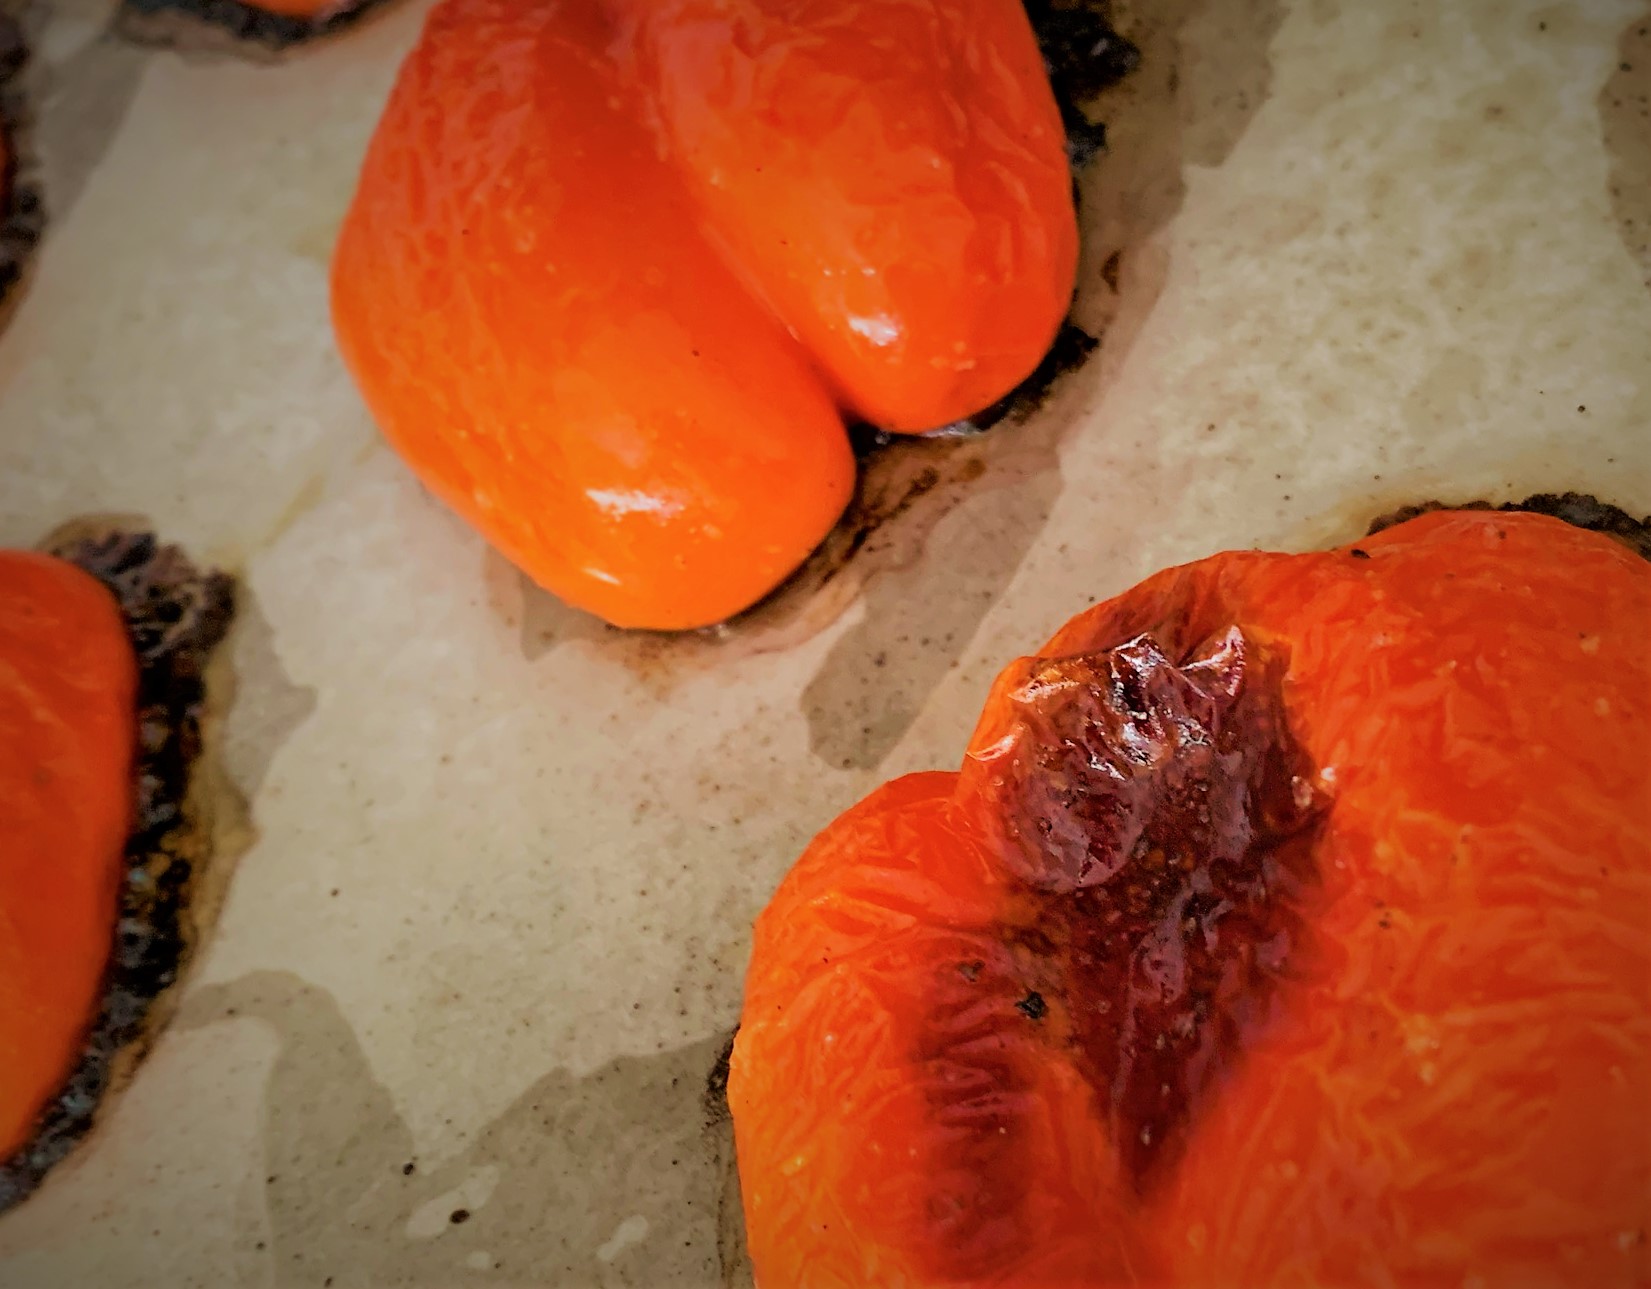
Now, place the split Red Bell Peppers in a large bowl and toss with the Vegetable Oil, Salt and Pepper. Line a Baking Pan with Parchment Paper and place the seasoned Peppers open-side down on it, like in the photo below.
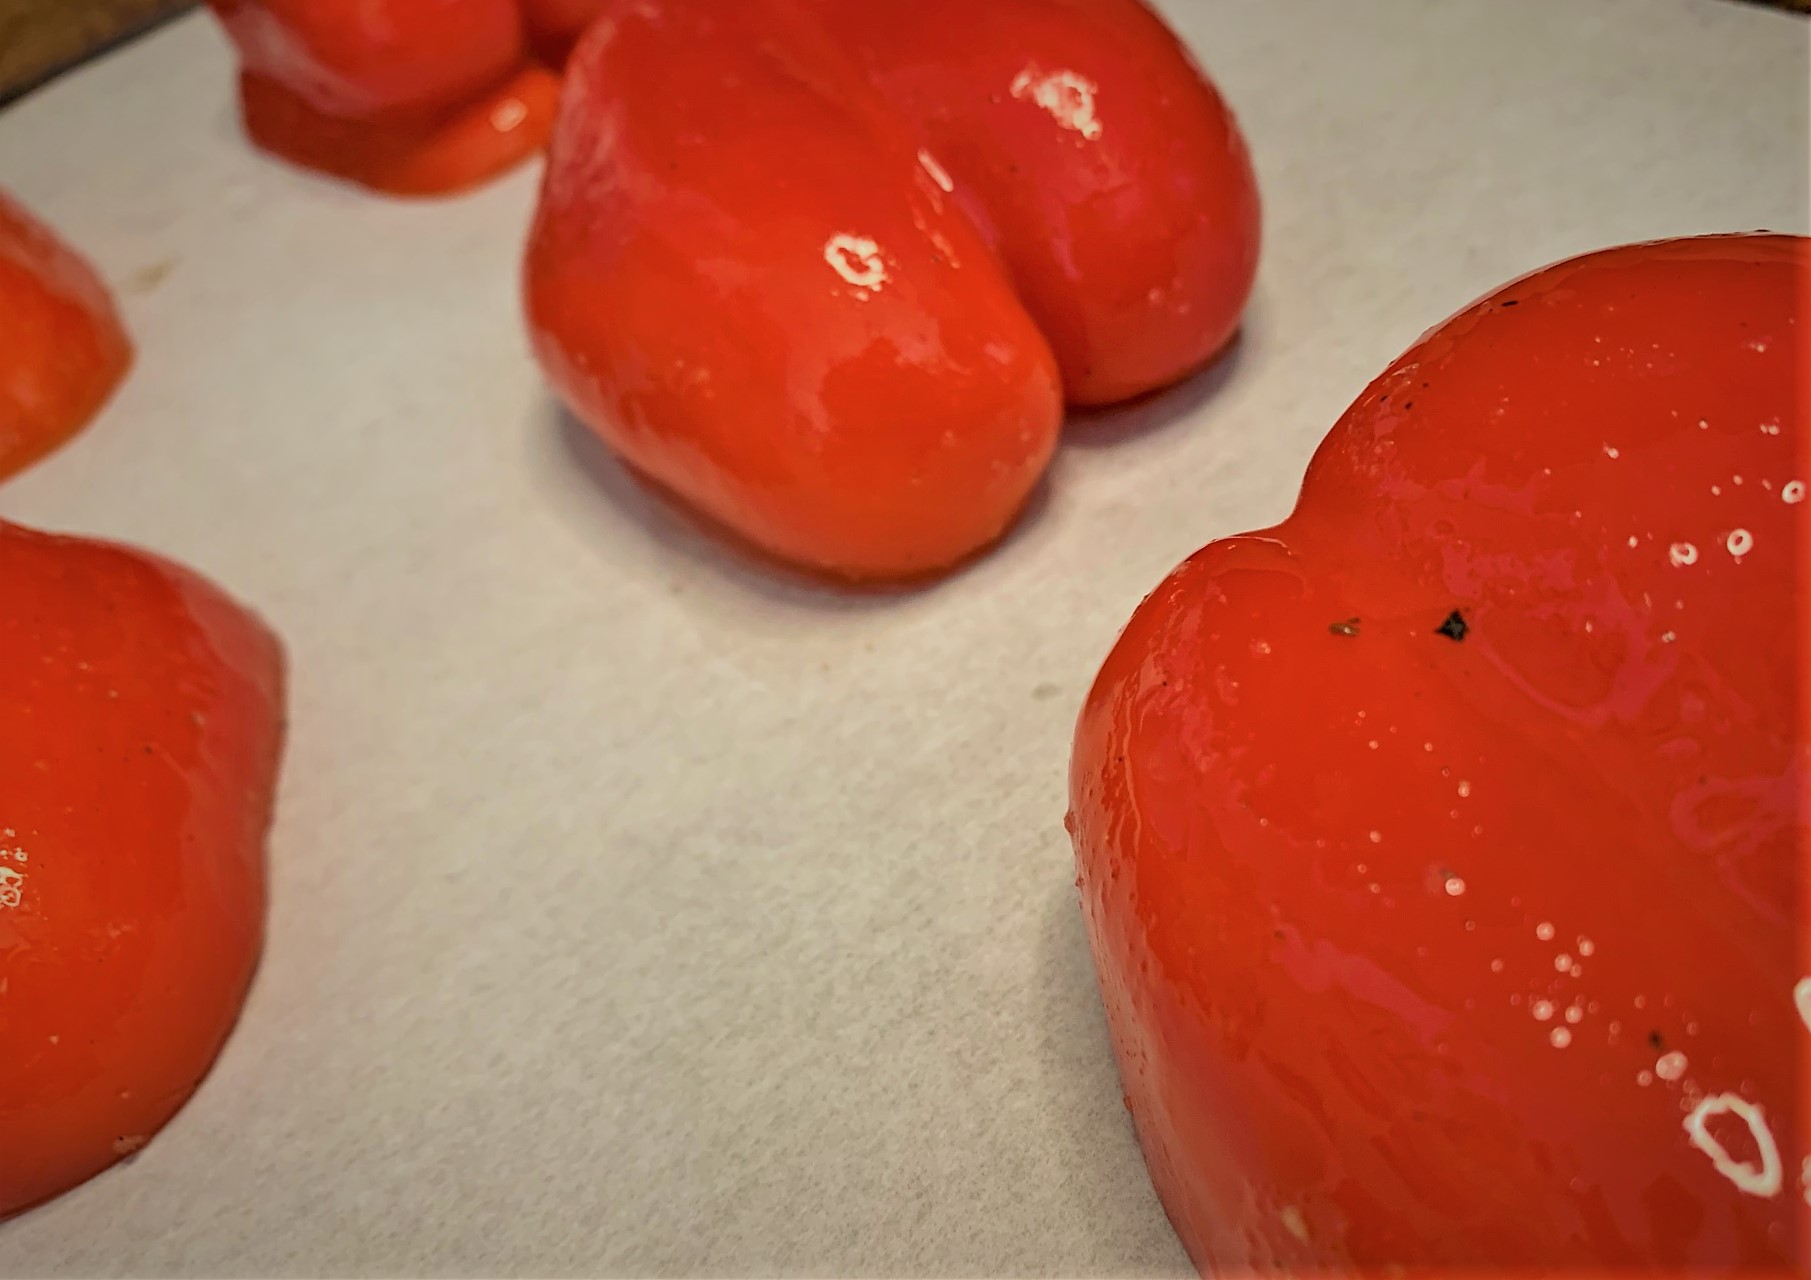
Place in the pre-heated, 400ºF oven and roast for approximately 25 to 30 minutes. The Peppers will be ready when they begin to show some dark spots on the top and the skin begins to separate itself from the meat. See the picture below.
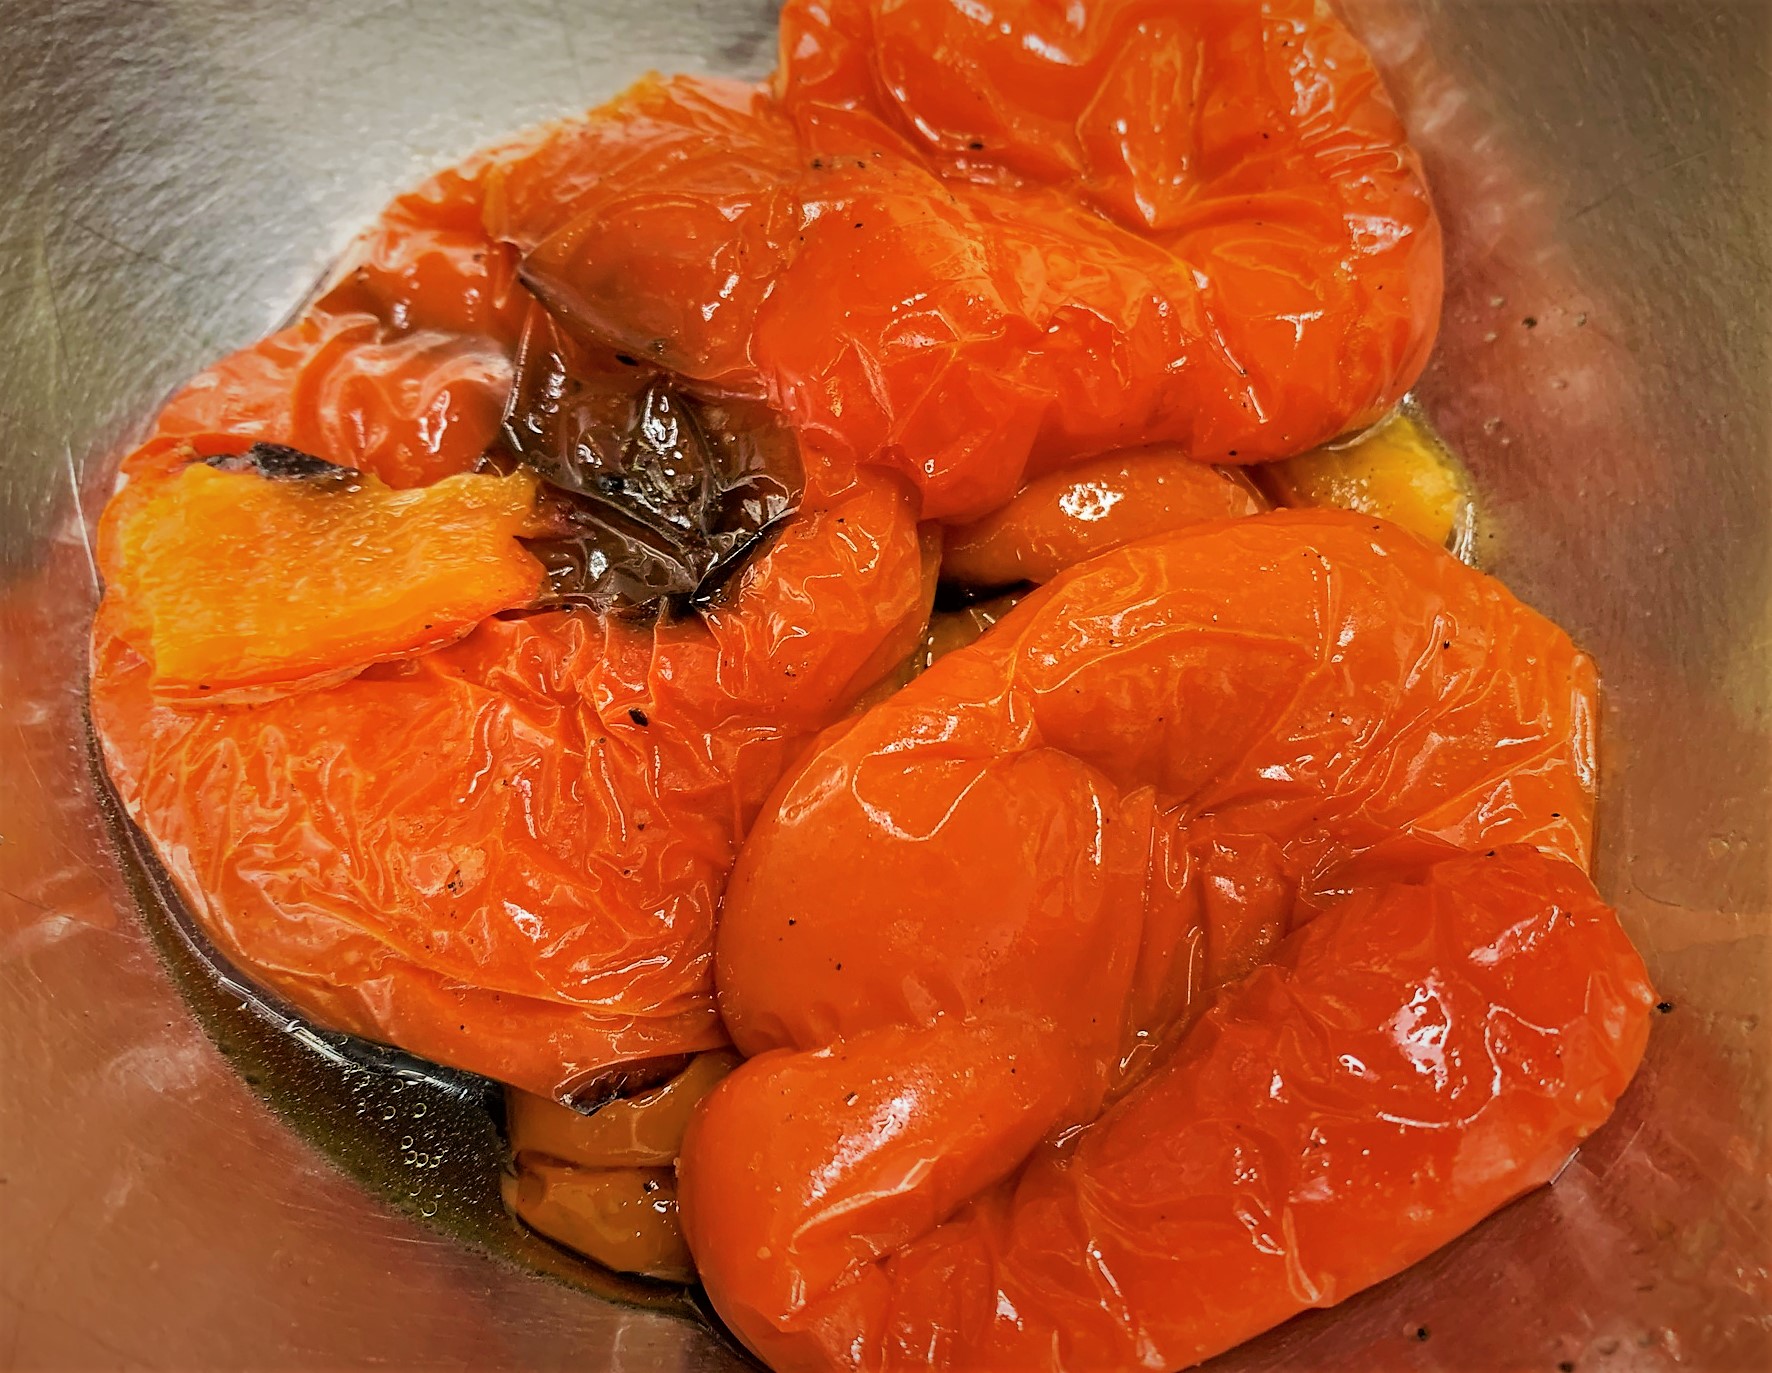
Once the Peppers are done roasting and still hot, use tongs to carefully remove the them from the Baking Sheet and place them in a large bowl. Cover immediately with plastic wrap and let rest for at least 30 minutes.
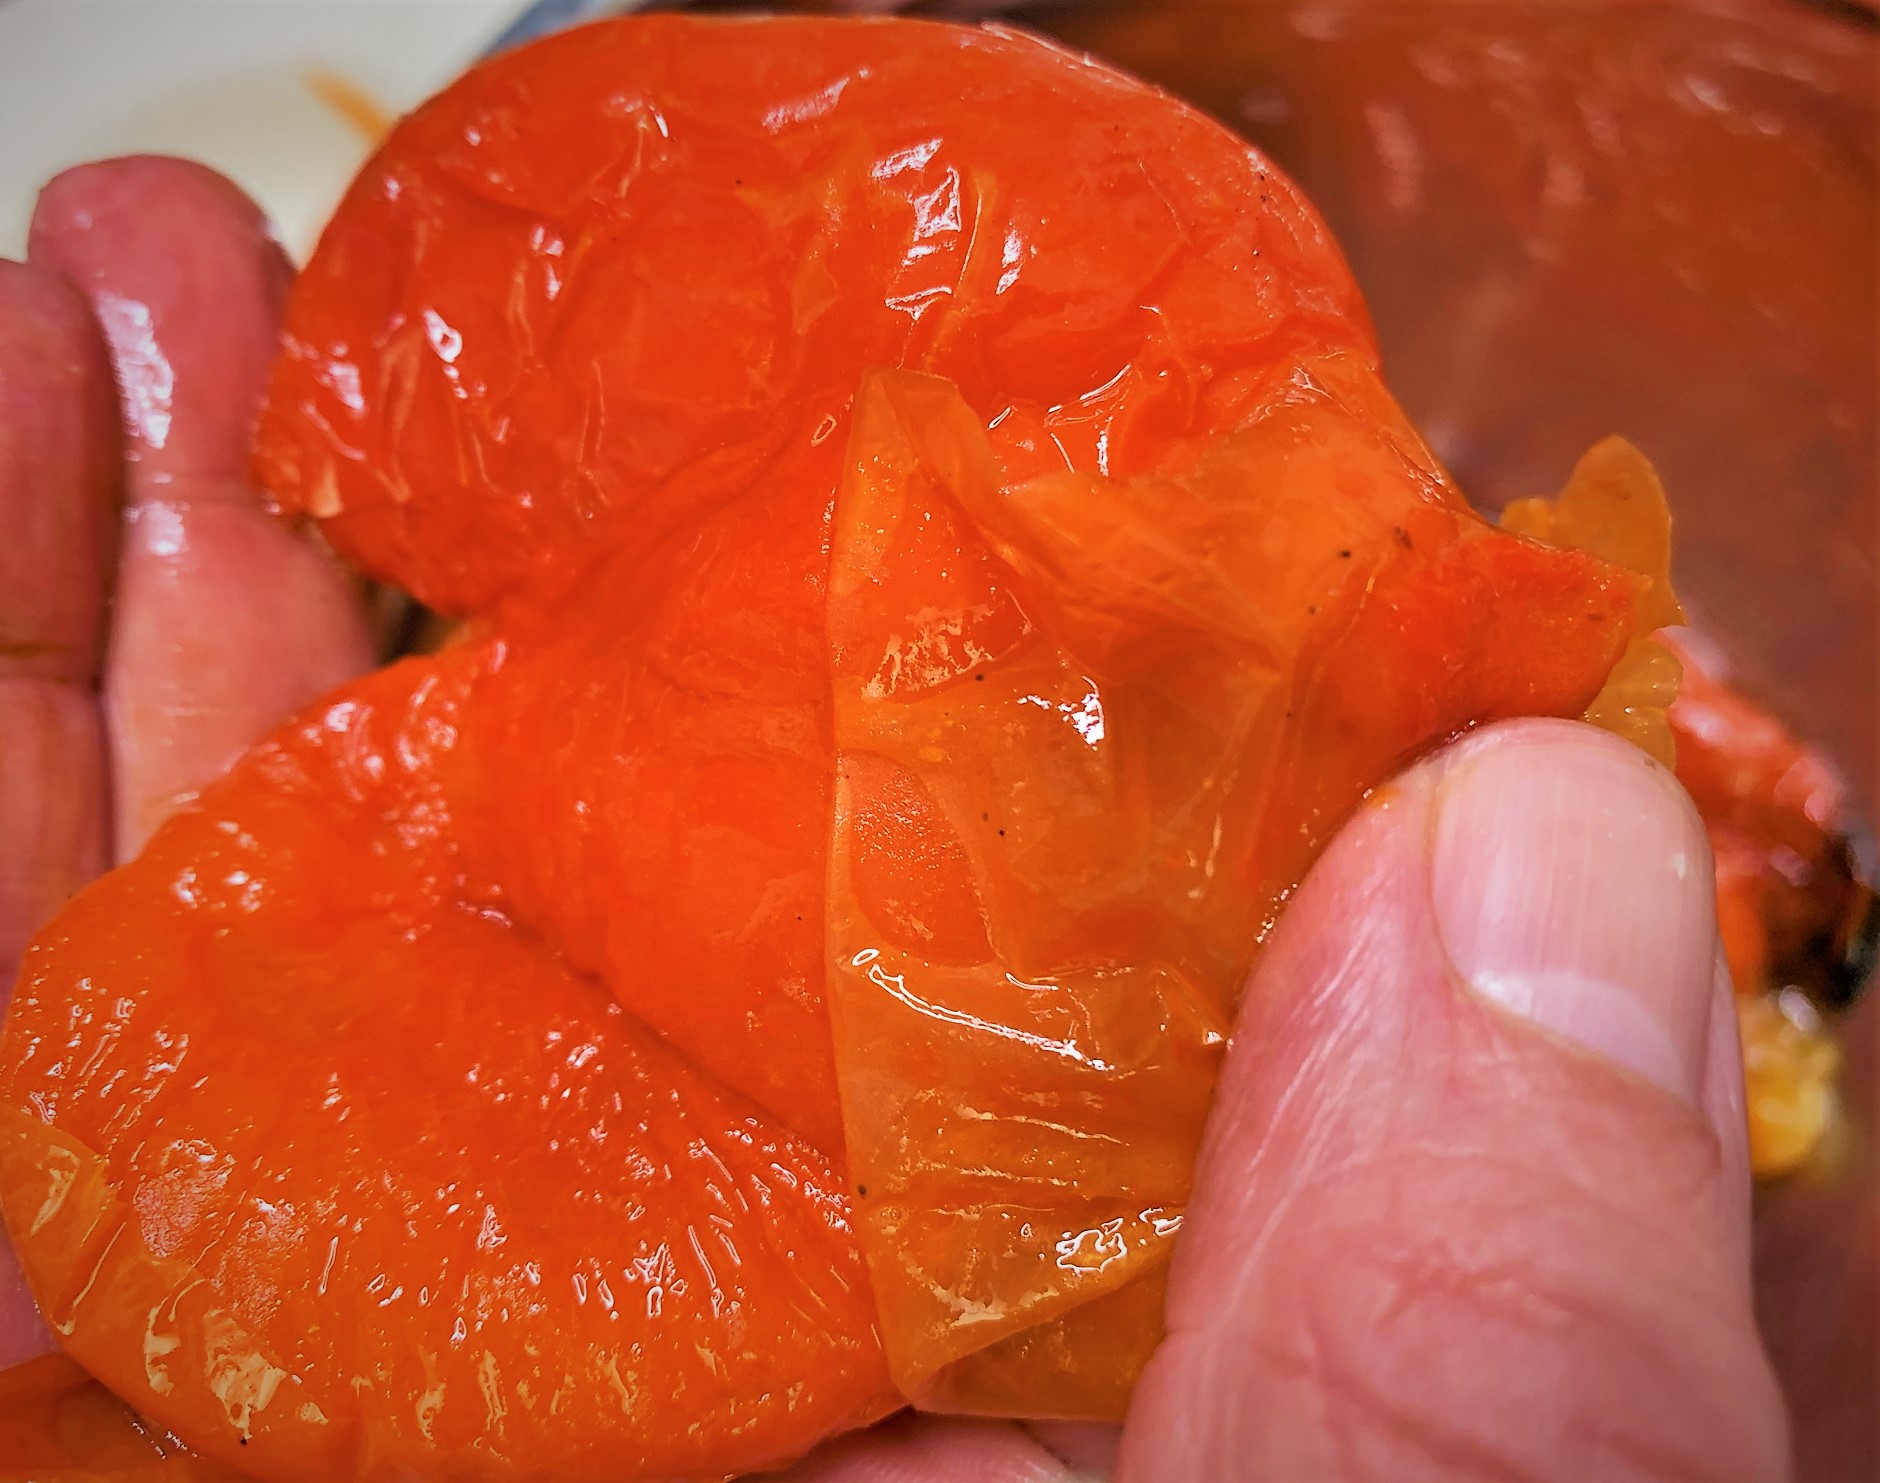
Once the Roasted Red Bell Peppers have cooled enough to be picked up with your hands, it’s time to remove their peels. The steaming in the bowl should have loosened the skin and will help make this a fairly easy process. You’ll just grab the skins and gently pull them off. They should, mostly, peel right away. Try to remove as much to the skin on each, as possible. However, don’t worry if you can’t get every bit of it off.
Once the Roasted Red Bell Peppers have been peeled, place them in a Blender or Food Processor.
Next, place a medium-sized pan over medium-high heat with a little bit of Vegetable Oil. Add the Diced Onion and sauté until just translucent while stirring occasionally. Then, place the Chopped Garlic in the pan and sauté until just fragrant; about 1 minute. Immediately add the Onion and Garlic to the Blender with the Roasted Peppers. Add the Red Wine Vinegar, Salt, Pepper and Sugar. Cover with a towel and purée until smooth. Taste and adjust the seasonings, as necessary, with more Red Wine Vinegar, Salt, Pepper and/or Sugar. The flavor you’re looking for should be rich, bold and slightly sweet but also very lightly acidic.
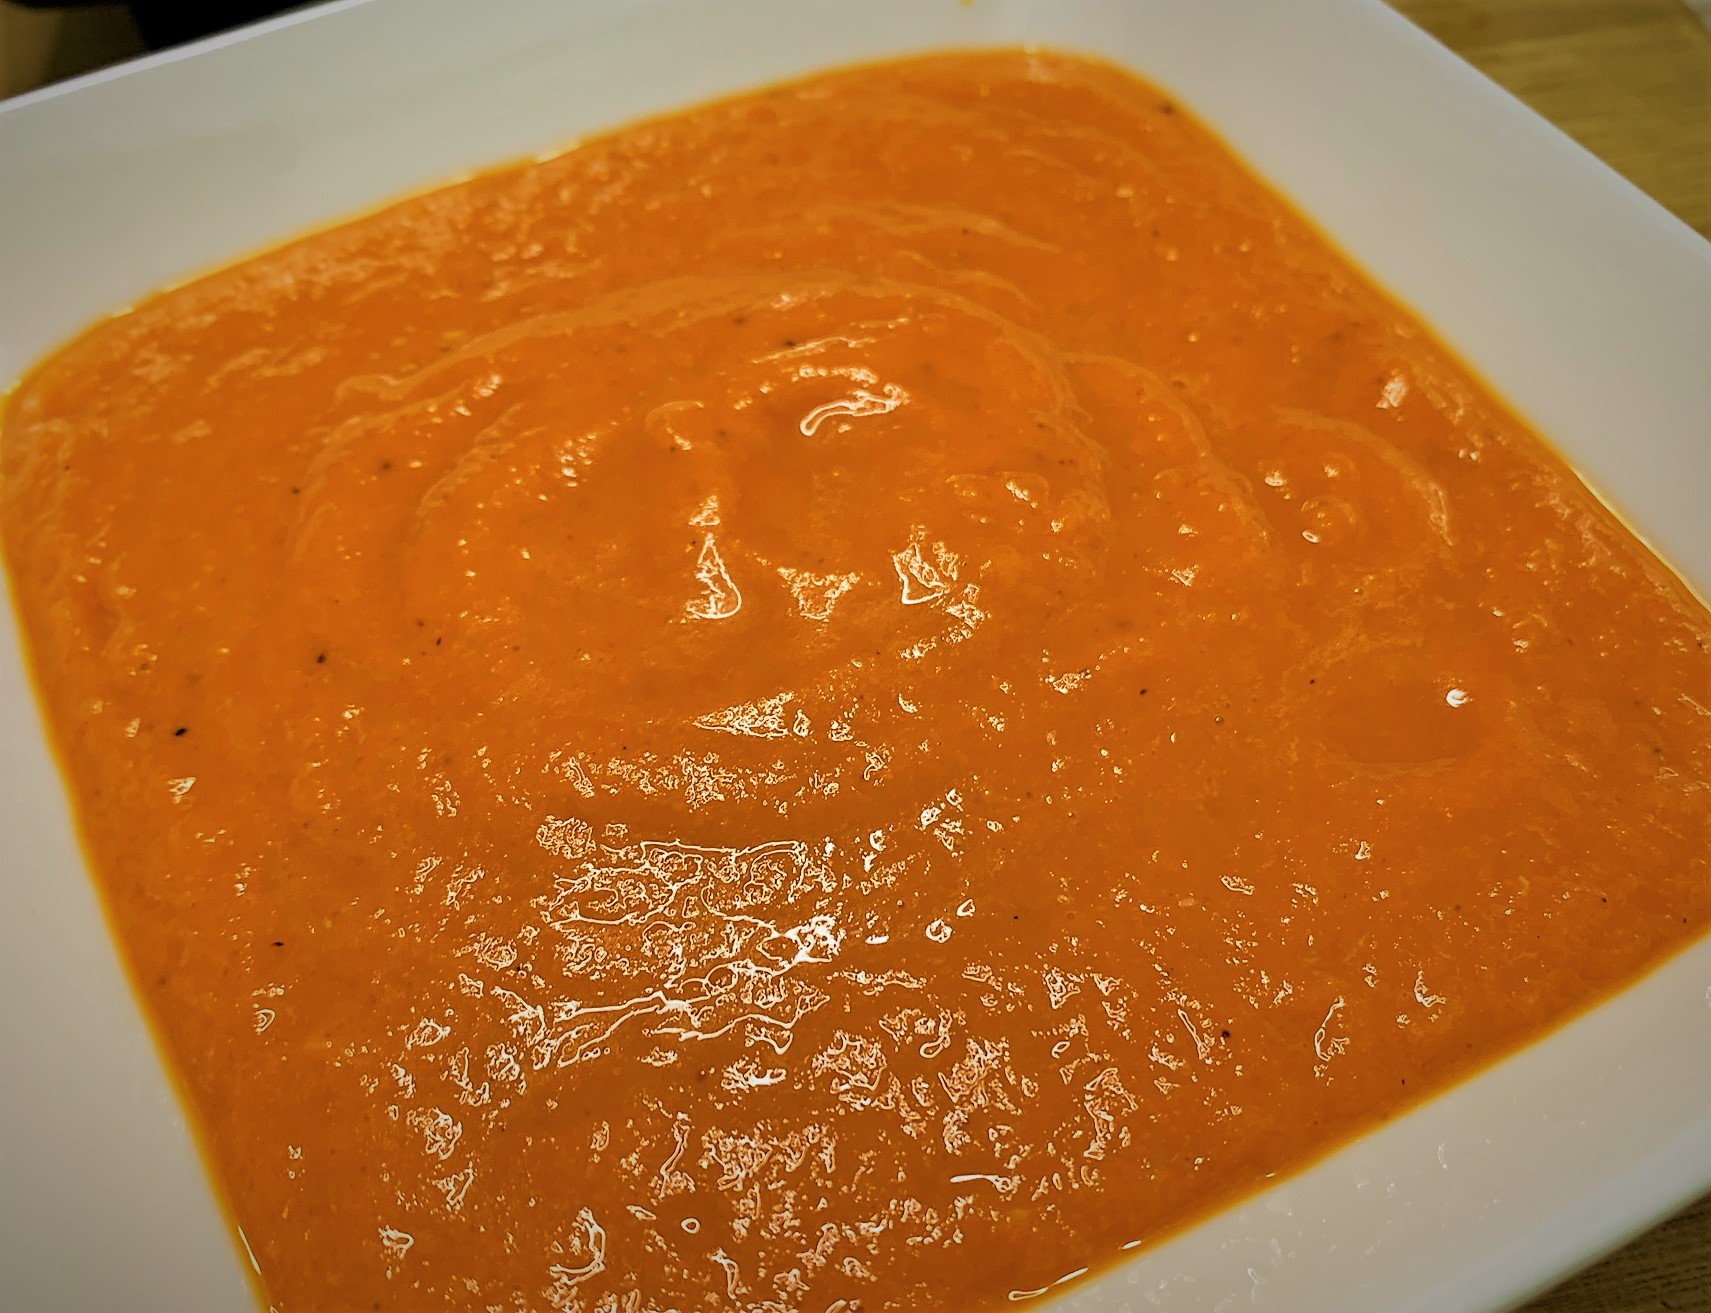
Serve immediately or cool completely and reserve in an air-tight container in the refrigerator for up to 7 days. Once you’re ready to serve the Scallops, you’ll just want to warm the Red Pepper Coulis slightly.
The Parmesan Crisp
This is another part of our Seared Scallops with Chorizo and Red Pepper Coulis that you’re going to want to remember. Obviously, it’s a wonderful garnish for this Disney Dish. However, it also works if you want to add a little touch of beauty to several other plates. Just adding it to a simple Caesar Salad, for example, will take it from your everyday office lunch to something straight out of an expensive fine-dining restaurant. Even better yet. They’re incredibly easy to create!
Begin by preheating the oven to 400ºF then line a Baking Pan with, either, Parchment Paper or a Silicon Mat.
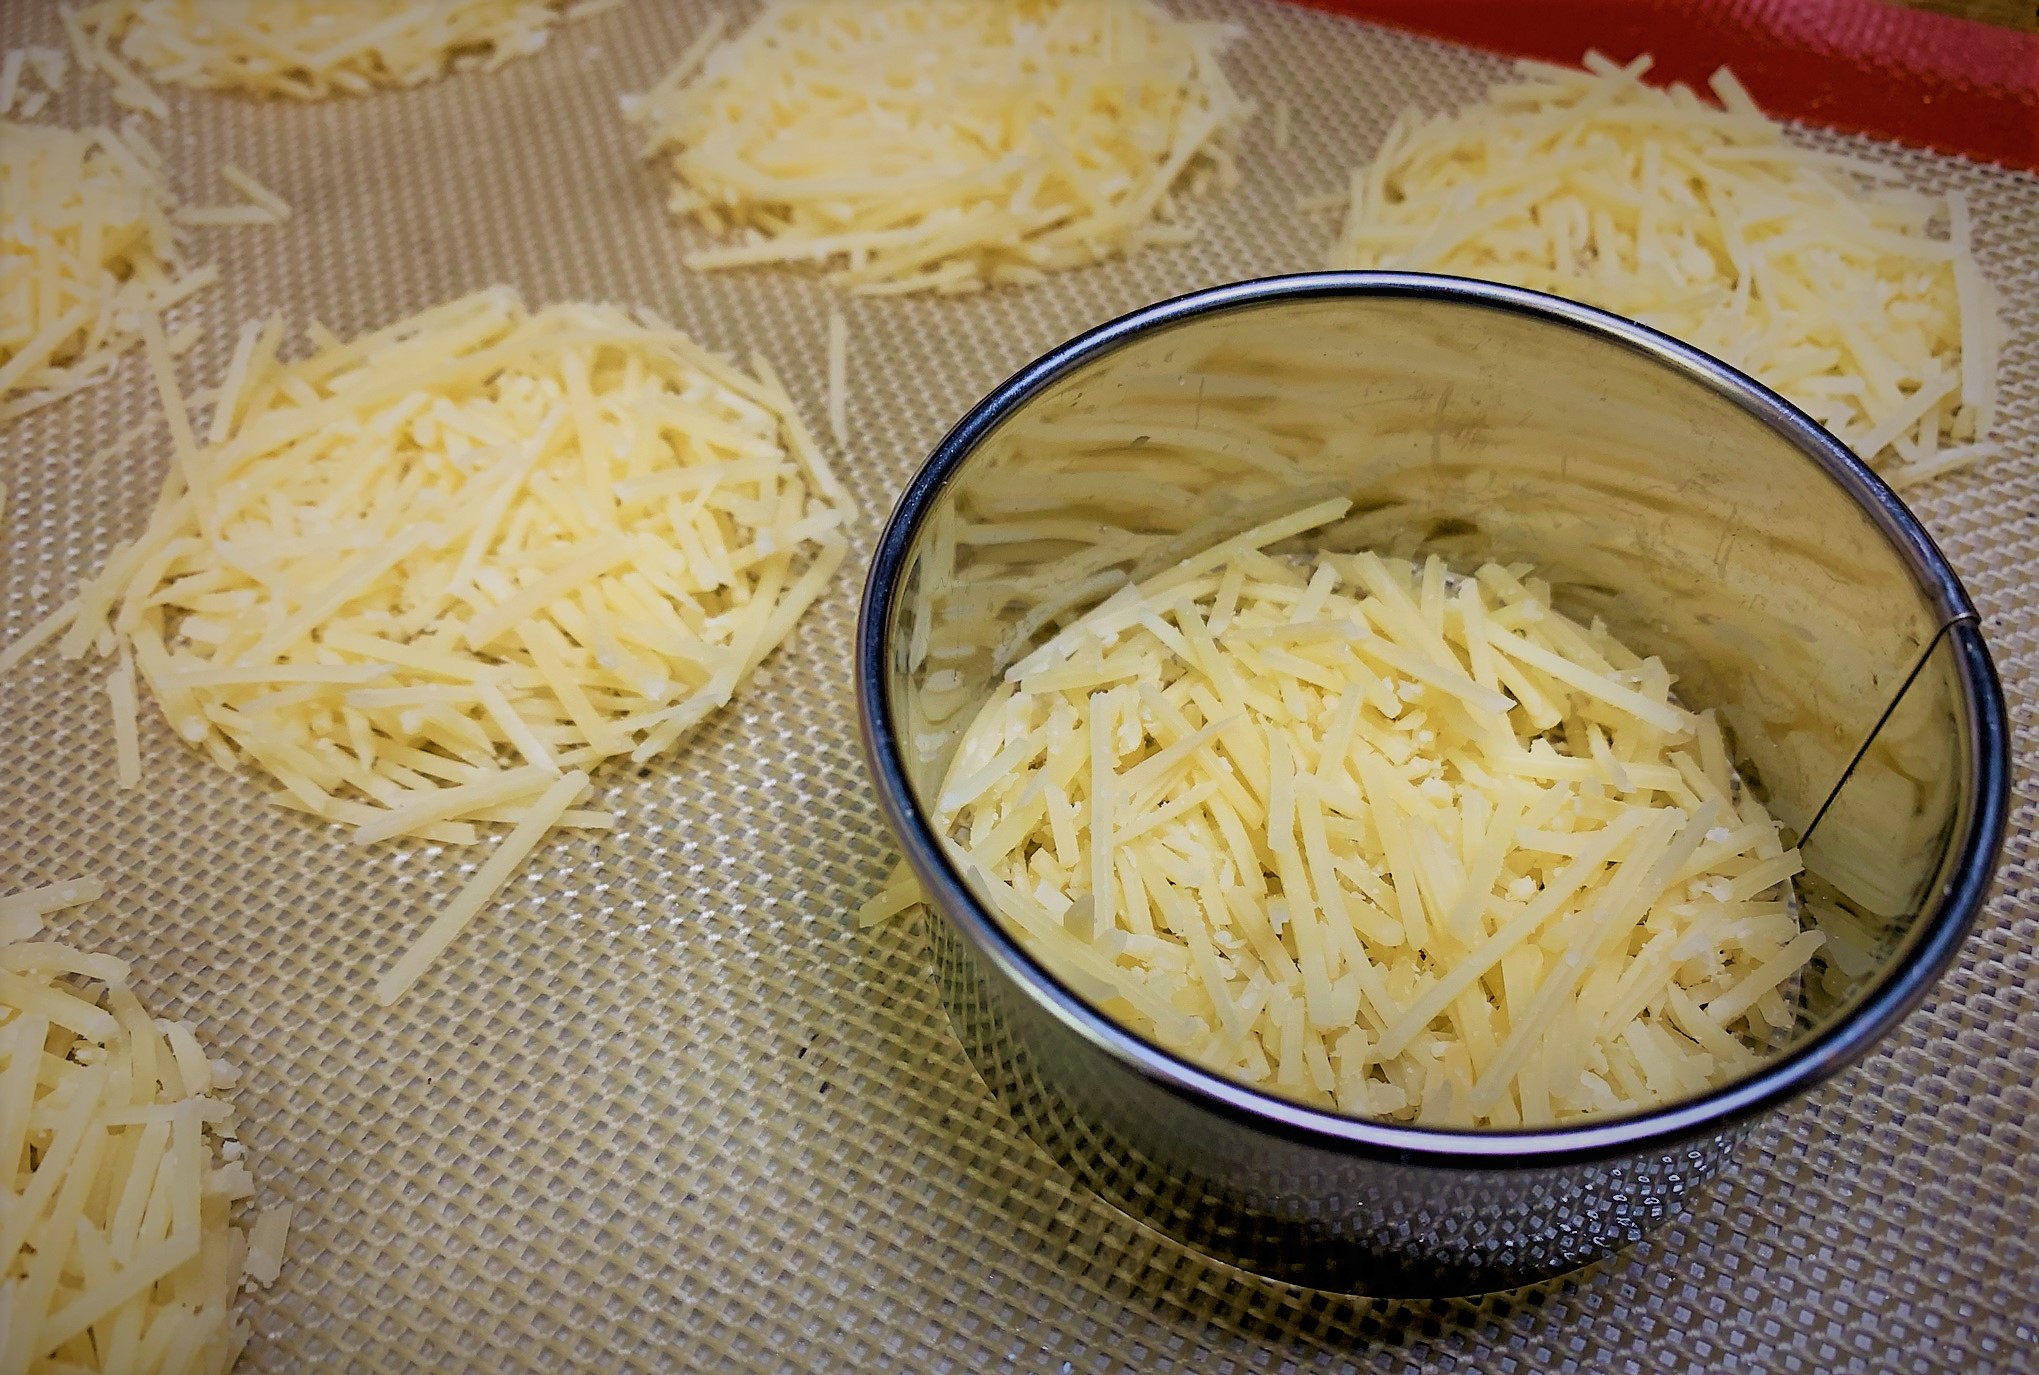
Now, you can create whatever shape you want with the Parmesan Cheese. They’re using a round crisp for this dish at the Taste of Epcot International Festival of the Arts, so that’s what I’m doing here. But, you do you!!
To make the round Parmesan Crisps, I used a 3″ Round Cookie Cutter. I then placed enough of the Shredded Parmesan Cheese to spread evenly across the inside of each round. Carefully remove the Cutter and repeat the process until you have as many of these crisps as you desire.
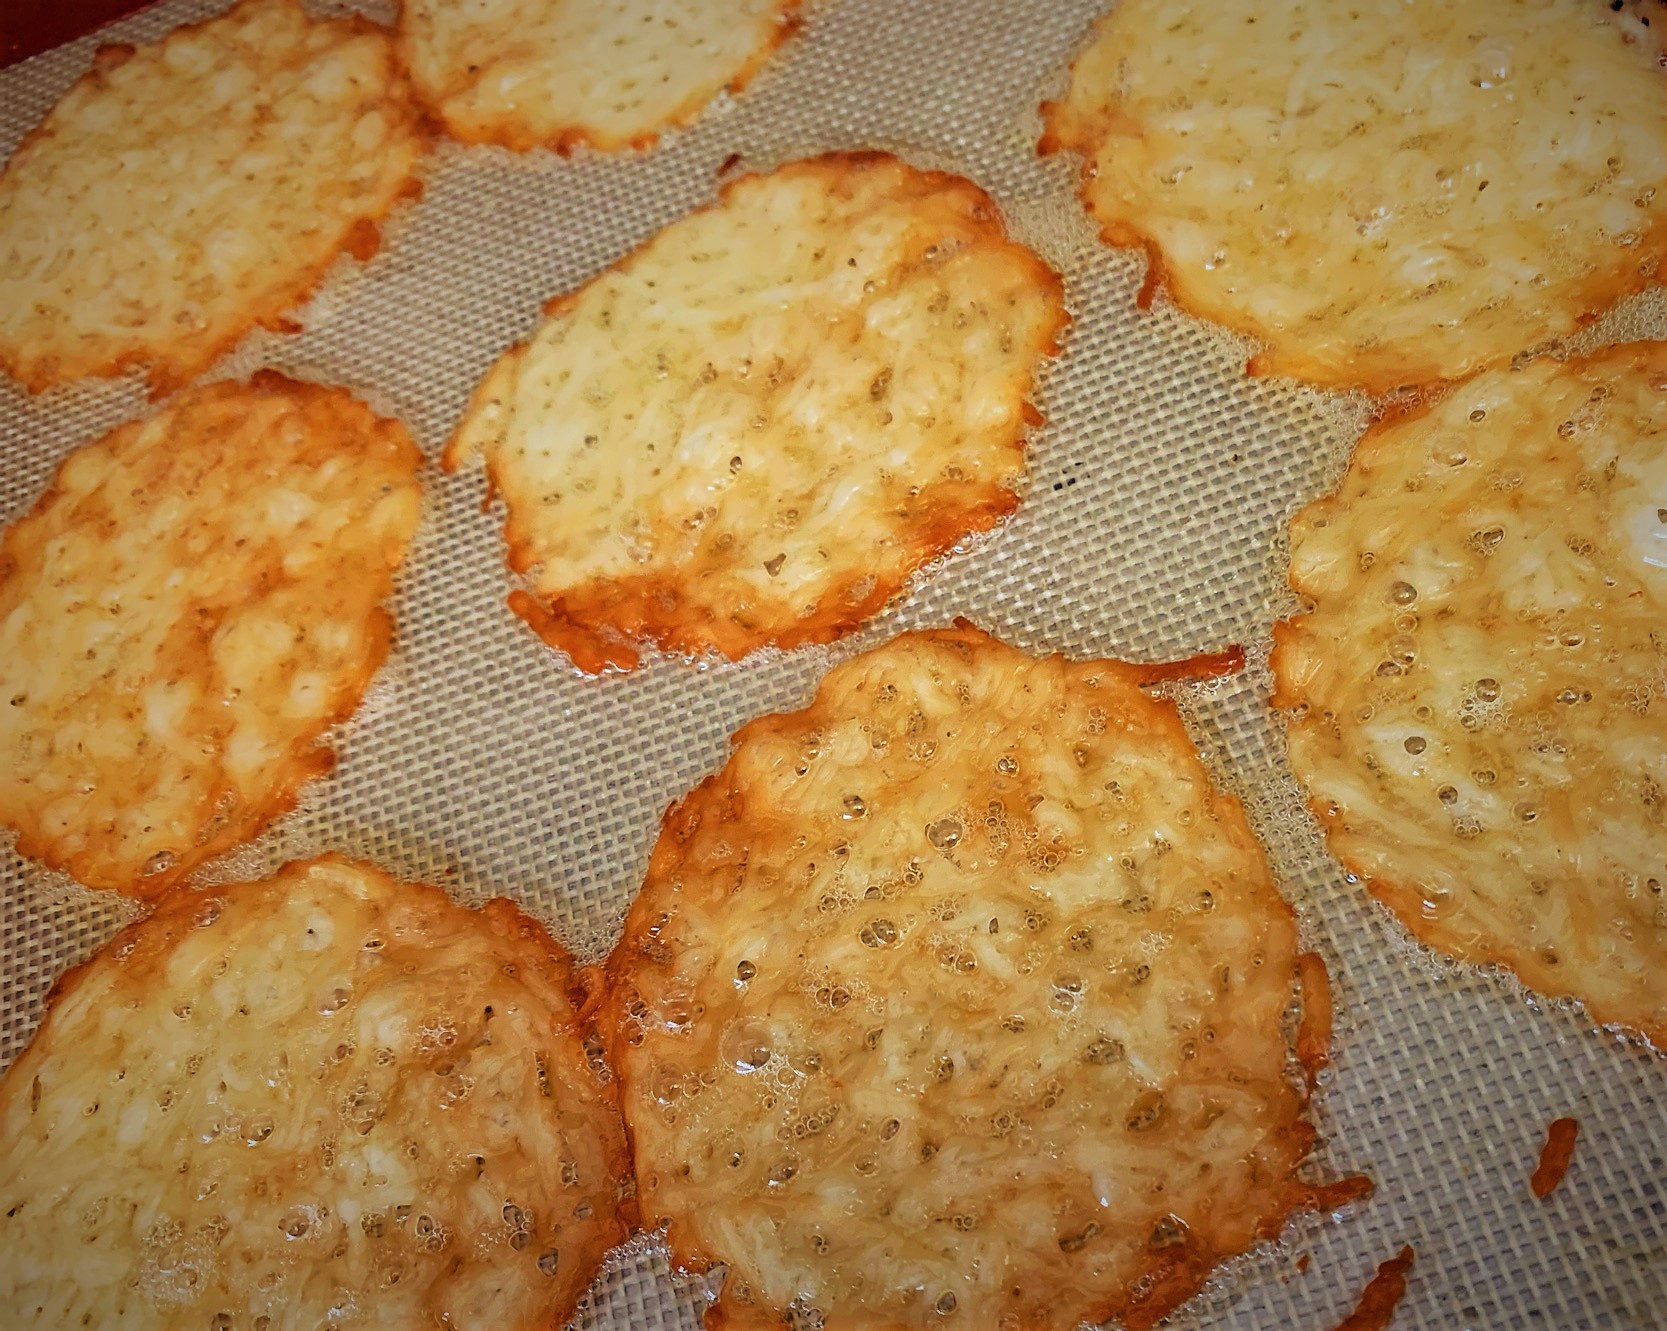
Place in the oven and cook for 5 to 7 minutes at 400ºF. They will cook quickly so be sure to keep an eye on them to make sure they don’t burn. Once the Parmesan Crisps have completely melted and turned golden brown, like in the photo above, remove from the oven and place the pan on a Cooling Rack. Allow the crisps to cool completely before removing from the pan.
The Chorizo Hash
Our next step is getting together the Chorizo Hash. This is a fairly quick and, like most things with this dish, simple process. So, you’ll want to get it going pretty close to the time you’re ready to serve.
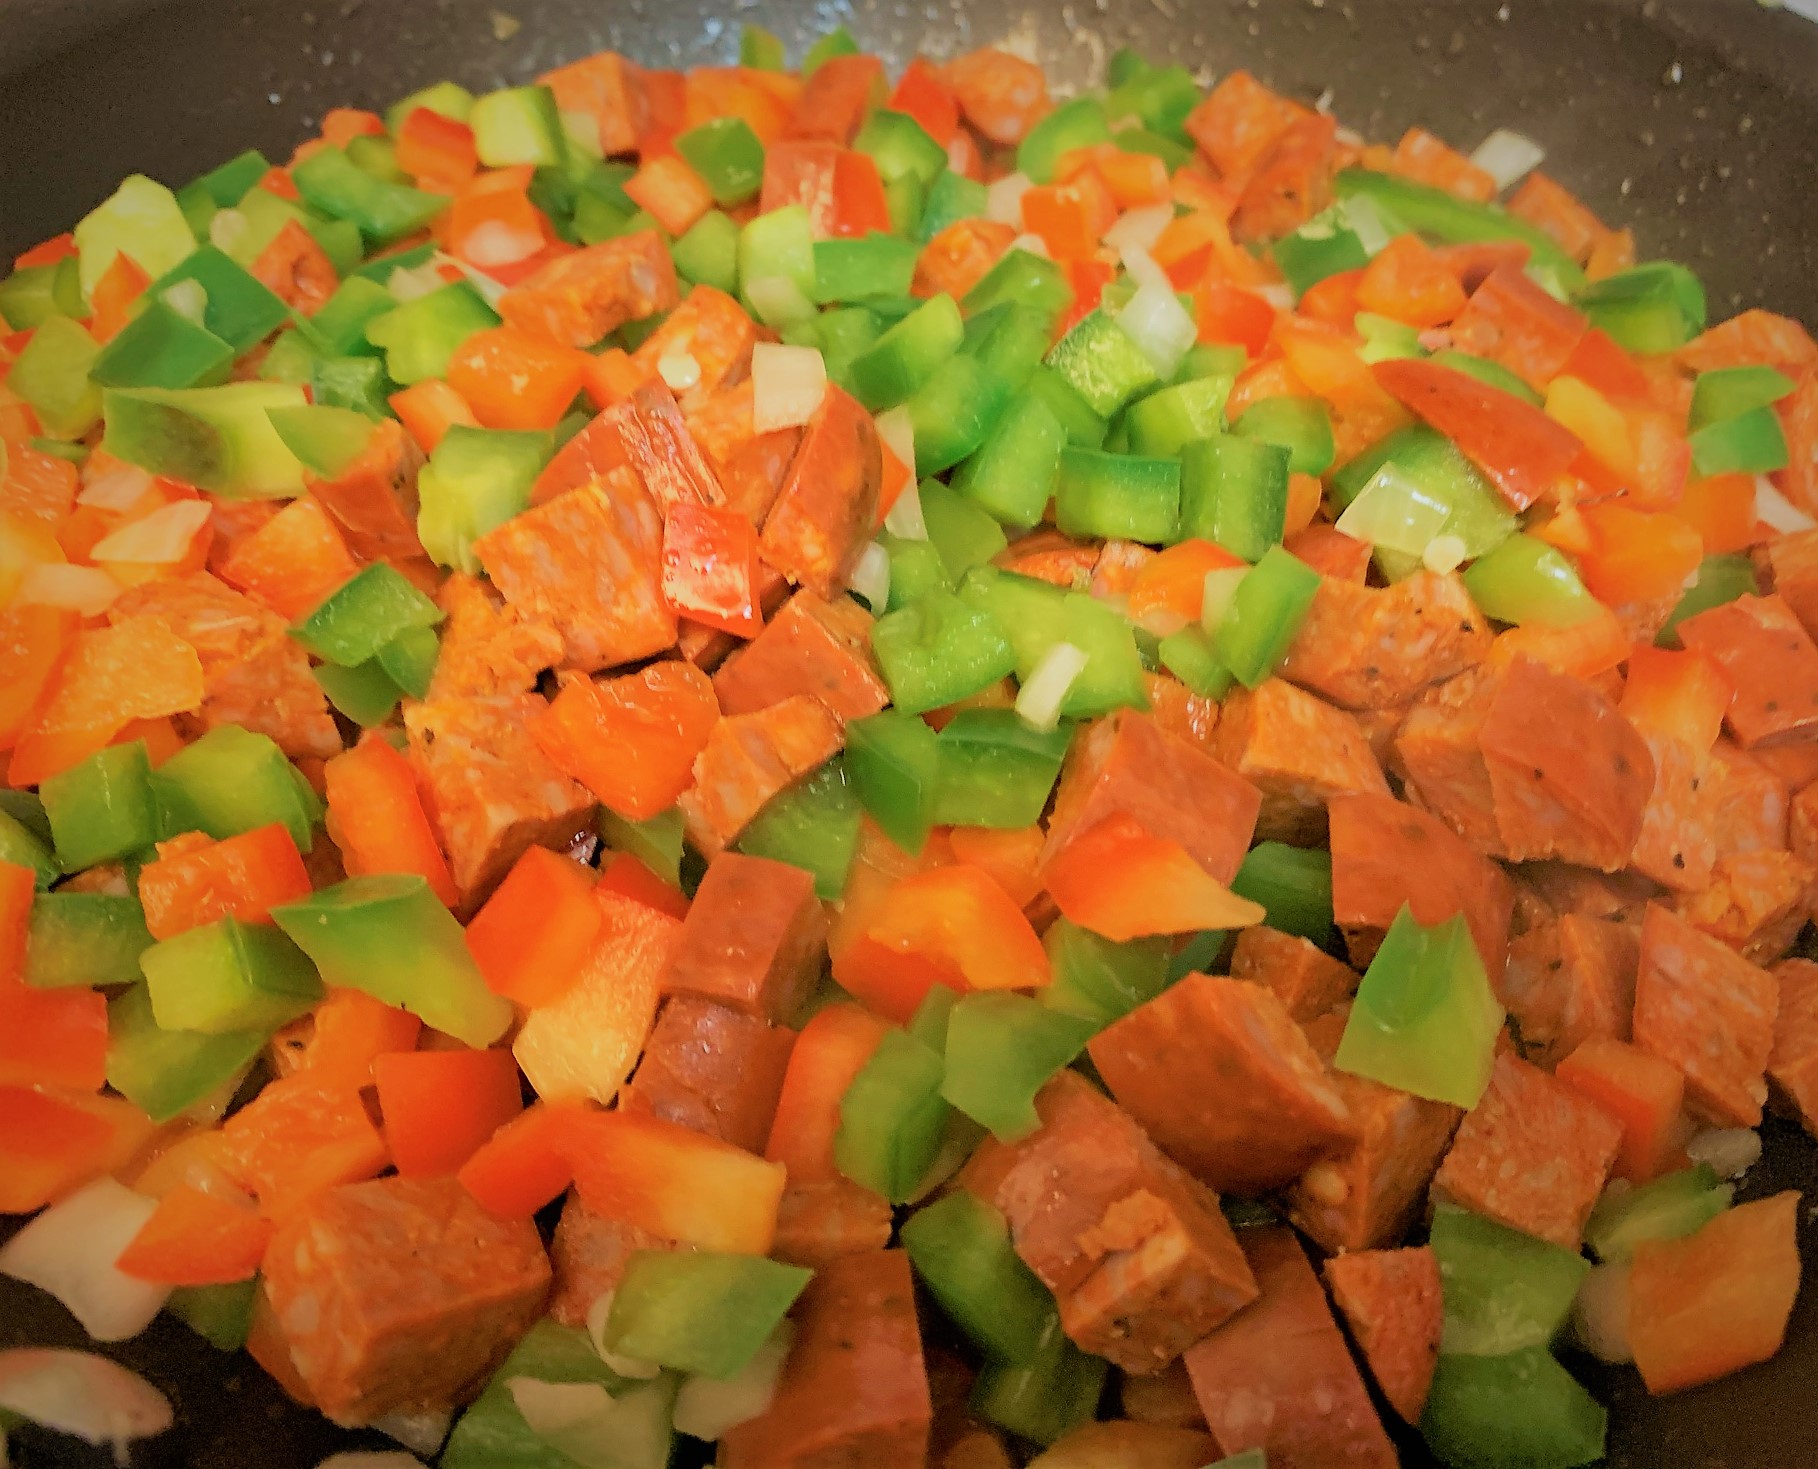
Place a medium-sized pan on the stove over medium-high heat and add a little bit of Vegetable Oil. Once the pan has heated, add the Diced Onion and sweat until just translucent; about 2 to 3 minutes. Next, add the Diced Red & Green Bell Peppers and sauté while stirring occasionally for an additional 1 to 2 minutes and season with a little Salt & Pepper.
Now comes the Diced Spanish-Style Chorizo. Place in the pan with the Onions and Peppers and sauté, while stirring occasionally, for approximately 5 minutes.
Keep warm and reserve until ready to serve.
The Seared Scallops
Now it’s time for the main event; the Seared Scallops! The first thing you’ll want to do is place a large, non-stick pan over high heat.
- To get a proper sear on your Scallops, you’ll want the pan to be pretty hot before you place them within it. Scallops can turn a little rubbery when they cook too long. They can also be eaten almost raw. So the goal is to get the outside caramelized without overcooking the center. That means high heat for a short time. You’ll want the pan almost smoking when you place the Scallops in it.
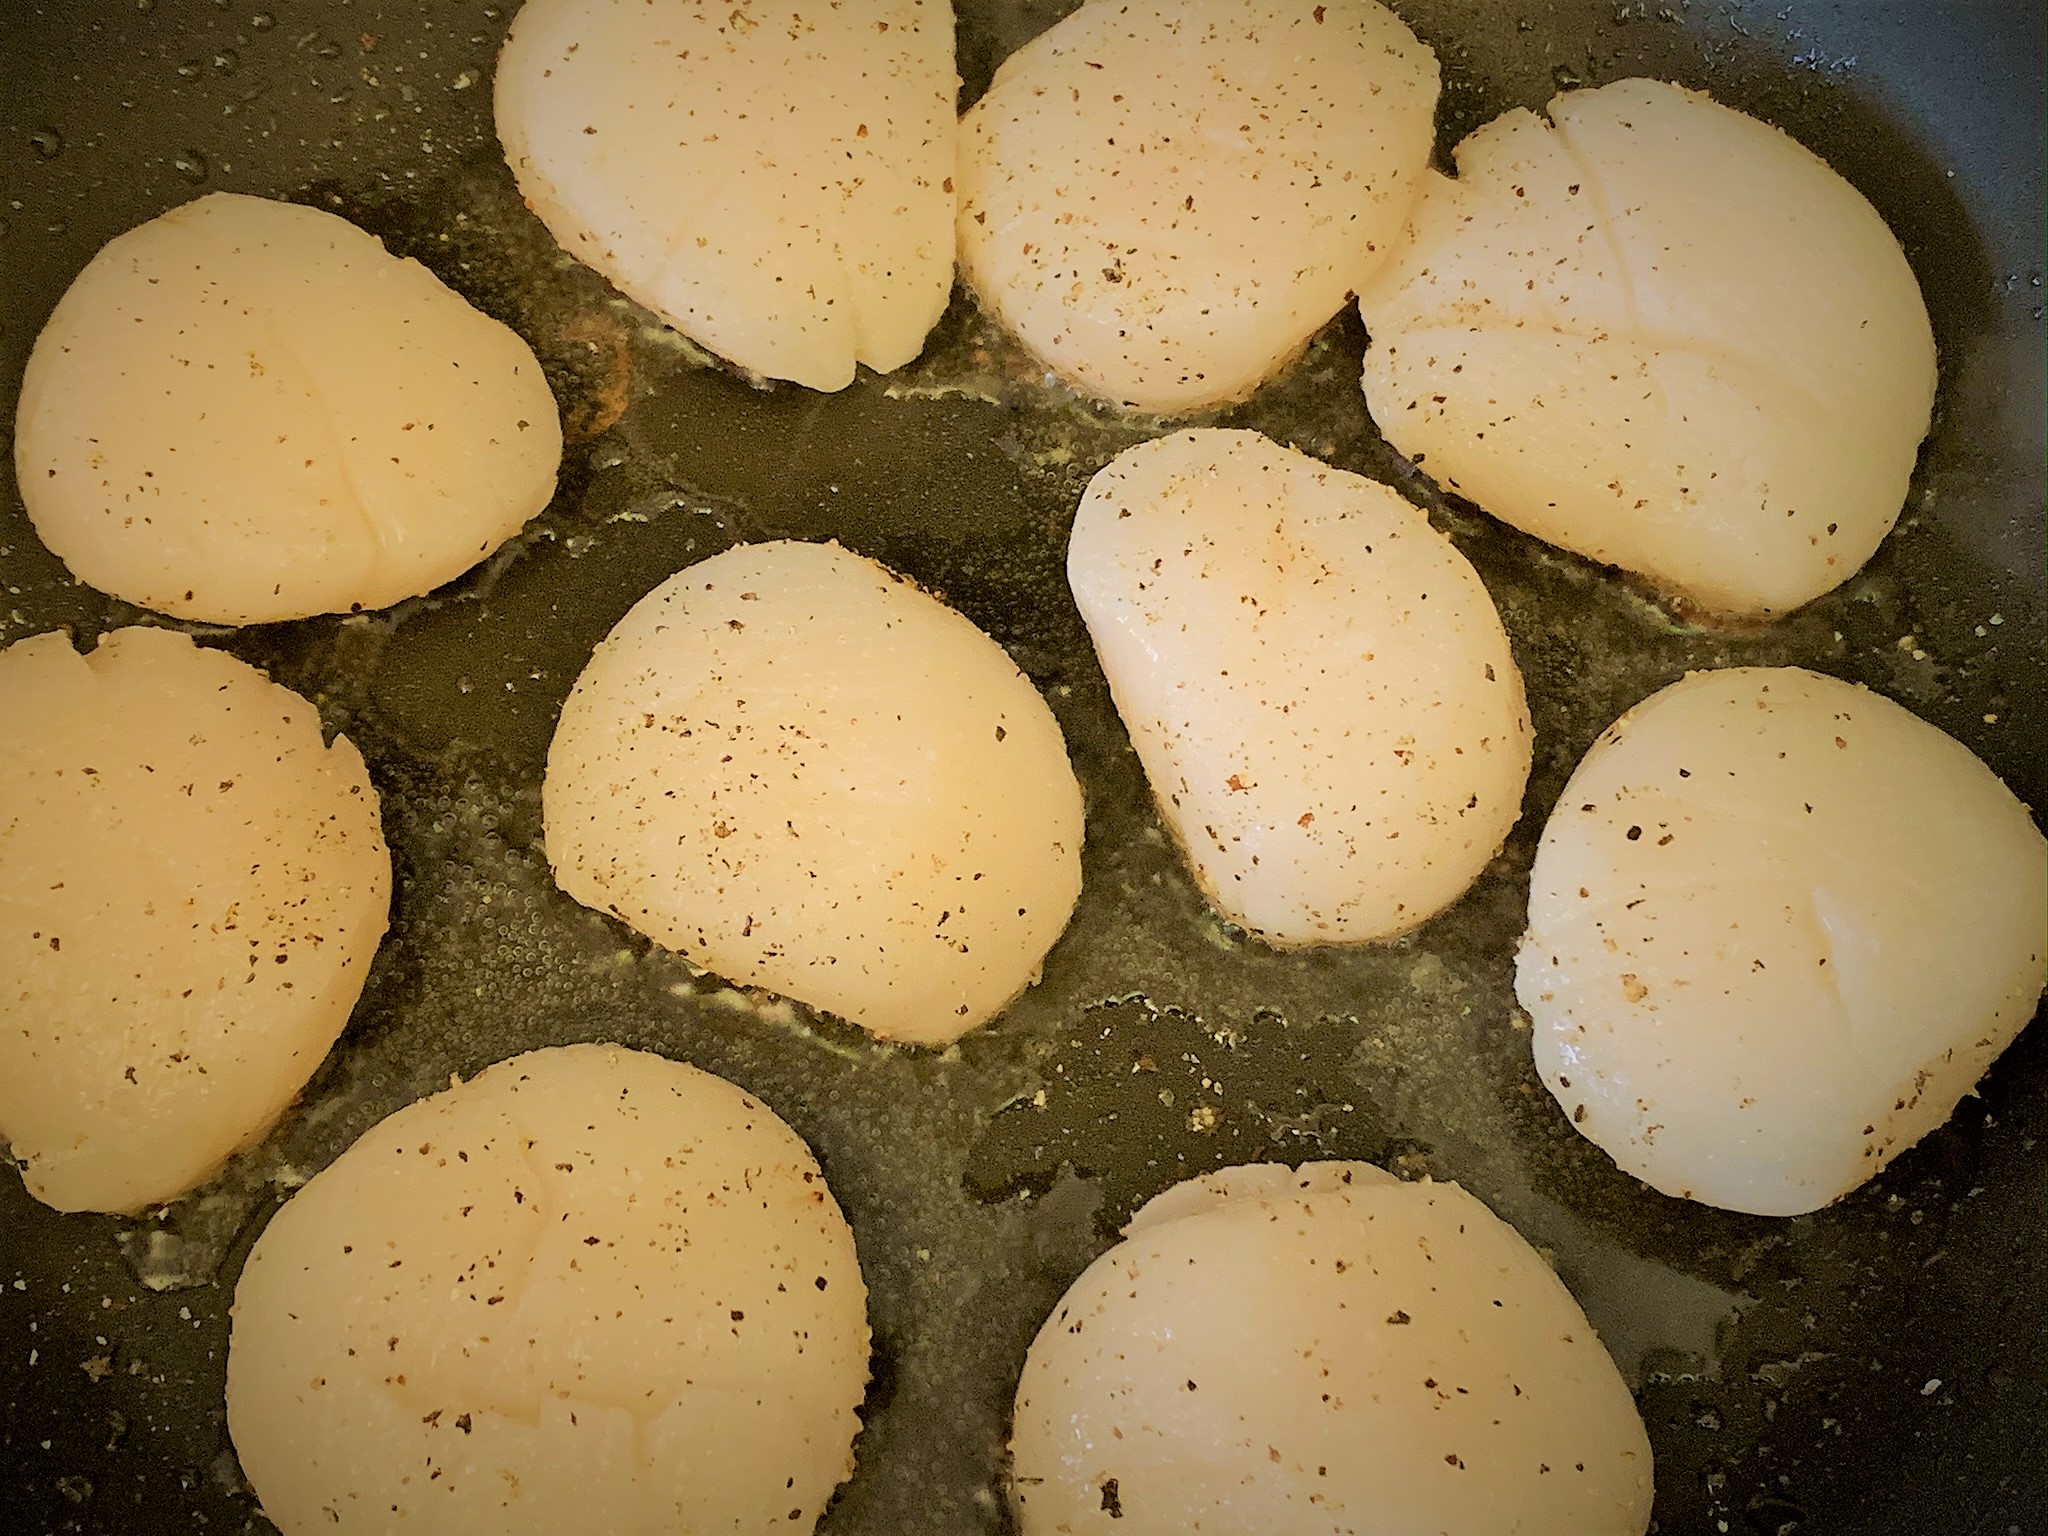
Meanwhile, season both sides of the Scallops with Salt and Pepper. Once the pan reaches your desired heat, carefully add the Scallops. Make sure not to overcrowd the pan as this could lower it’s heat and cause them to steam rather than sear.
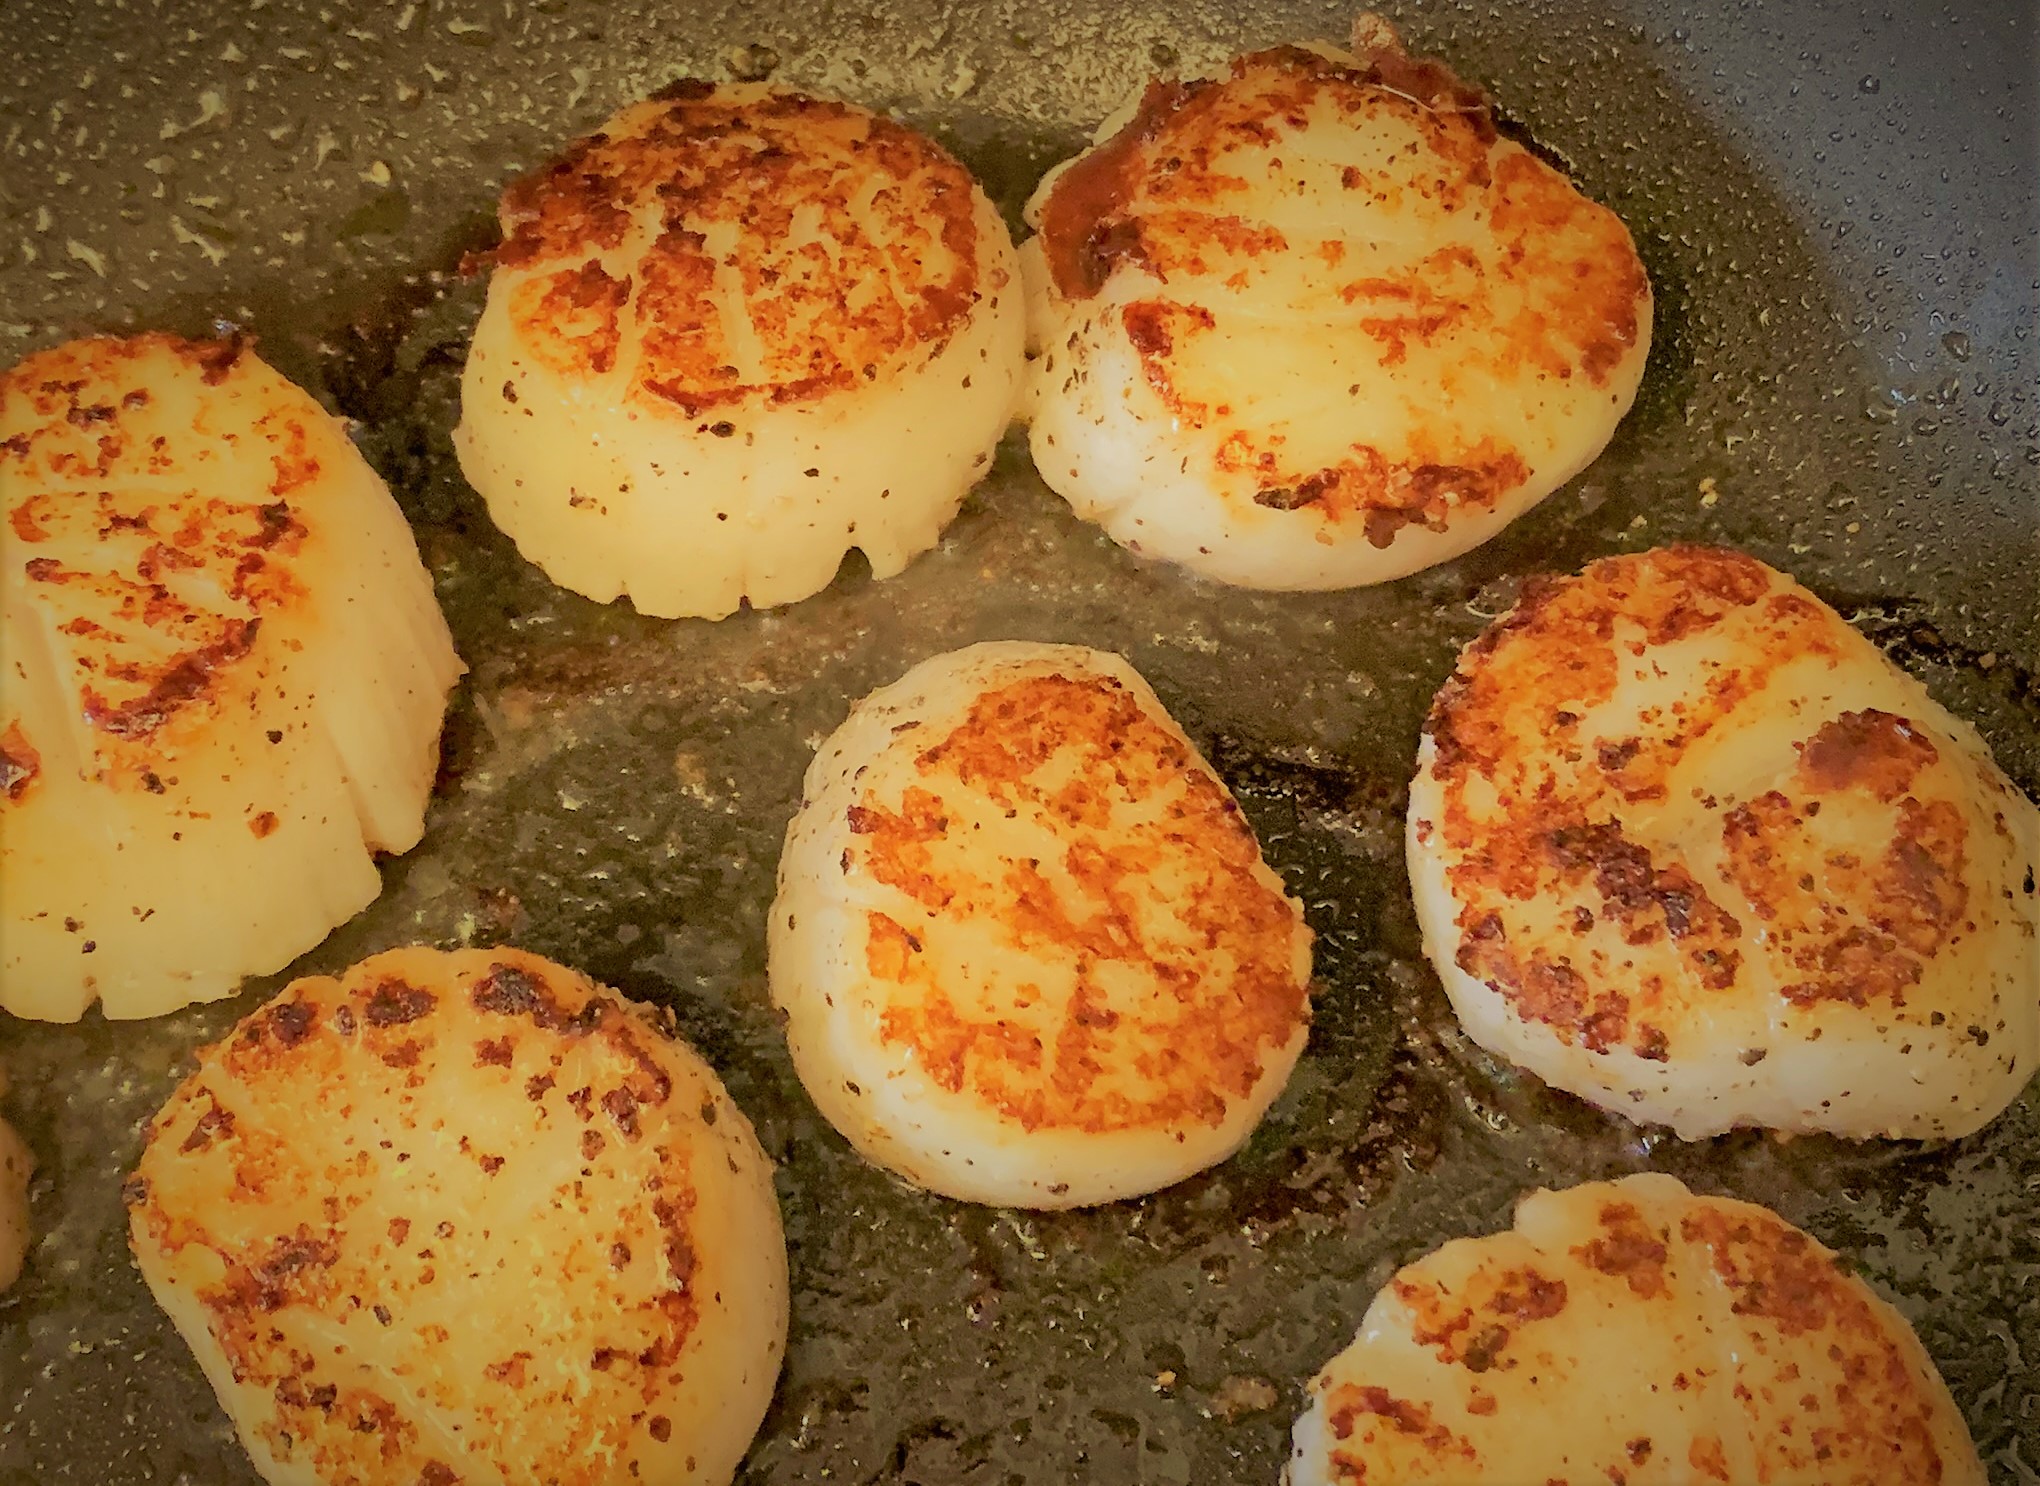
Cook the Scallops for approximately 2 to 3 minutes on the first side or until they have a sear similar to what you see above. Turn them over and sear for an additional 2 to 3 minutes.
Remove from the pan and serve immediately.
Plating
How you decide to serve your Seared Scallops with Chorizo and Red Pepper Coulis is up to you. What we’re doing here is something similar to how they’re presenting it at Epcot. That’s as a small plate. However, you can also make this a full entree, if you so desire.
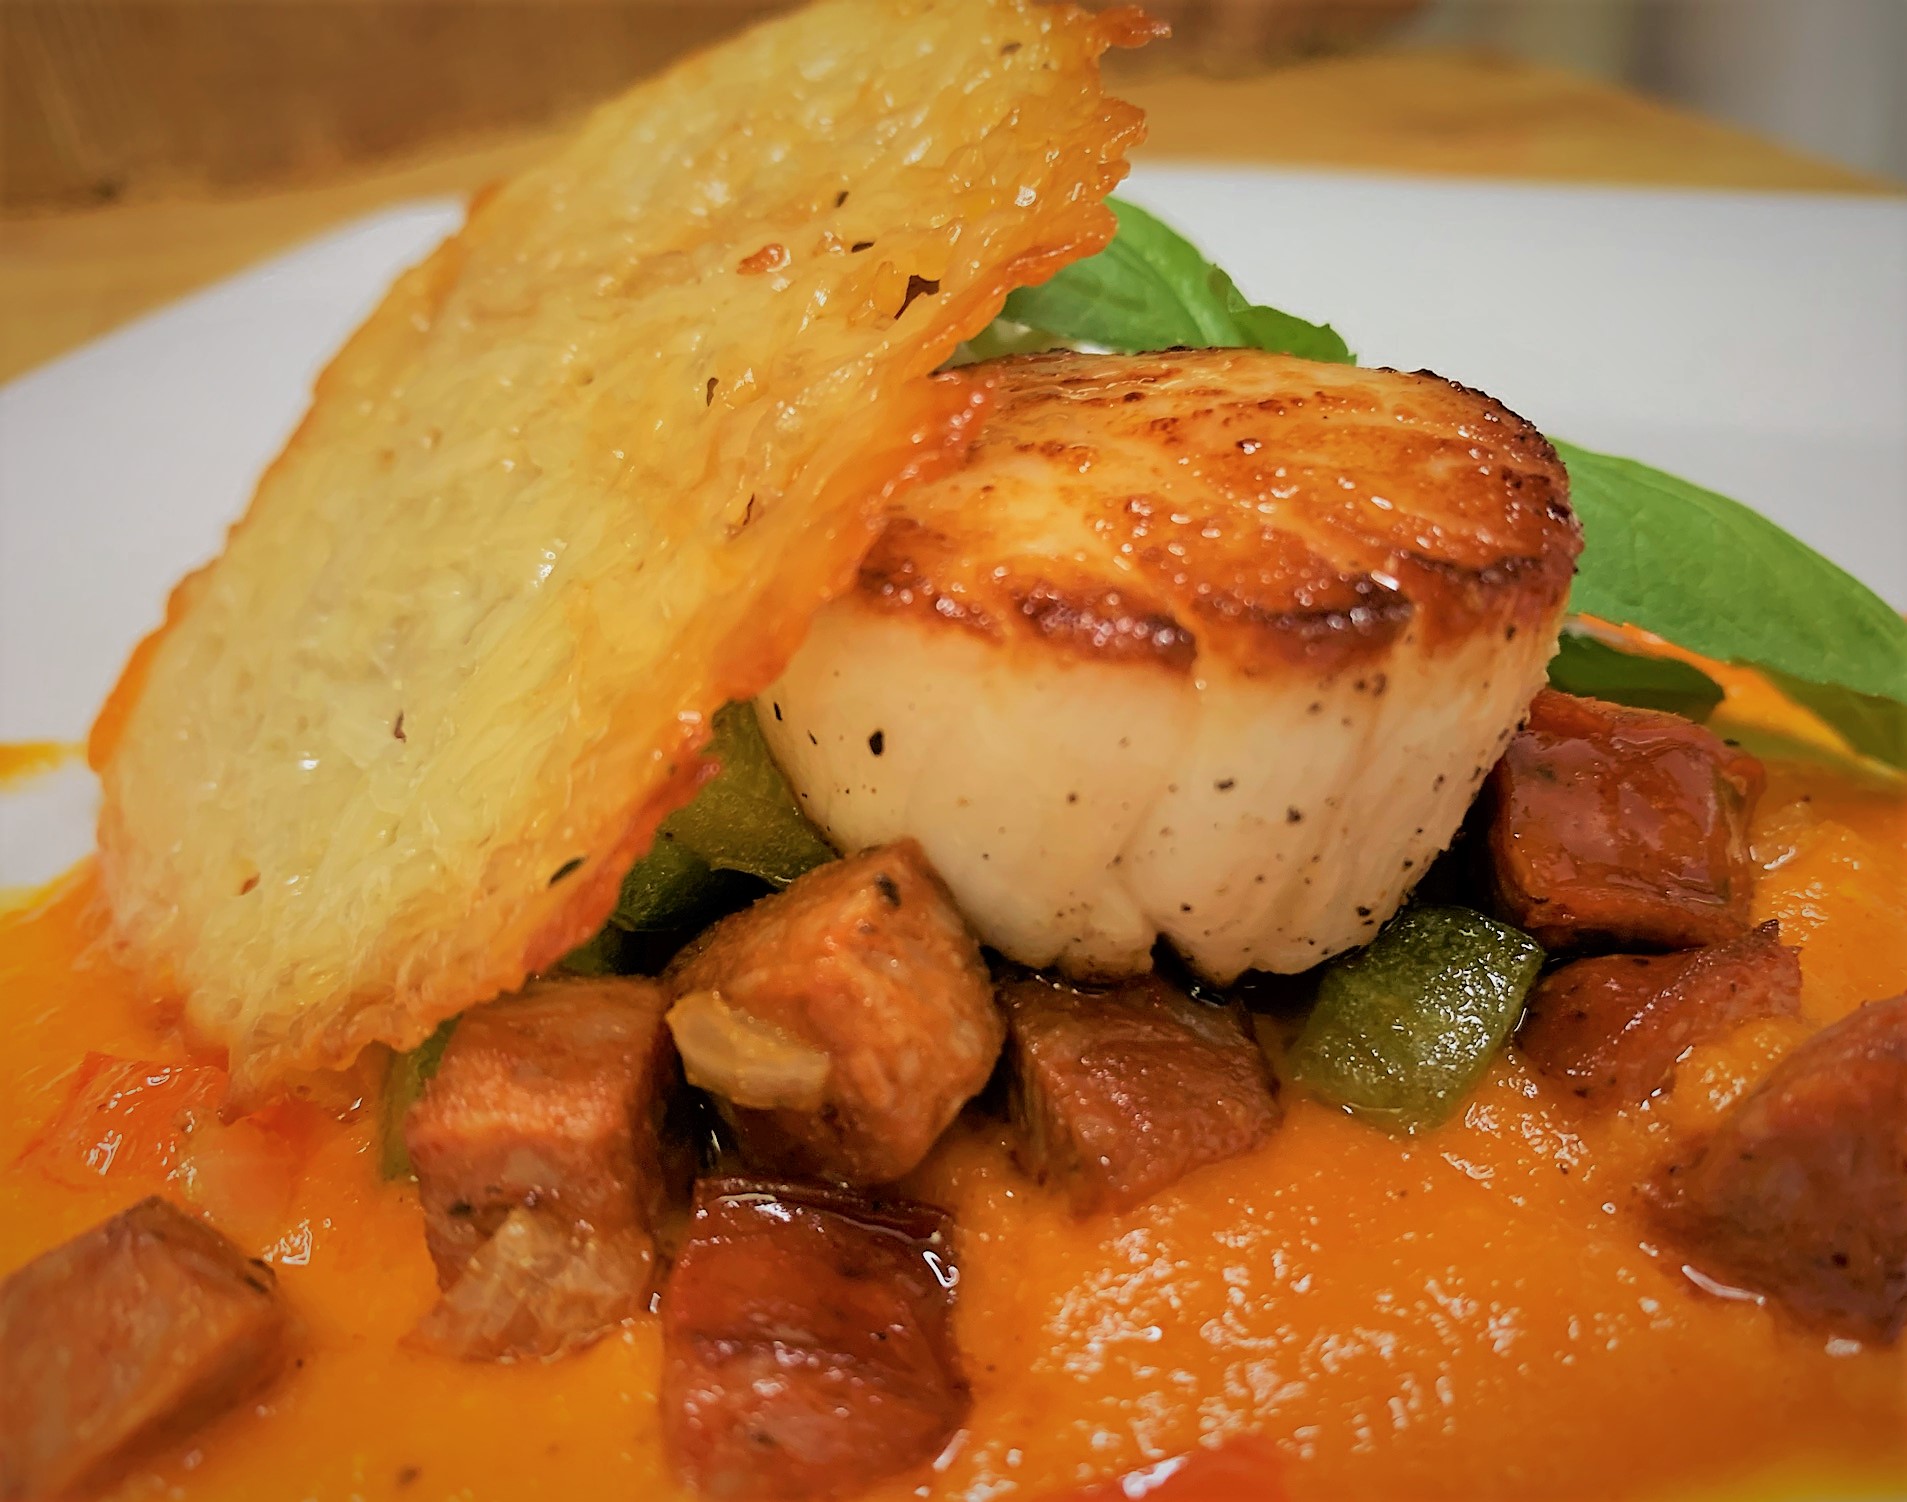
Here’s what I did for my appetizer portion.
I started by placing a large spoonful of the Red Pepper Coulis in the center of the plate. I then did a Spoon Swoosh to each side in almost to give it almost a “winged-like” appearance. Next, I placed a large spoonful of the Chorizo Hash in a pile in the center of the sauce and topped it with the Seared Scallop. I finish placing the Parmesan Crisp garnish leaning on the side and adding a spring of Fresh Basil.
Serve warm and enjoy!
Final Conclusion
This Seared Scallops with Chorizo and Red Pepper Coulis is as flavorful as it is beautiful.
The Scallops have that wonderful, seared crust but are perfectly tender on the inside. They’re light, bright and perfectly complemented by the slightly spicy and meaty Chorizo,
Meanwhile, the Red Pepper Coulis brings a lovely touch of sweetness and acid balancing some of the richness from the the sausage.
Finally, the Parmesan Crisp may look stunning on the plate. However, it also add a wonderful touch of salt and a much needed texture change, as well.
It’s a gorgeous Disney Dish that is a work of art on the plate as well as on your taste buds.
Make this Disney Dish in your kitchen and serve up a little Festival of the Arts for your family, this weekend!
If you have any questions about this or any of our recipes, just hit us up below in the comments. You can also reach us through our Contact Us page or through email.
Seared Scallops with Chorizo and Red Pepper Coulis
Makes approximately 10 – 12 small plate servings
For the Red Pepper Coulis
- 3 – Large Red Bell Peppers – Halved – Stems and Seeds Removed
- 1 tbls – Vegetable Oil
- ½ tsp – Salt
- ¼ – Black Pepper
- ½ – Yellow Onion – Diced
- 2 – Large Garlic Cloves – Chopped
- 2 tbls – Red Wine Vinegar
- 1 tsp – Salt
- ¼ tsp – Black Pepper
- ½ tsp – Sugar
For the Parmesan Crisps
- 1 ½ cups – Shredded Parmesan
For the Chorizo Hash
- 2 cups – Spanish-Style Chorizo – Diced
- ½ – Yellow Onion – Diced
- 1 – Red Bell Pepper – Diced
- 1 – Green Bell Pepper – Diced
For the Seared Scallops
- 12 – 18 – Large Scallops
- Salt & Pepper – To taste
- 1 tbls – Vegetable Oil
Garnish
- Fresh Basil Leaves (if desired)
For the Red Pepper Coulis
- Preheat the oven to 400ºF
- Halve the Red Bell Peppers and remove the stems and seeds. Place in a Large Bowl and toss with the Vegetable Oil, Salt and Pepper
- Line a Baking Pan with Parchment Paper and place the Seasoned Bell Pepper Halves open-side down on the pan
- Place in the oven and roast at 400ºF for approximately 25 to 30 minutes
- Once done roasting and still hot, use tongs to carefully removed the Roasted Red Peppers and place in a large bowl. Cover tightly with plastic wrap and let rest for at least 30 minutes
- Once the Roasted Red Peppers have cooled enough to pick up with your hands, peel off as much of their skin, as possible. Place the peeled Roasted Red Peppers into a Blender or Food Processor
- Next, place a medium-sized pan on the stove over medium-high heat with a little bit of Vegetable Oil. Add the Diced Yellow Onion and sauté until just translucent while stirring occasionally; approximately 2 to 3 minutes. Add the Chopped Garlic and cook for an additional minute
- Add the cooked Onion and Garlic to the Roasted Red Bell Peppers in the Blender or Food Processor along with the Red Wine Vinegar, Salt, Pepper and Sugar. Cover with a towel and puree until smooth
- Taste and adjust the seasonings, as necessary, with more Red Wine Vinegar, Salt, Pepper and/or Sugar
- Keep warm until read to serve or cool completely and store in an air-tight container in the refrigerator for up to 7 days
For the Parmesan Crisps
- Pre-heat the oven to 400ºF
- Line a Baking Pan with either Parchment Paper of a Silicon Baking Mat
- Place a 3″ Round Cookie Cutter on the Baking Pan and add enough Shredded Parmesan Cheese to the center to evenly cover the bottom of the inside. Repeat until you have approximately 10 to 12 on the Baking Pan
- Place in the oven and cook at 400ºF until golden brown. Approximately 5 to 7 minutes
- Place on a Cooling Rack and allow the Parmesan Crisps to cool completely before removing them from the pan
- Reserve until ready to use
- Once the Peas are done simmering, strain them and reserve the liquid
- Place the Peas, Fresh Mint Leaves, Sugar and Salt in a Food Processor or Blender
- Puree, while adding the reserved liquid a little at a time, until smooth
- Once the Puree reaches your desired consistency, taste and adjust the seasonings, as necessary with Sugar and/or Salt
- Keep warm until service
For the Chorizo Hash
- Place a medium-sized pan on the stove over medium-high heat with a little Vegetable Oil
- Add the Diced Yellow Onion and sauté, while stirring occasionally, until just translucent; approximately 2 to 3 minutes
- Next, add the Diced Red & Green Bell Peppers and cook for an additional 1 to 2 minutes
- Place the Diced Spanish-Style Chorizo into the pan and cook for an additional 4 to 5 minutes while stirring frequently
- Keep warm and reserve until ready to serve
For the Seared Scallops
- Place medium-sized non-stick pan on the stove over high heat with a little Vegetable Oil
- Season both sides of the Scallops with Salt and Pepper
- Once the pan is sufficiently heated, add the Scallops. Be sure not to overcrowd the pan
- Cook for 2 to 3 minutes, or until the Scallops have a good sear, on the first side
- Turn the Scallops over and sear for an additional 2 to 3 minutes
- Remove from pan and serve immediately
Plating the Seared Scallops with Chorizo and Red Pepper Coulis
- Place a large spoonful of the Red Pepper Coulis on each serving plate and spread with a Spoon Swoosh (if desired)
- Next, a large spoonful of the Chorizo Hash in a pile in the center of the sauce
- Add 1 or 2 of the Seared Scallops on top of Chroizo Hash
- Garnish with a Parmesan Crisp and Fresh Basil Leaf (if desired)
- Serve immediately
If you enjoyed this dish, be sure to check out some of our other Disney Festival themed recipes:
Tostada de Chorizo from Las Posadas Holiday Kitchen
Smoked Salmon Potato Latkes Recipe
Kalua-Style Pulled Pork Tots with Polynesian BBQ Sauce & Mango Salsa
Santa Maria Style Tri-Tip With Chimichurri
Petite Plant-Based Burgers with Guacamole
If you’re a Disney Fan, be sure to check out our Disney Podcast, as well.
![]()